In this article we will see the steps to create a zoha email account for your domain. This will give you an email address which ends with your domain like hello@example.com
Step 1: Create a Zoha mail account
-
Go to
https://www.zoho.com/mail/and clicksign up for free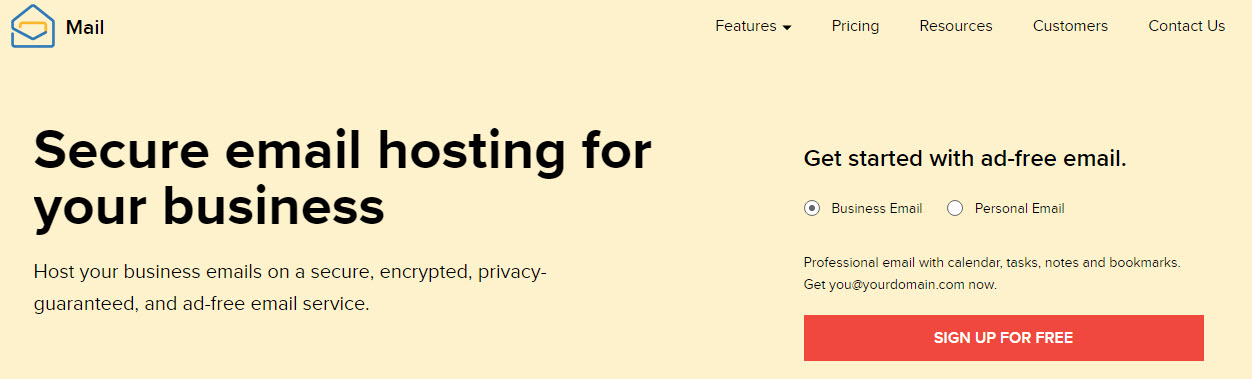
-
Choose the plan of your choice, Here i am going to select
FOREVER FREE PLAN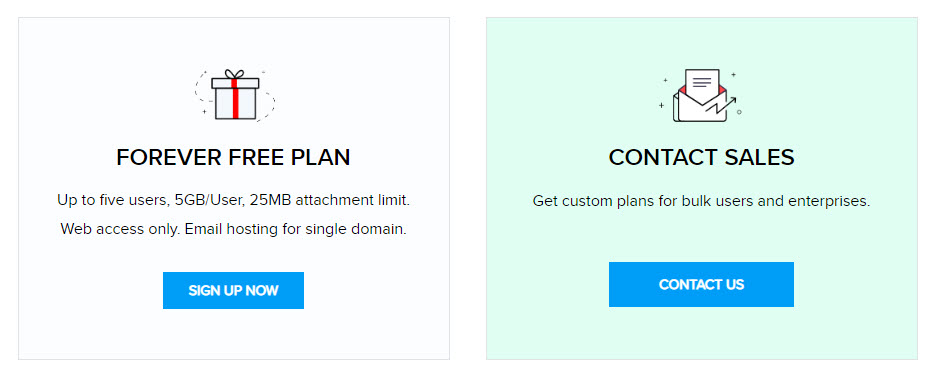
-
Select
Sign up with a domain I already ownand type your domain name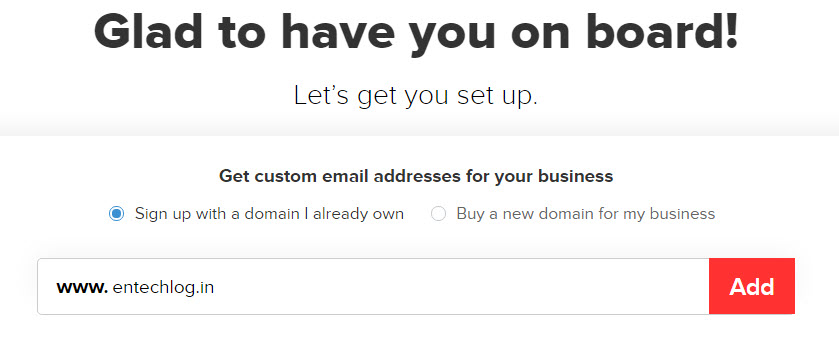
-
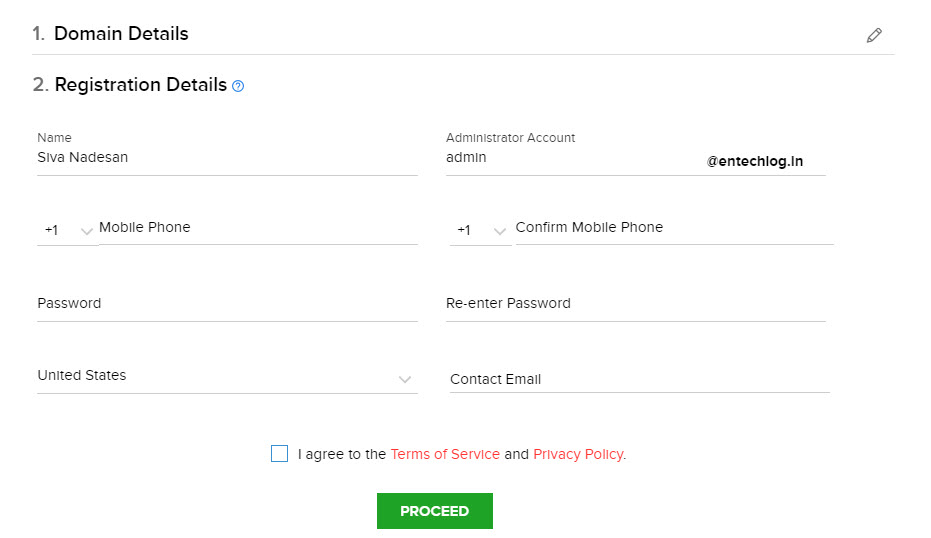
Fill in the registration details, Its good to set up admin email ID for your domain
-
In a few seconds you should get the confirmation on screen saying “Your Account has been created successfully!”
Step 2: Verify the domain
-
Verify the ownership of your domain by selecting your domain’s DNS Manager from the drop down
-
In my case my DNS Manager was AWS Route 53 and it was not listed, Selected other from drop down which gave me the CNAME which should be added in AWS Route 53

Step 3: Update DNS Manager
-
Go to your DNS Manager (Route 53 in this cases) and add the CNAME details which you got in previous screen
-
After adding the CNAME, In zoha mail click on
Verify by CNAME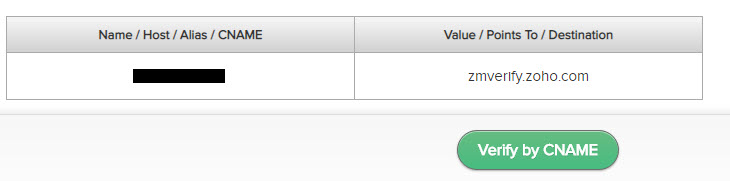
-
If you have done everything right, You should get a confirmation saying
Congratulations! Your domain example.com has now been verified. -
Zoha mail page will promt you to
Add users,Create Groups,Configure Email Delivery,SPF/DKIM,Email Migration,Mobile Access. Down in the bottom left cornor you can select skip for now
This should take you to the mail page and now you have a email for your own domain.