How to connect to MongoDB from DataStage using ODBC
Here are the steps to connect to the MongoDB database from DataStage using the ODBC connector. These steps were tested …


DataStage Next Gen is here now. It is fully managed and cloud-ready data integration SaaS offering from IBM built on containers and microservices. Redesigned DataStage architecture no longer relies on XMETA, WAS for meta data or a windows client for developing jobs. Common Asset Management Infrastructure (CAMS) is the underlying repository for managing DataStage flows, jobs, parameter sets and it is queriable via APIs/CLI. Dataflow job development is done via new web canvas build using open-source project canvas. This is a run down on my exploration of this new and improved version of DataStage.
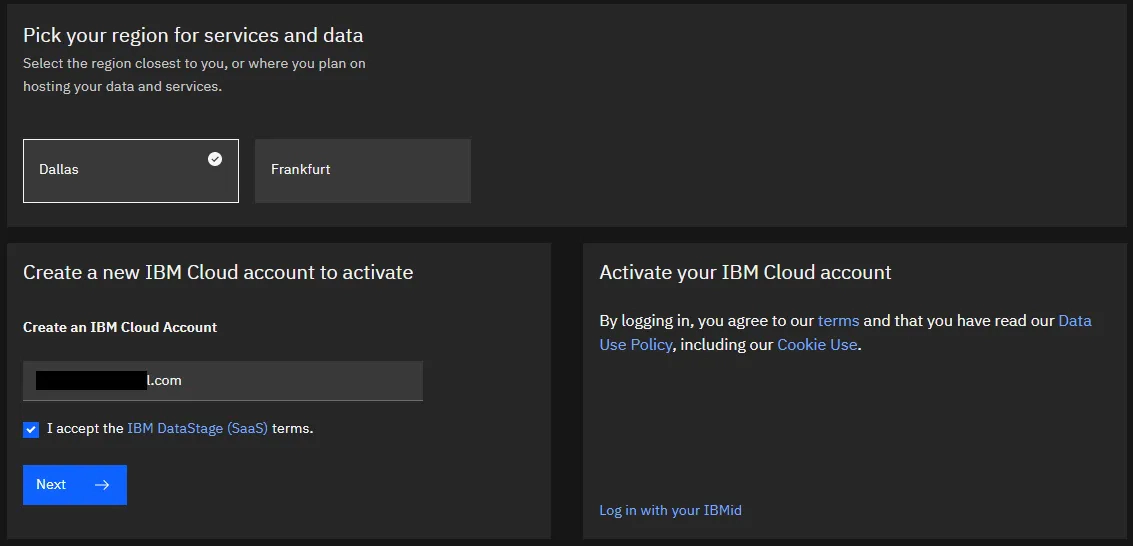
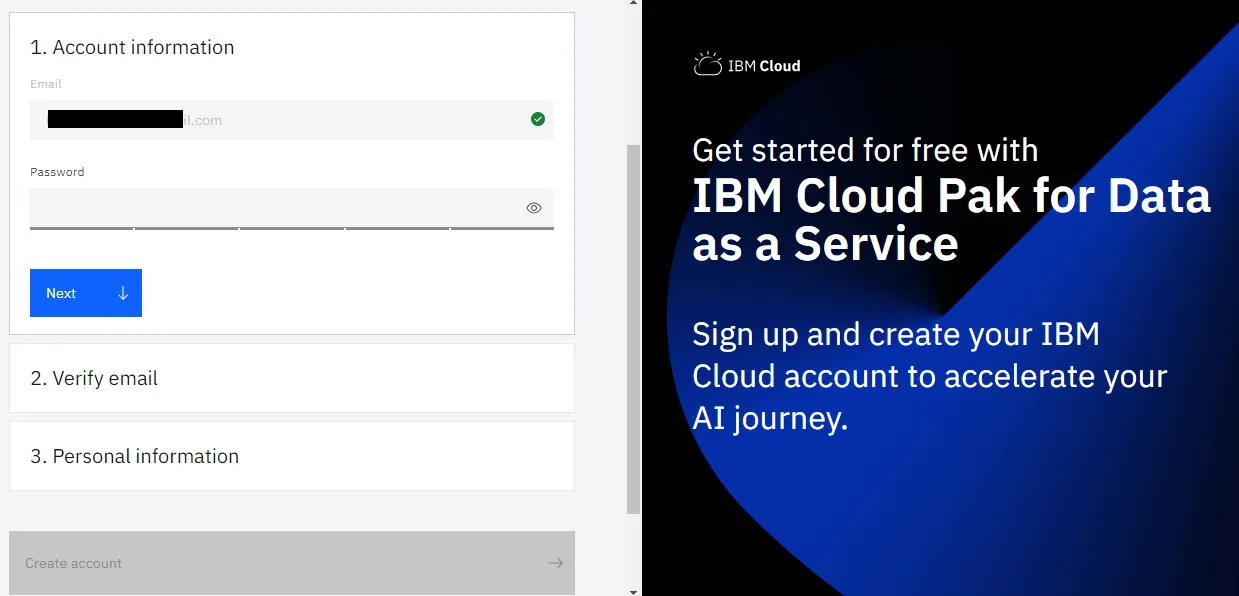
To get started with IBM DataStage on Cloud Pak (aka IBM DataStage Next Gen), you would need an IBM account.
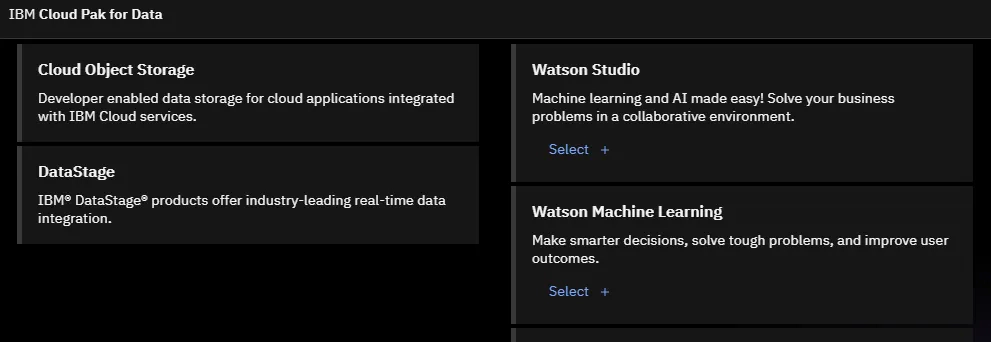
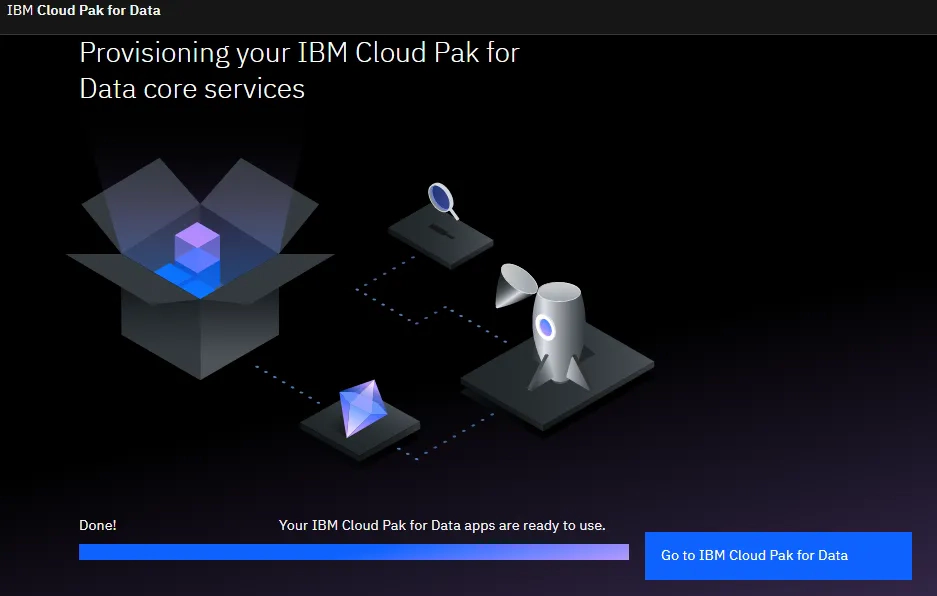
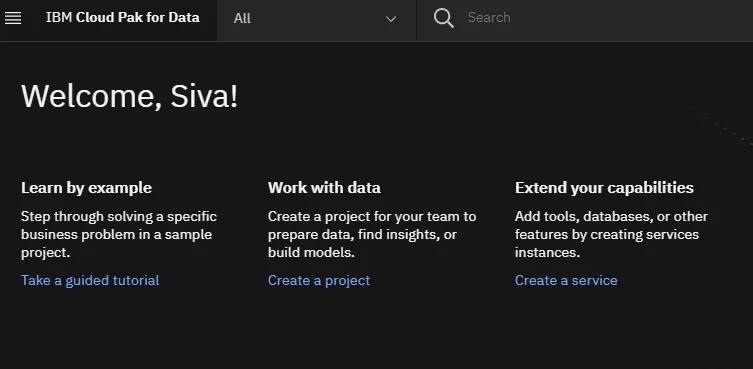
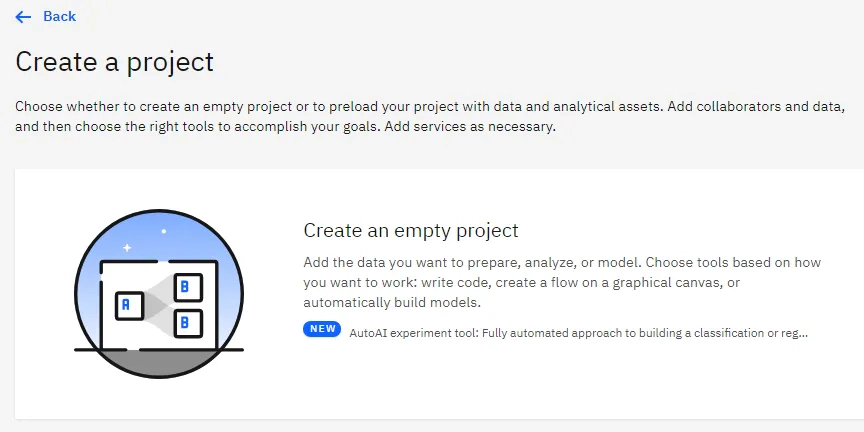
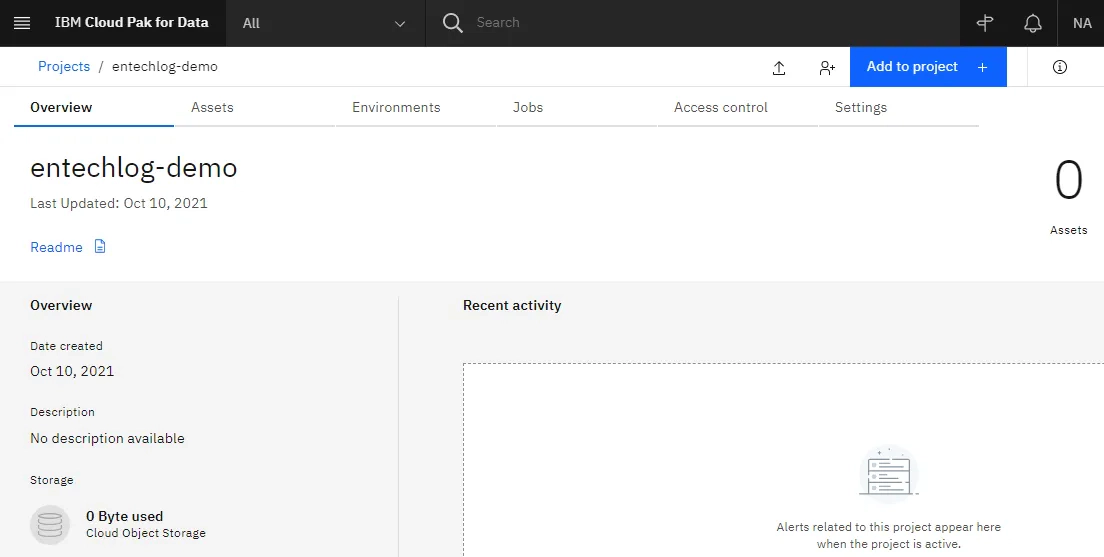
Once you are logged in into your IBM Cloud Pak for Data portal, the next step is to create a project to host the DataStage assets. Each project will have a related Cloud Object Storage area for storing the job logs, flat files and other artifacts which would require a file system.

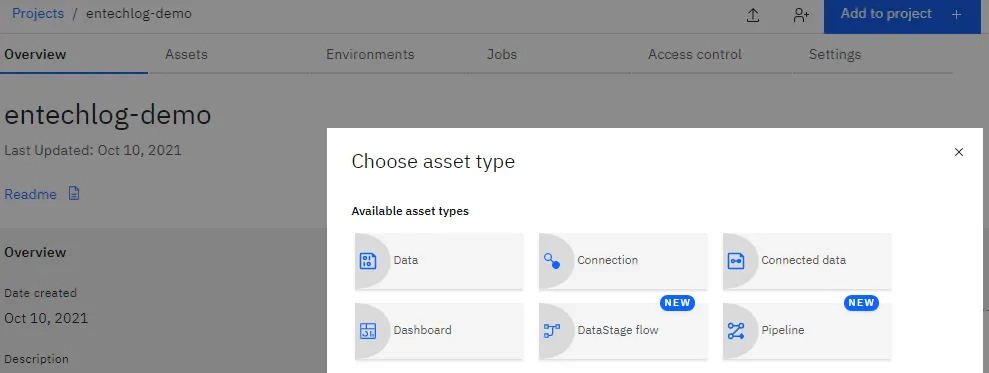
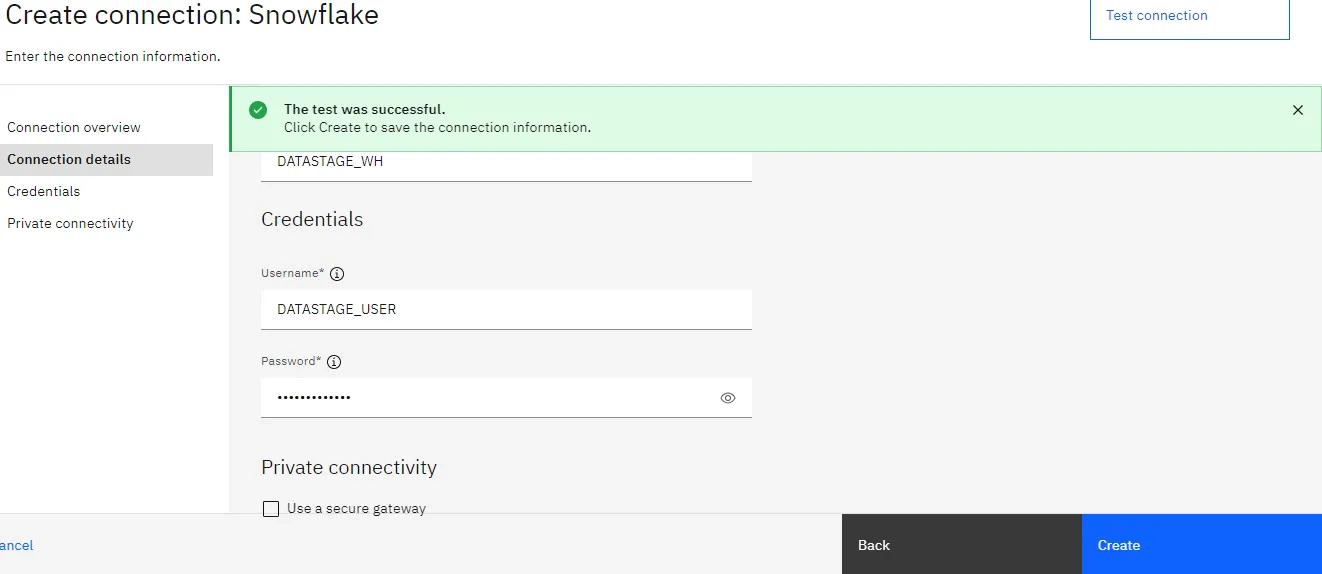
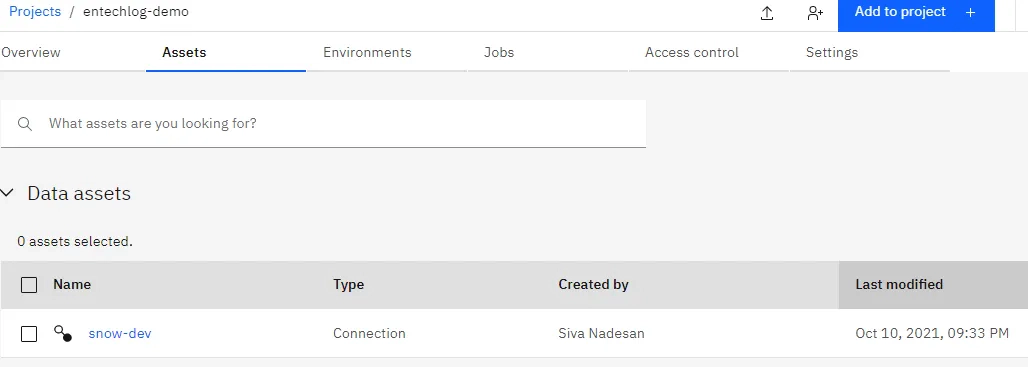
In this demo, we will source data from Snowflake, process in DataStage and create a flat file. In the next few steps we will create the Connection to Snowflake and DataStage flow for processing the data.
Everything demo’d here can be done in snowflake itself, but the idea of the demo is to show the usage of DataStage with an example.
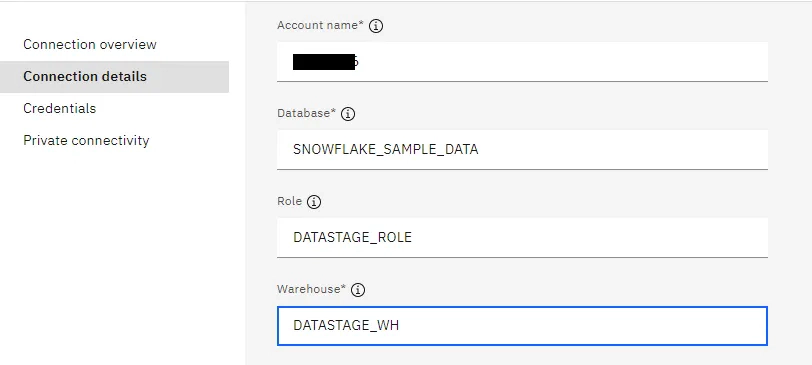
Select Snowflake as the connection type and fill in the details. Make sure to use the Snowflake account name with the region and leave the secure gateway unchecked for the demo.
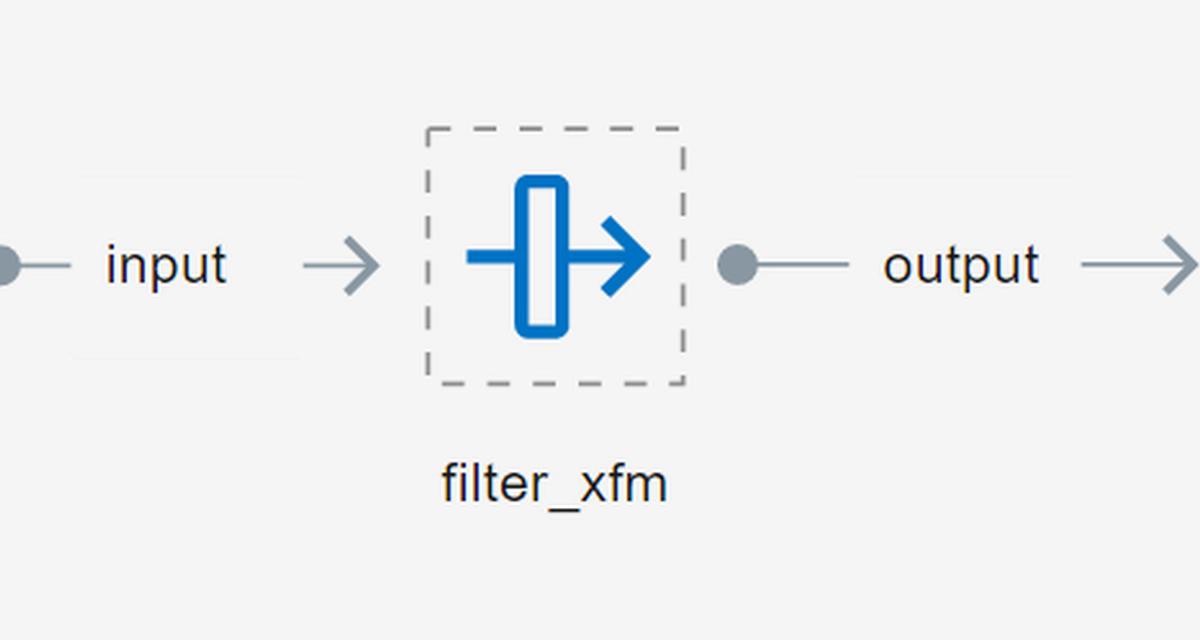
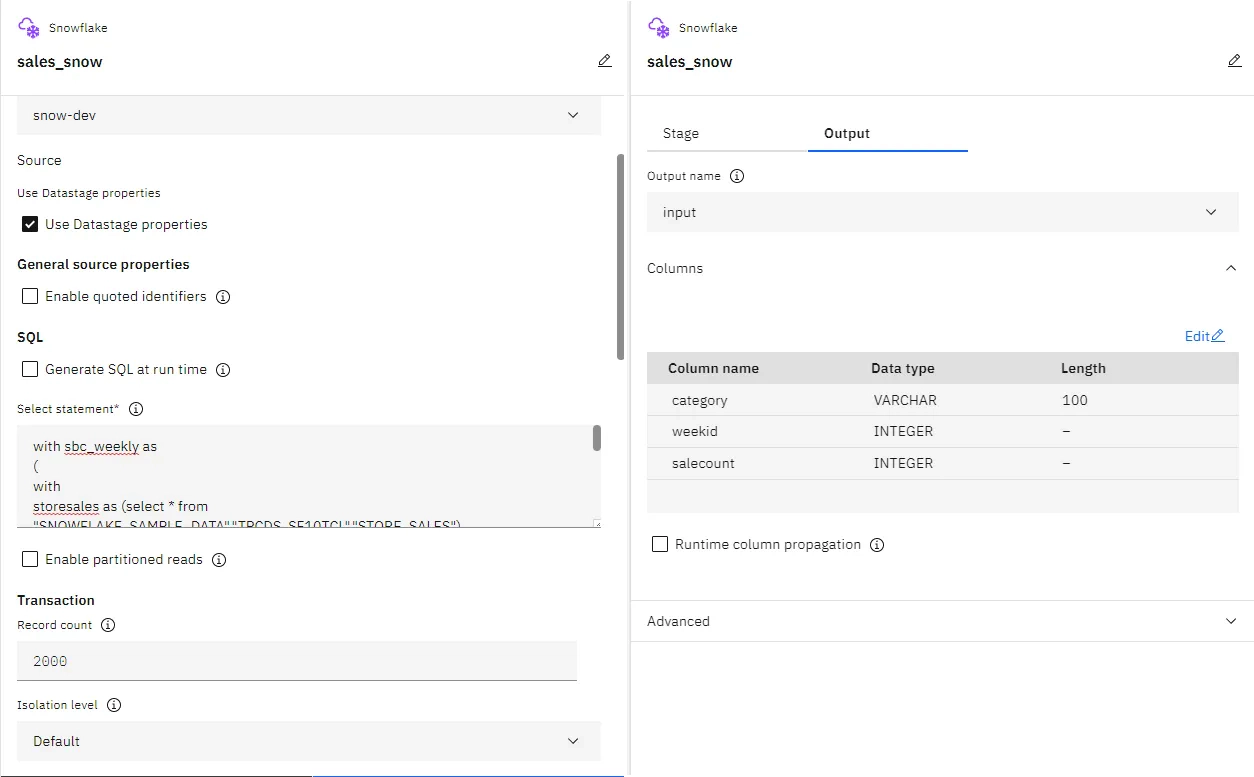
Edit the Snowflake stage to select the connection which we created in previous step. Update the sql and output column definition details


We created a DataStage project and DataStage flow in few minutes. Prior to DataStage Next Gen, creating a DataStage environment would take hours worth of efforts and unless you are working in an organization that uses DataStage, getting hands on DataStage to try is not possible. With DataStage Next Gen and IBM DataStage Lite Plan (aka Free tier), you can have your DataStage environment up and running in few minutes and a place to try the new features that DataStage Next Gen has to offer. This is a good start and I am hoping IBM DataStage will continue to evolve at a good pace to add more stages and connectors to the echo system.
Hope this was helpful. Did I miss something ? Let me know in the comments.
Exploring DataStage Next Generation
Here are the steps to connect to the MongoDB database from DataStage using the ODBC connector. These steps were tested …
Here are the steps to start All Services in IBM InfoSphere Information Server on Windows Step 01 : Start the WebSphere …