
How to Install Pi-hole in Pi Zero
Pi-hole is a network-wide ad blocker. This will block Ads to all devices connected to your home network without having …

The Raspberry Pi is a low cost, credit-card sized computer that plugs into a computer monitor or TV, and uses a standard keyboard and mouse. It is a capable little device that enables people of all ages to explore computing, and to learn how to program in languages like Scratch and Python. It’s capable of doing everything you’d expect a desktop computer to do, from browsing the internet and playing high-definition video, to making spreadsheets, word-processing, and playing games.
Unbox the Raspberry Pi. We will need following accessories along with Raspberry Pi

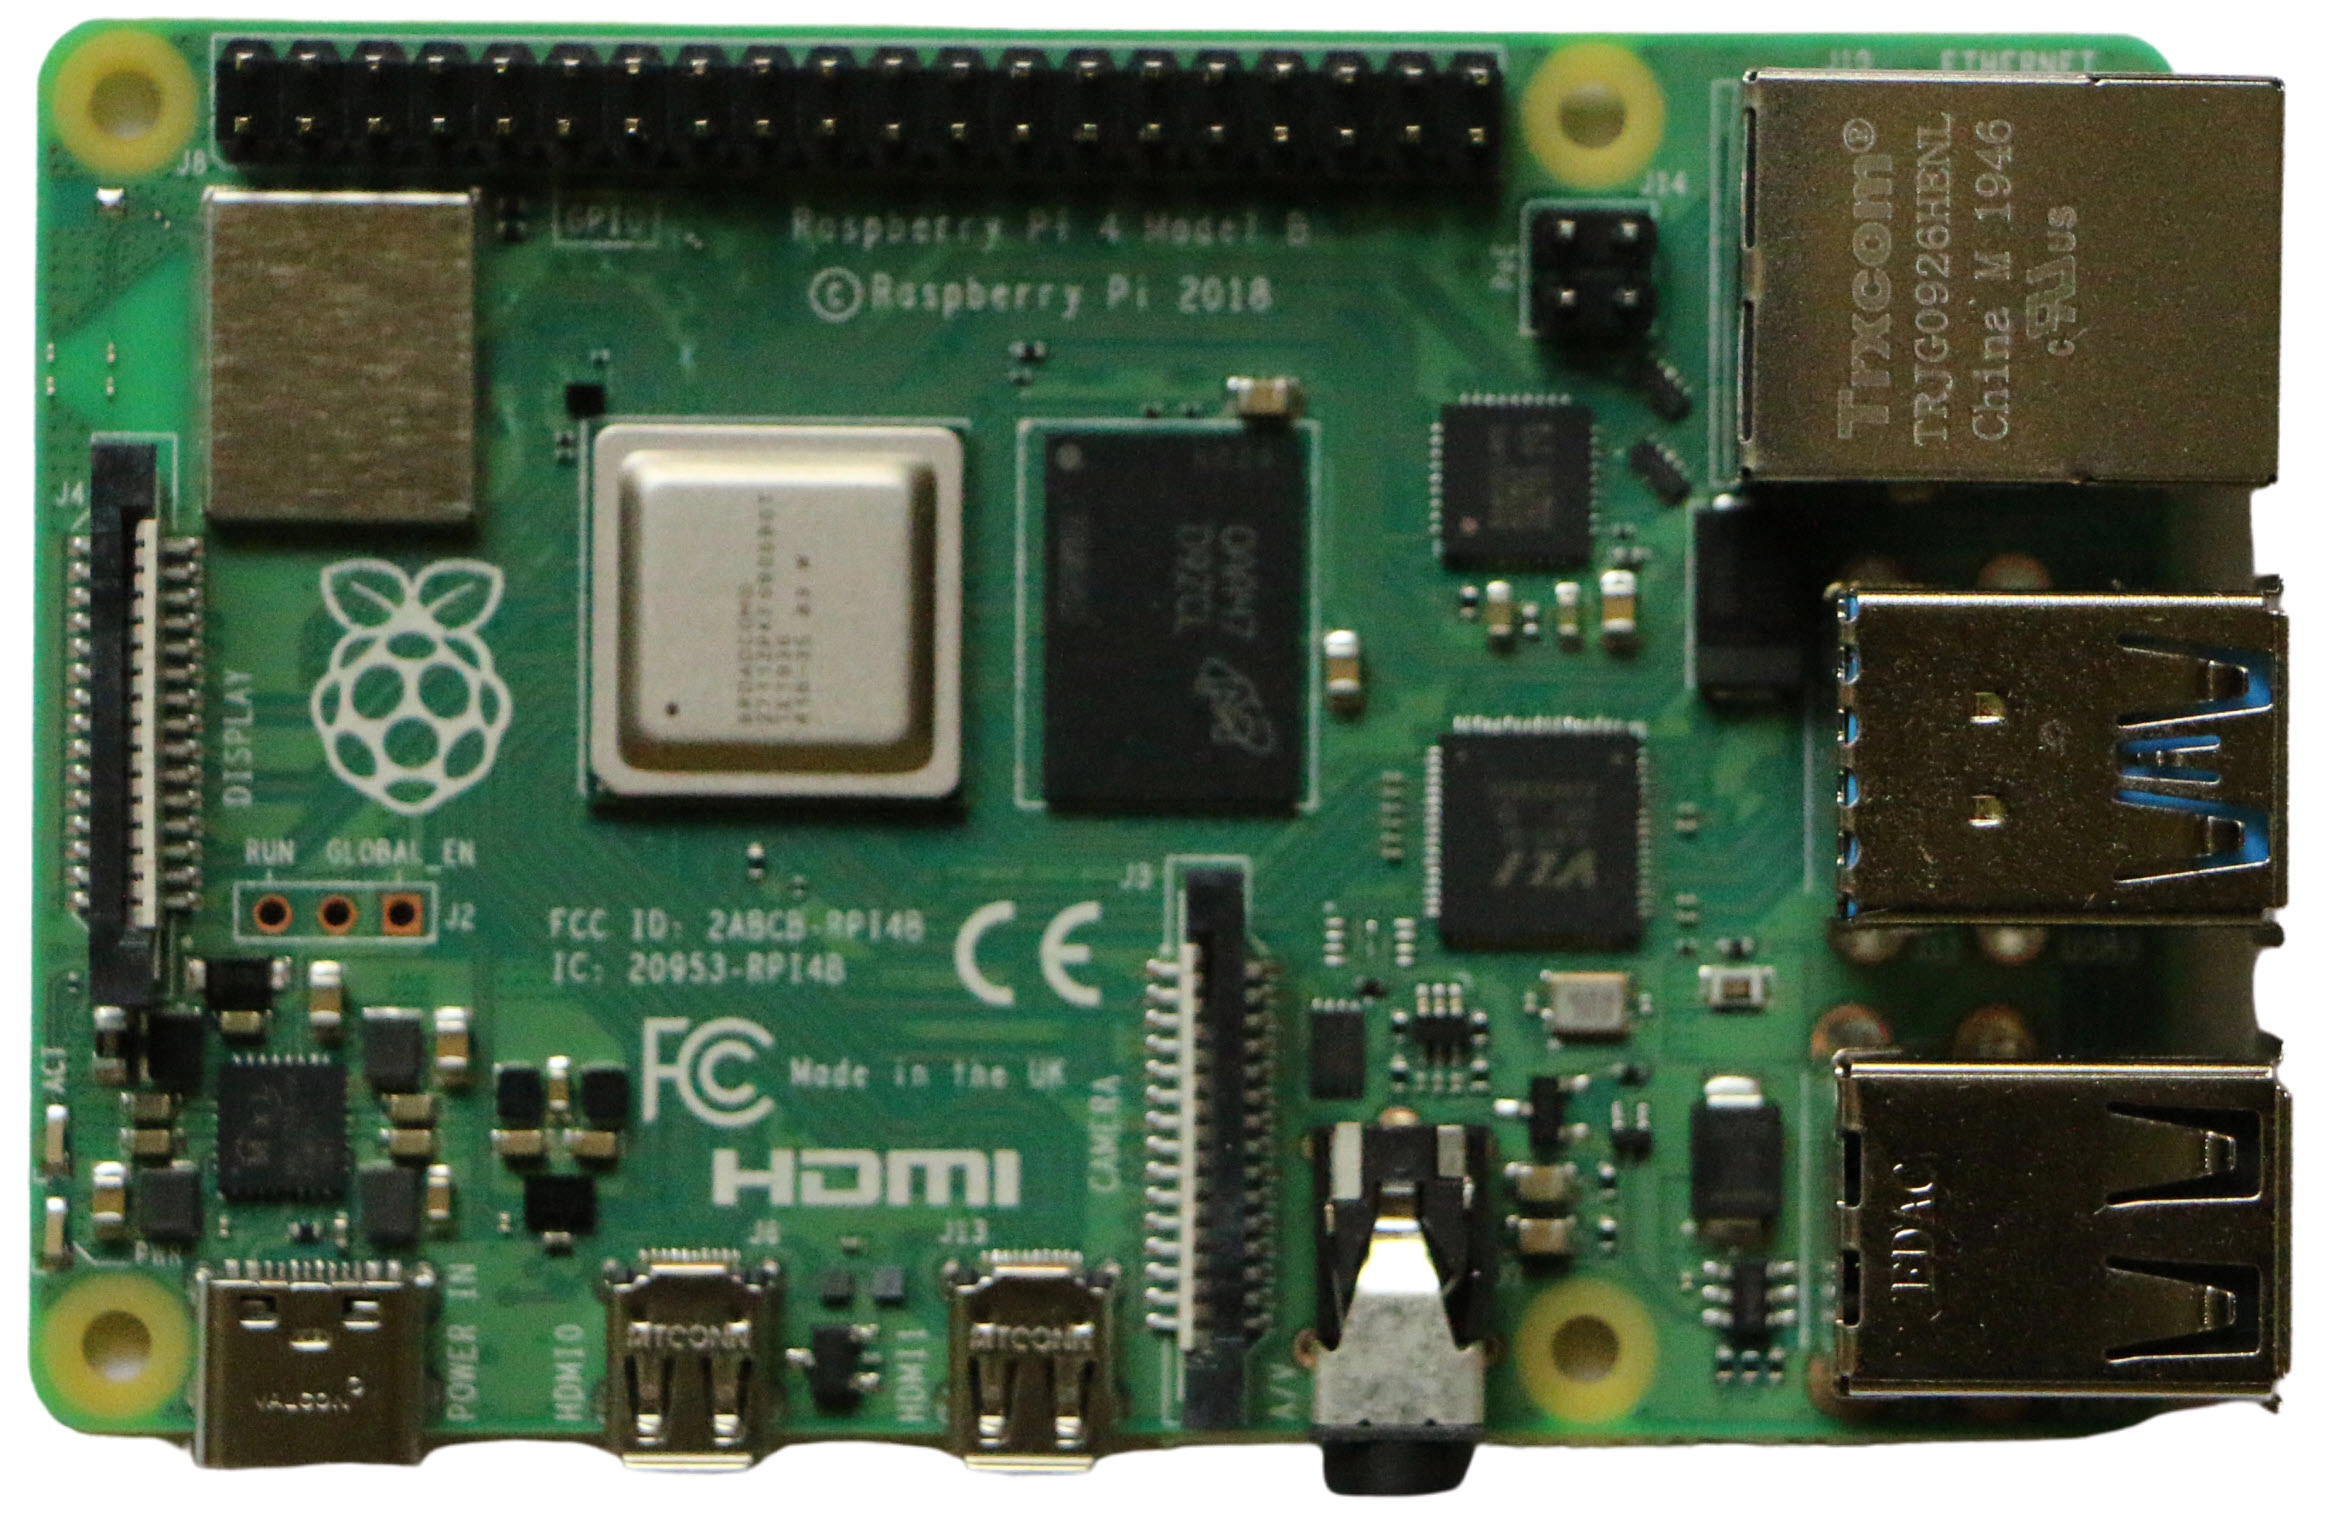
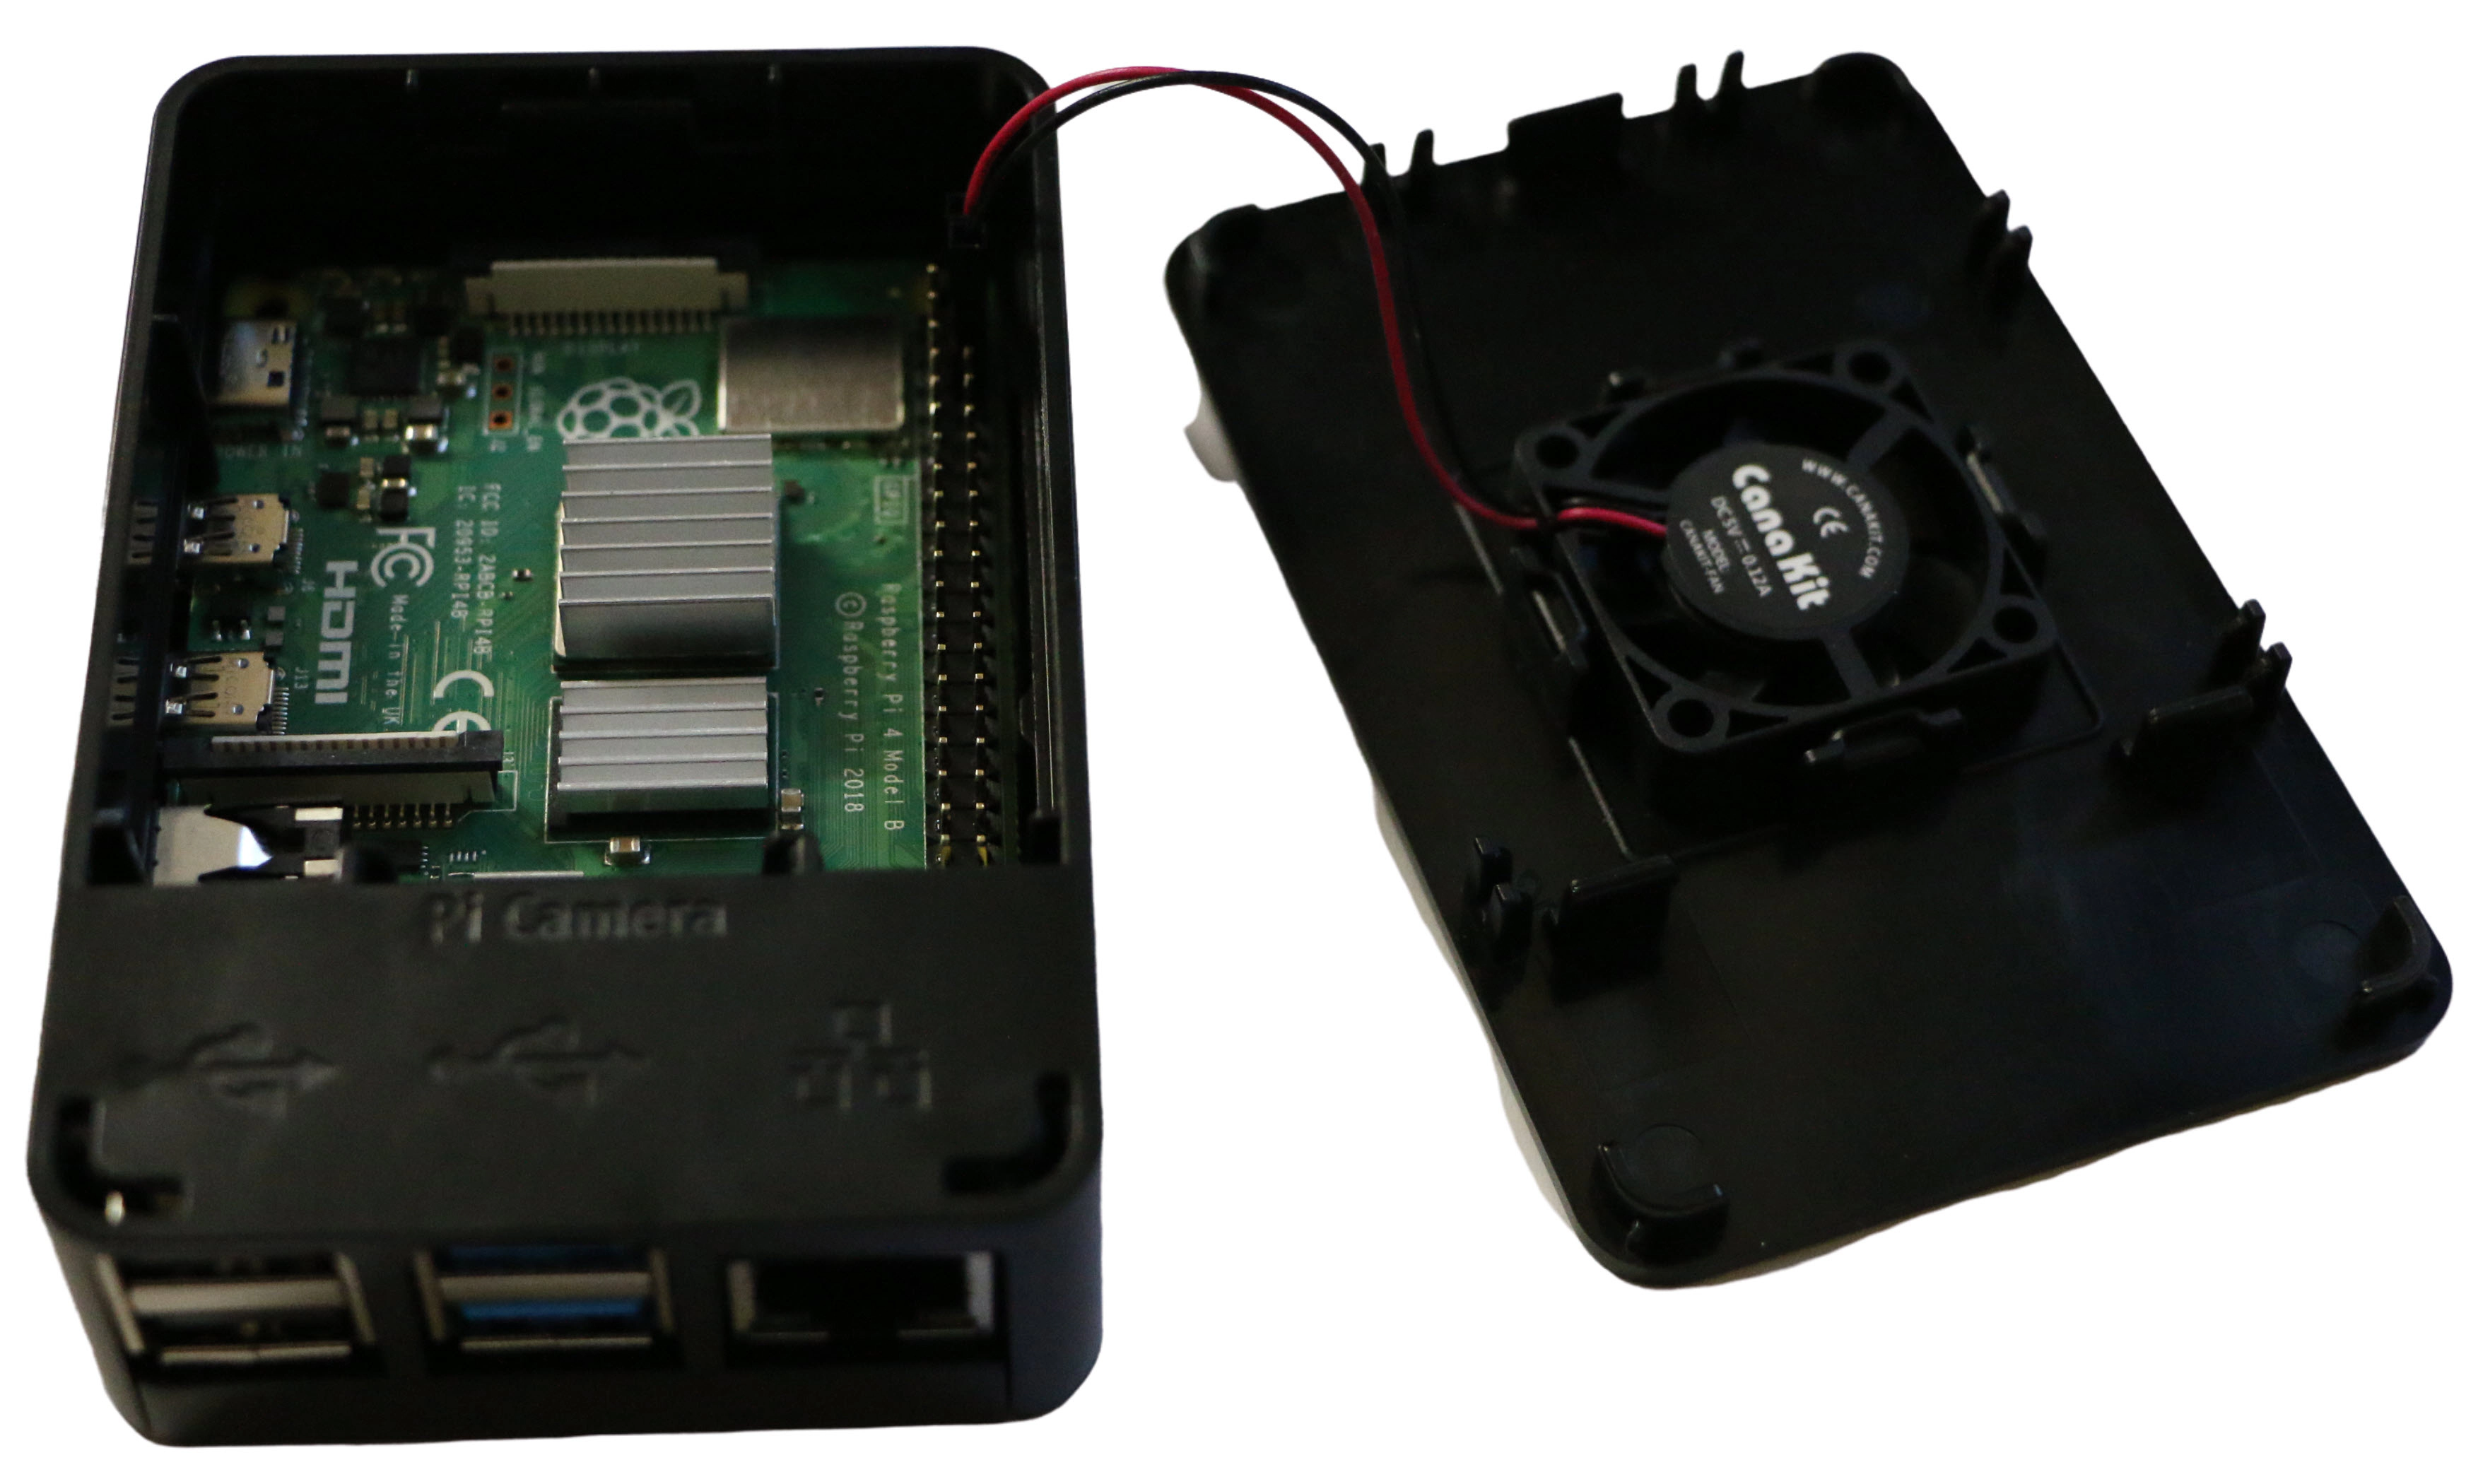
Take the Raspberry Pi and place it with USB ports facing your right side
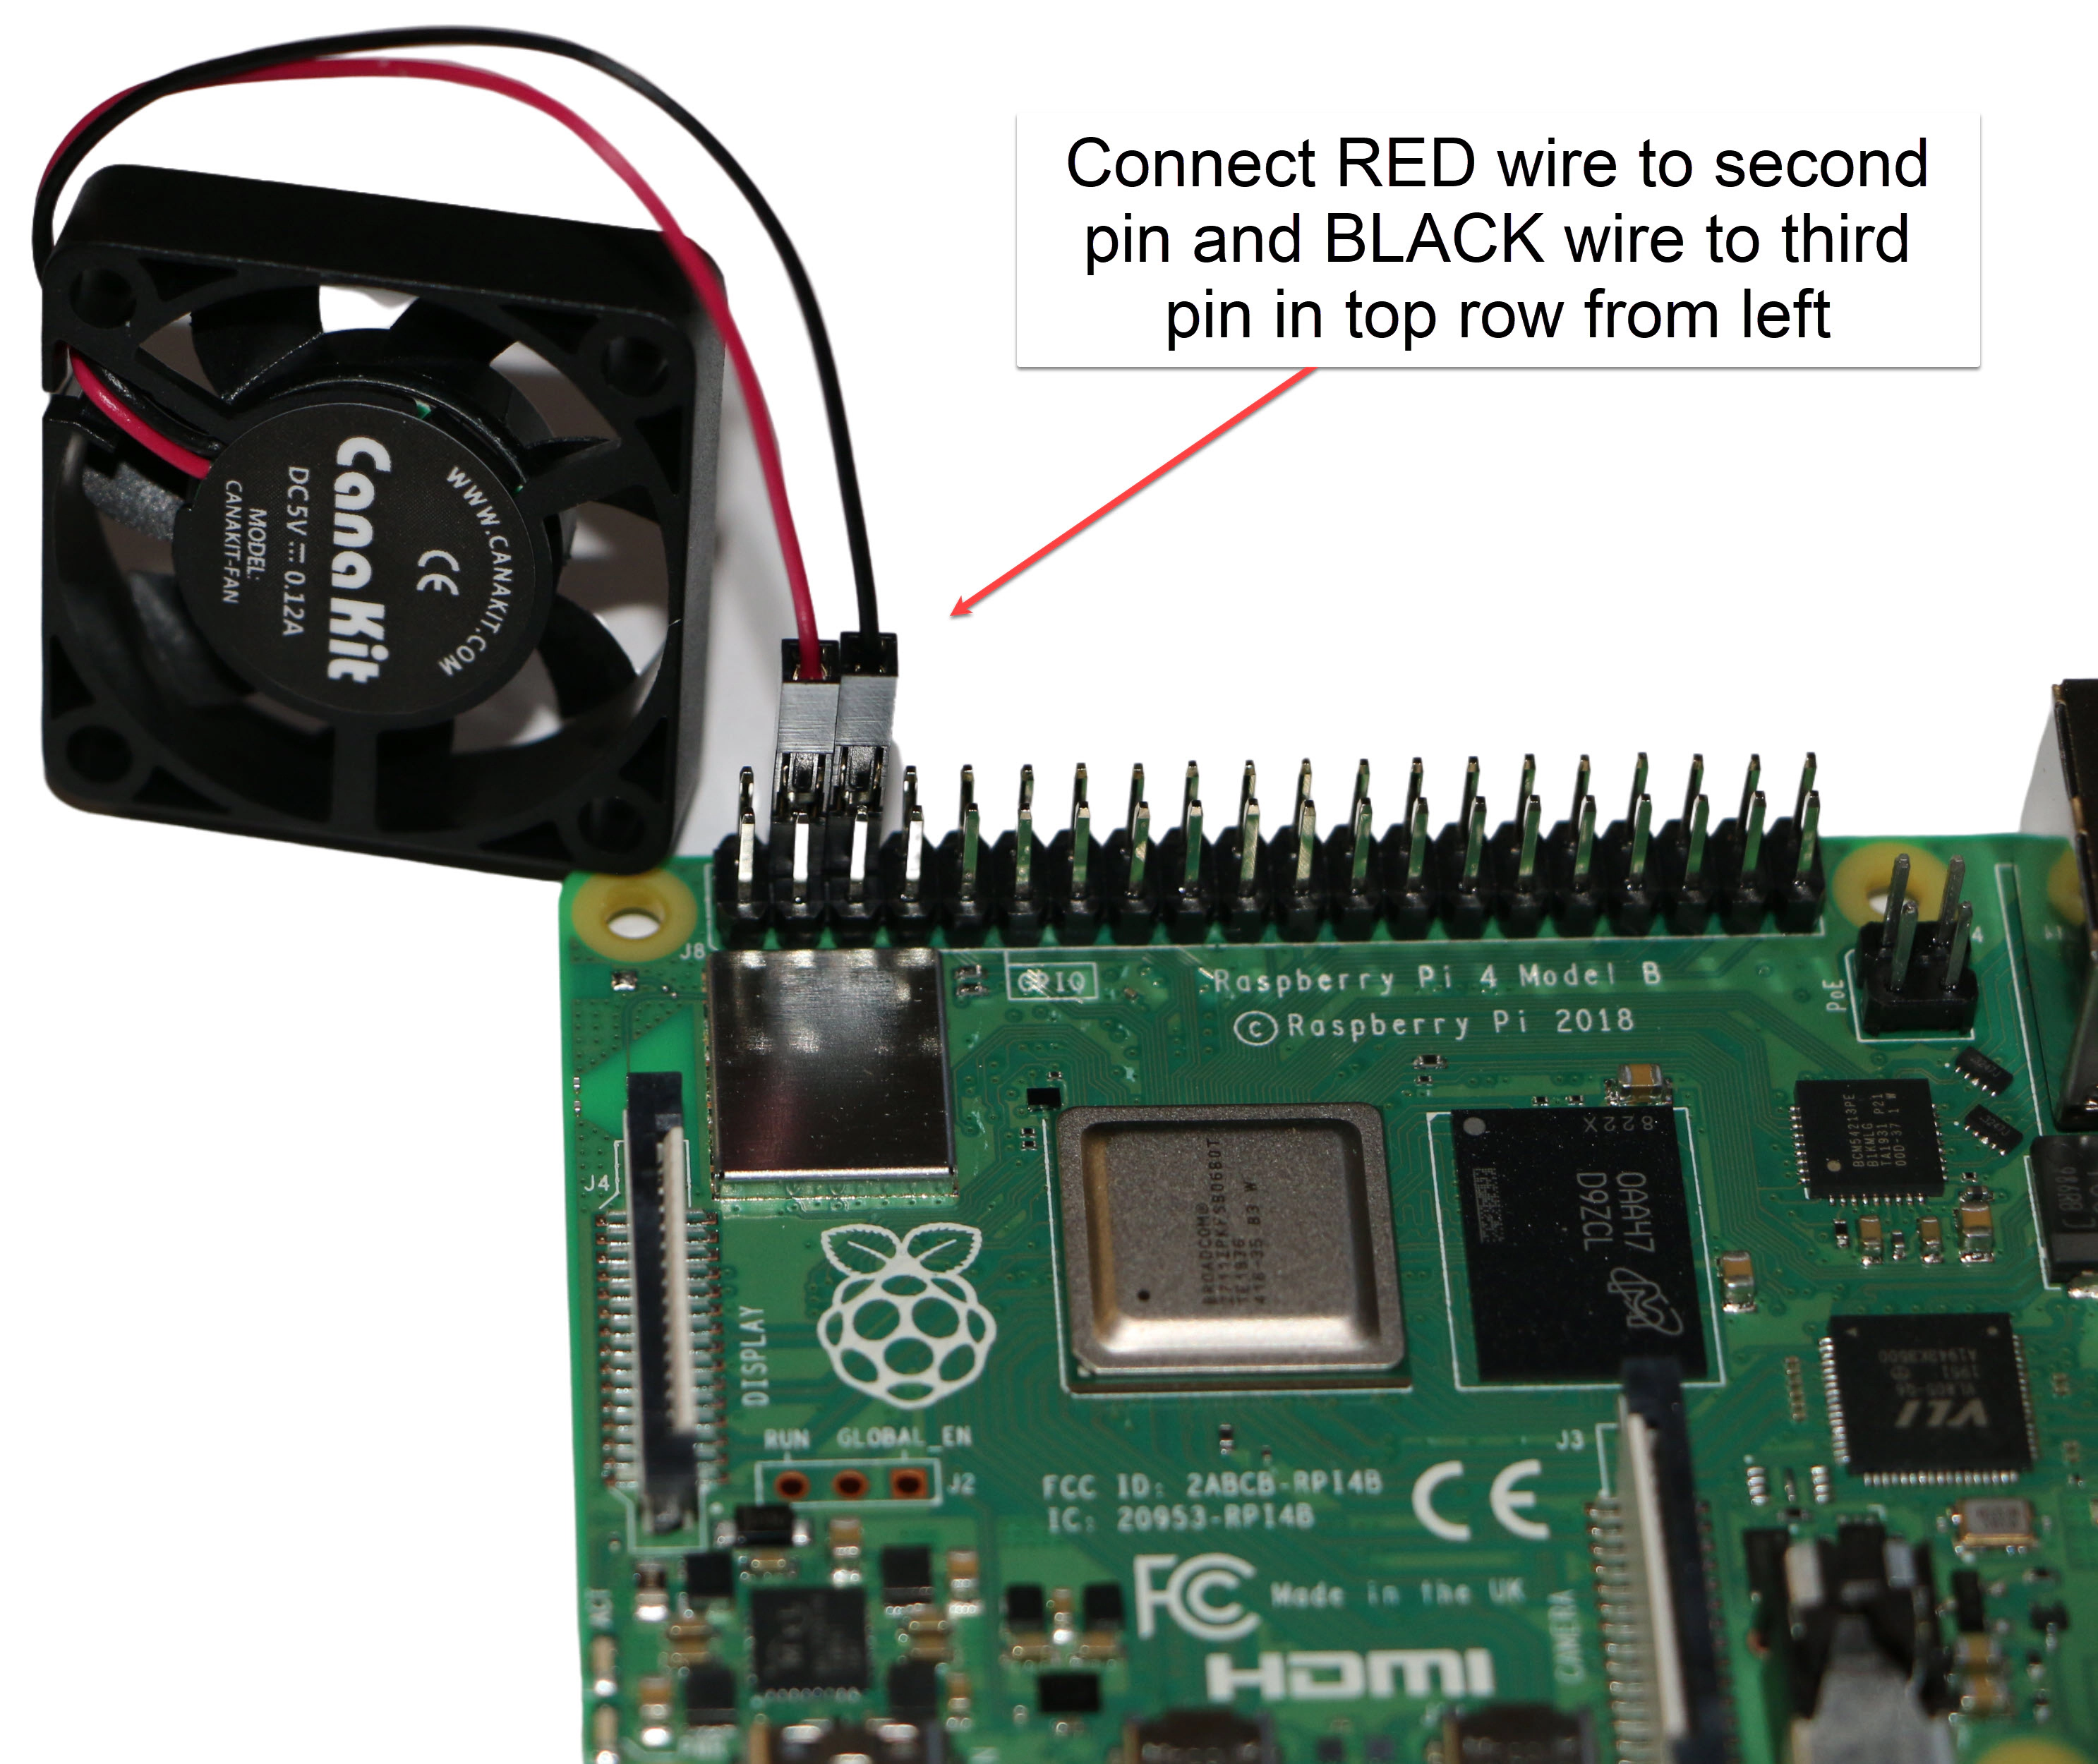
Install the fan by connecting RED wire to second pin and BLACK wire to third pin in top row from left side
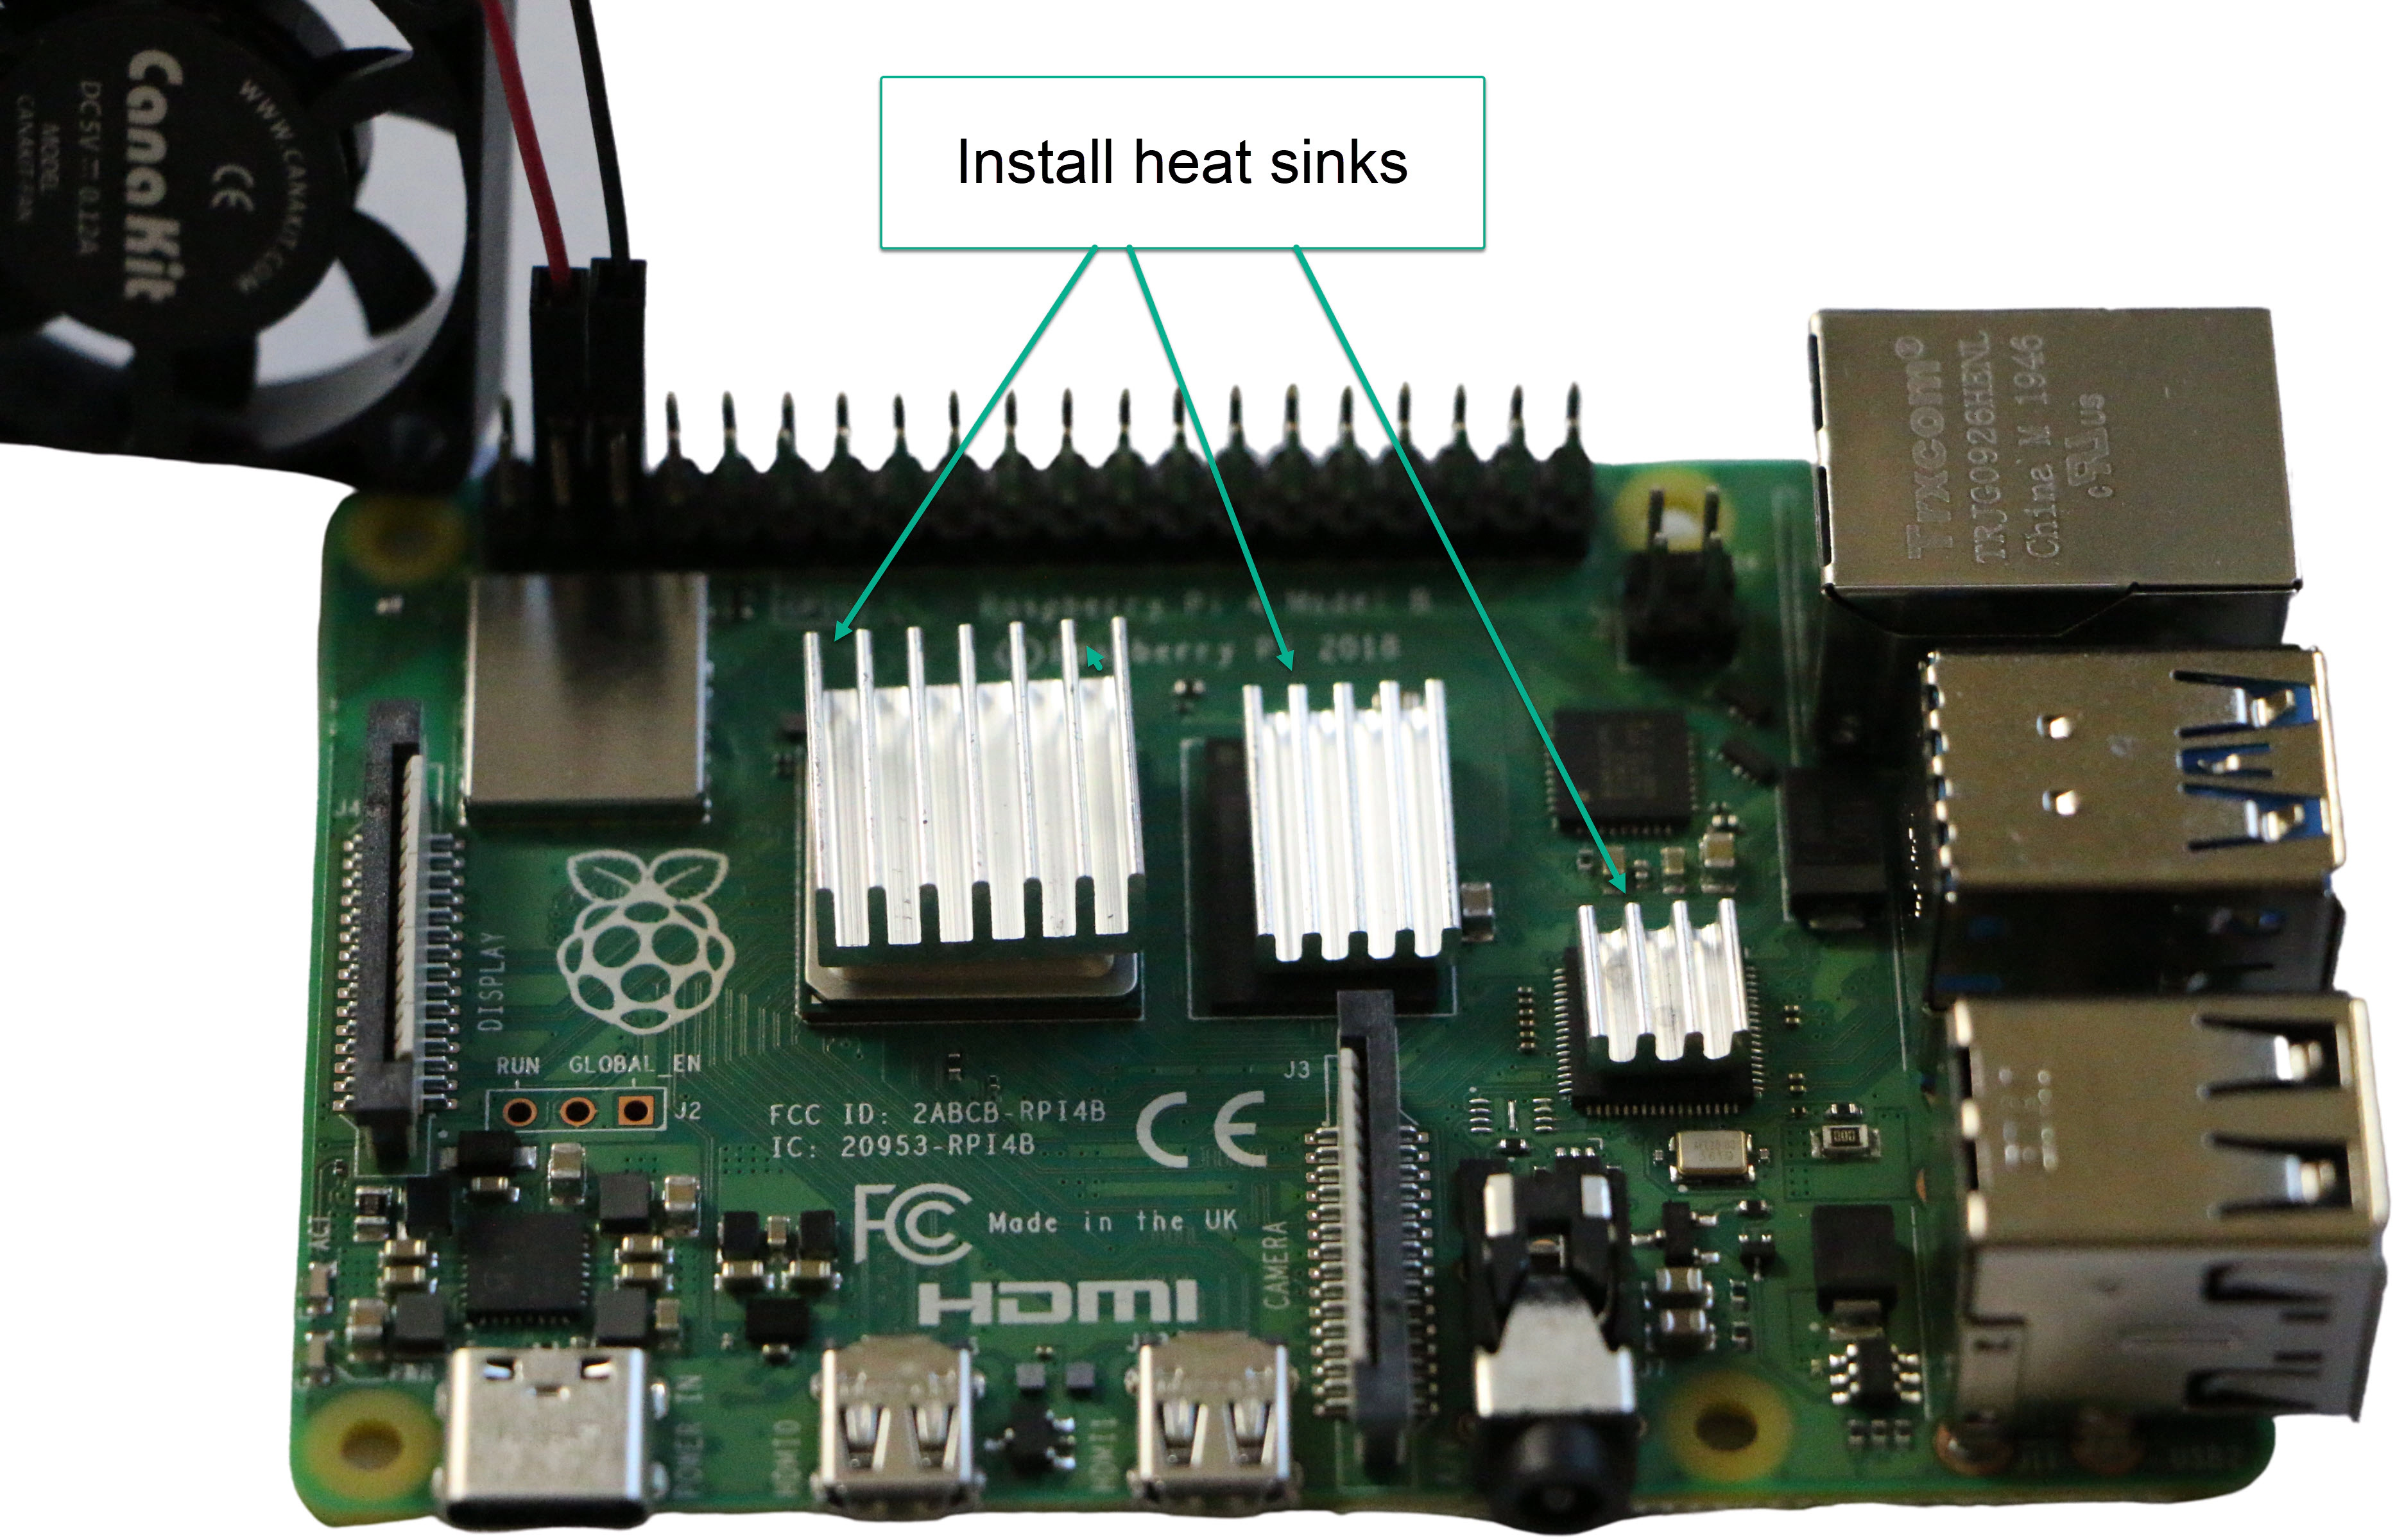
Install heat sinks on CPU, RAM and USB controller chip
Safely attach the Raspberry Pi and fan to the case
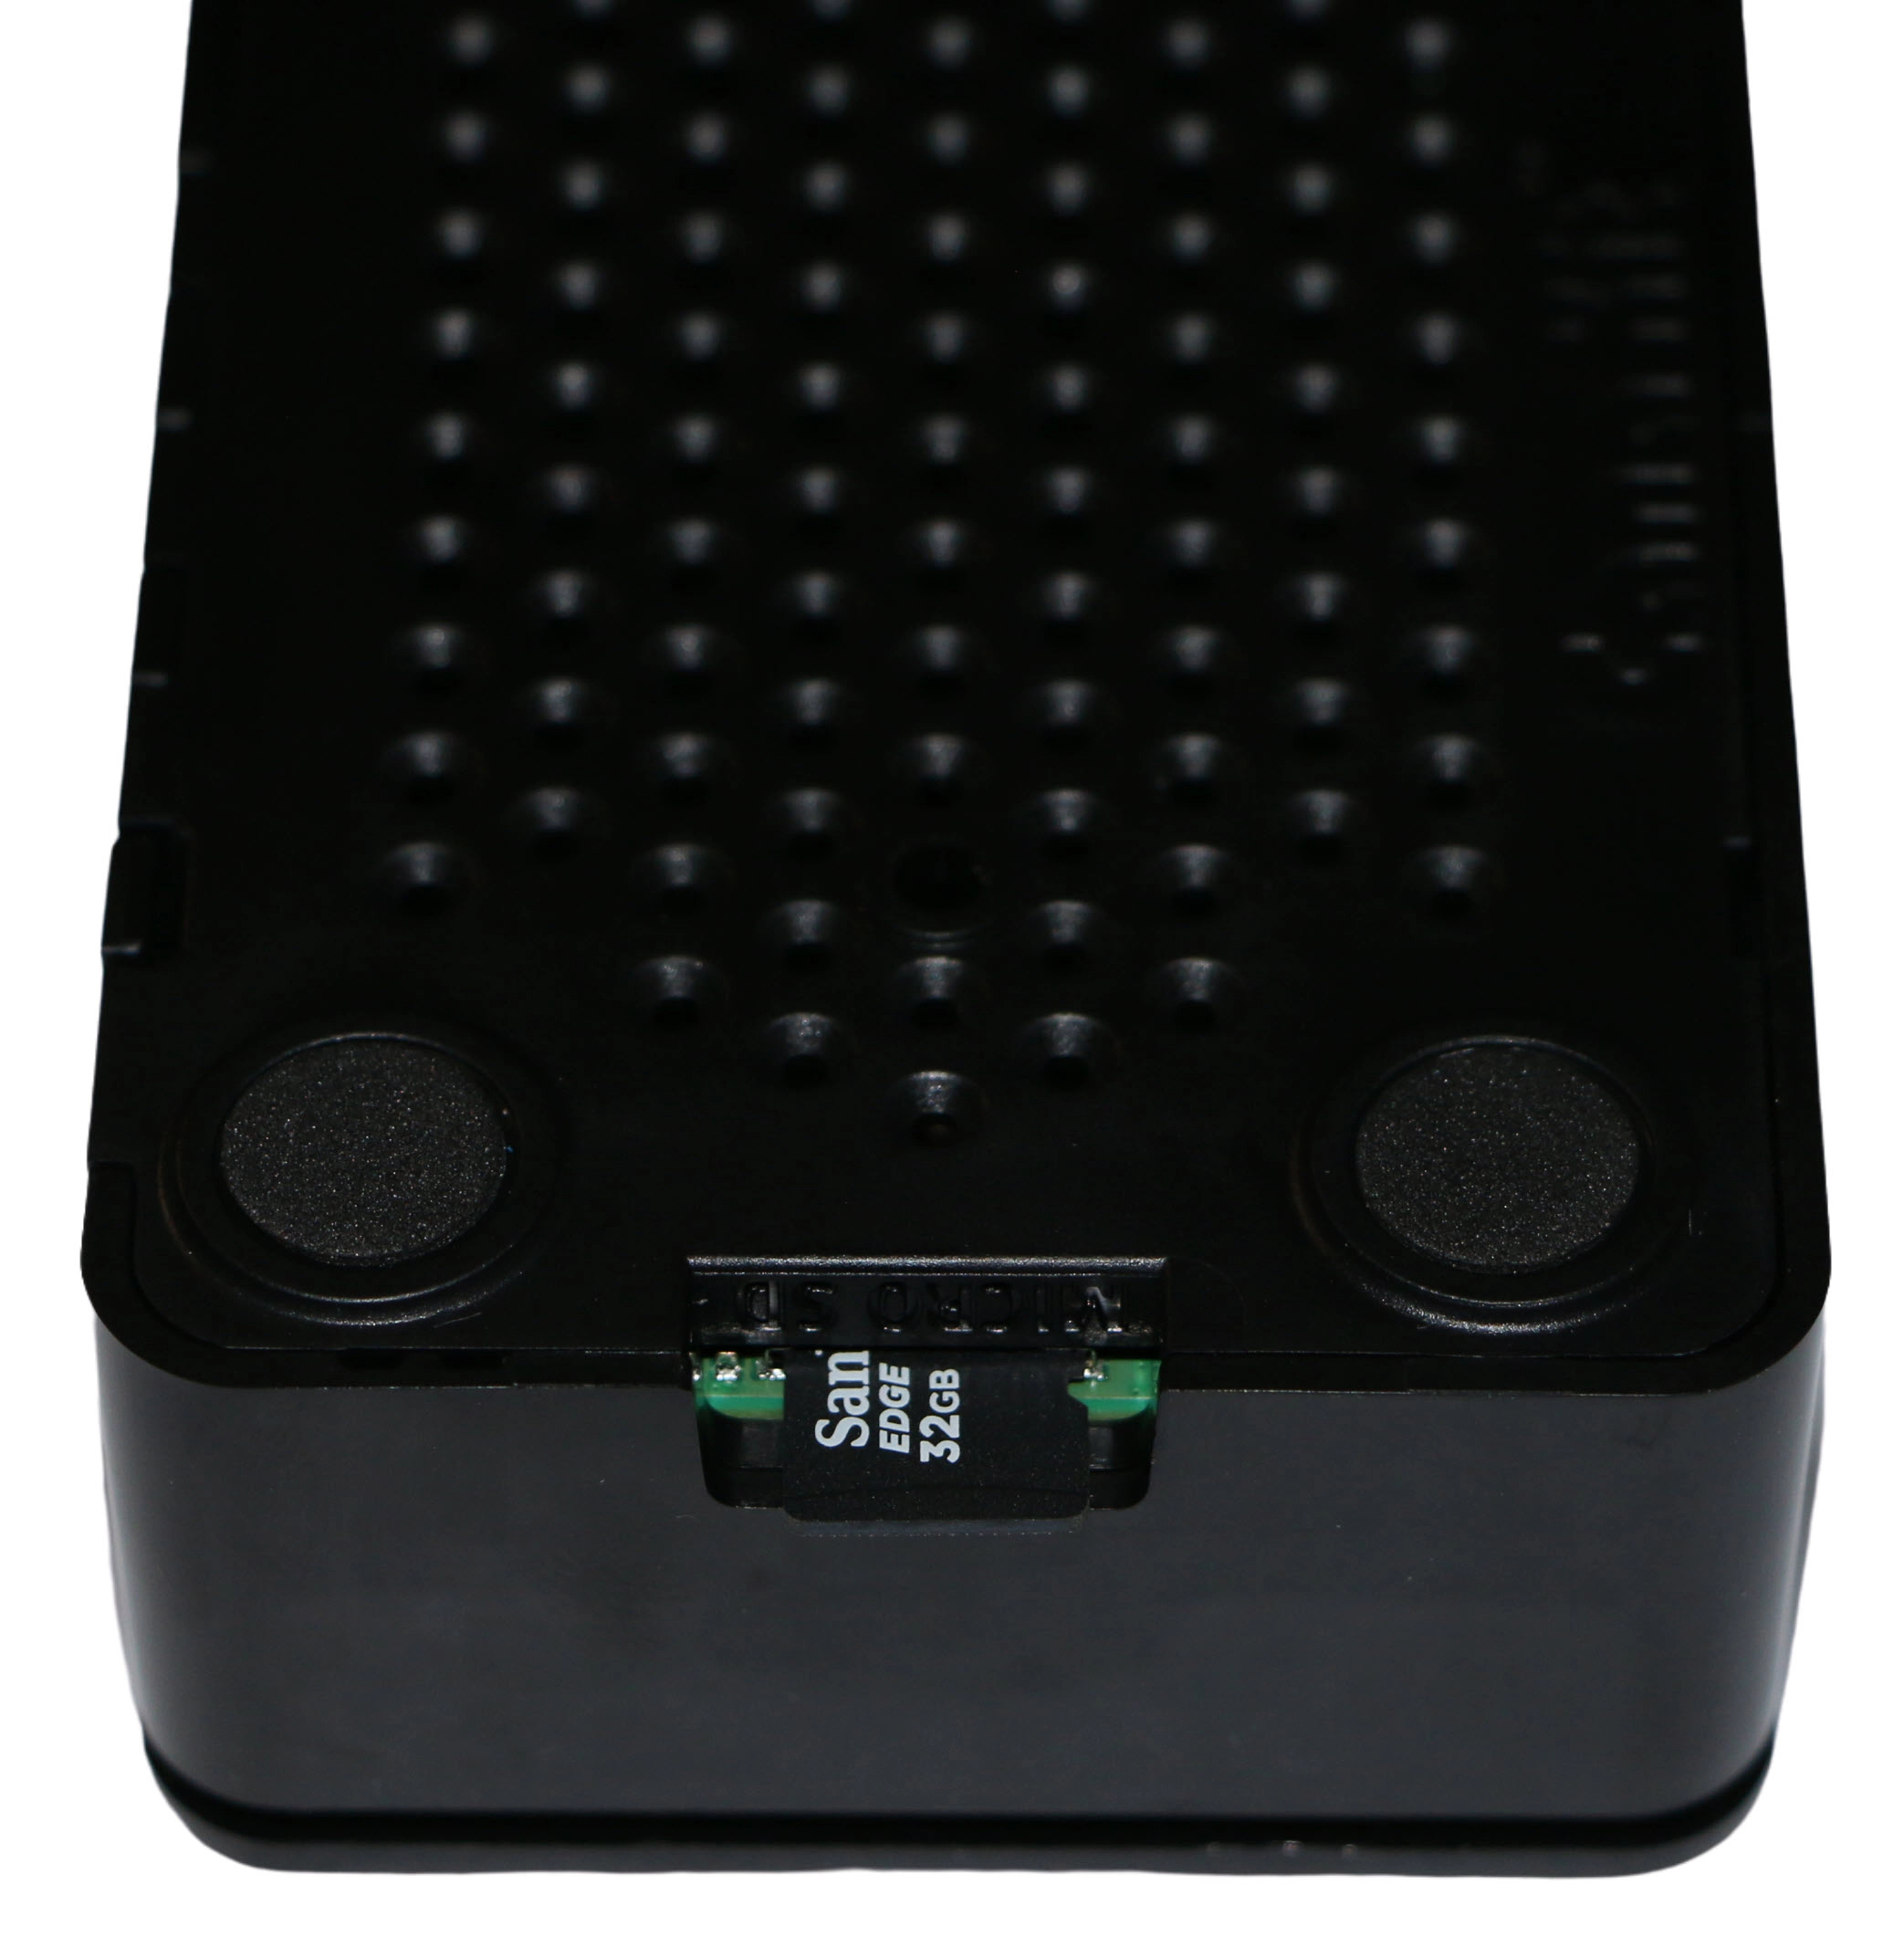
Insert the SD card into the SD Card slot
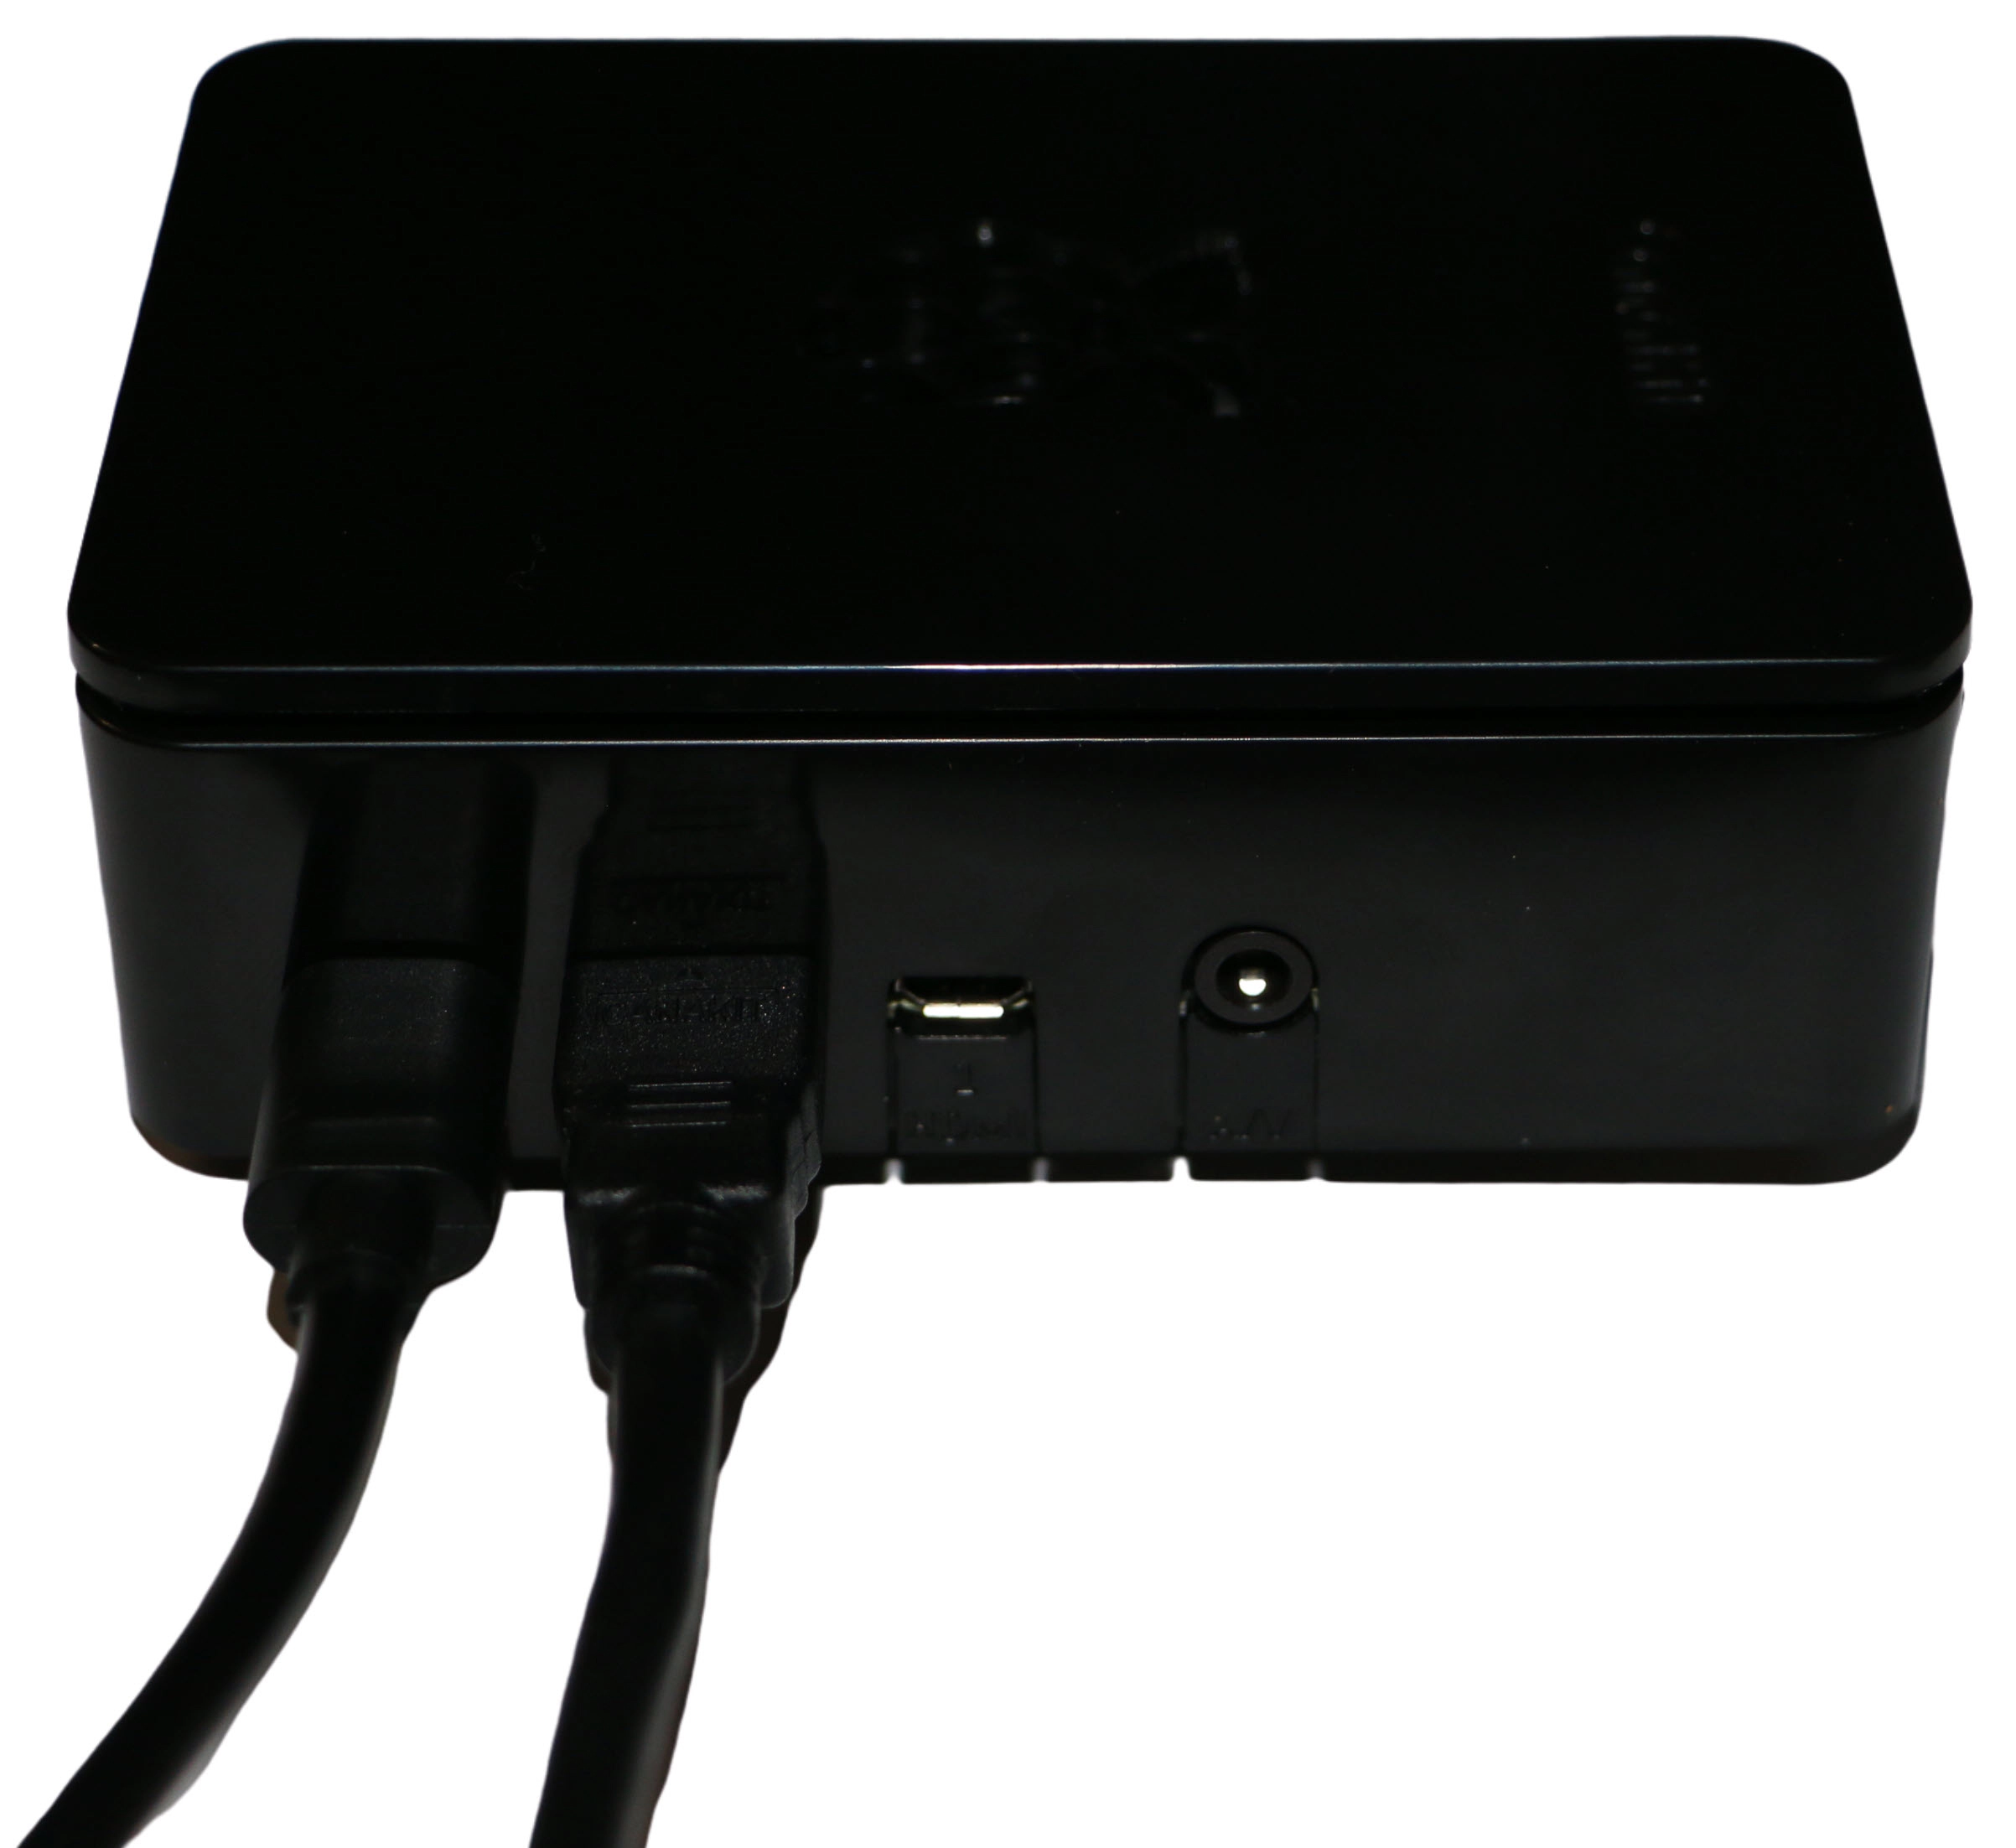
Connect HDMI cable, keyboard/mouse and power cable. Turn on the power and wait for device to boot
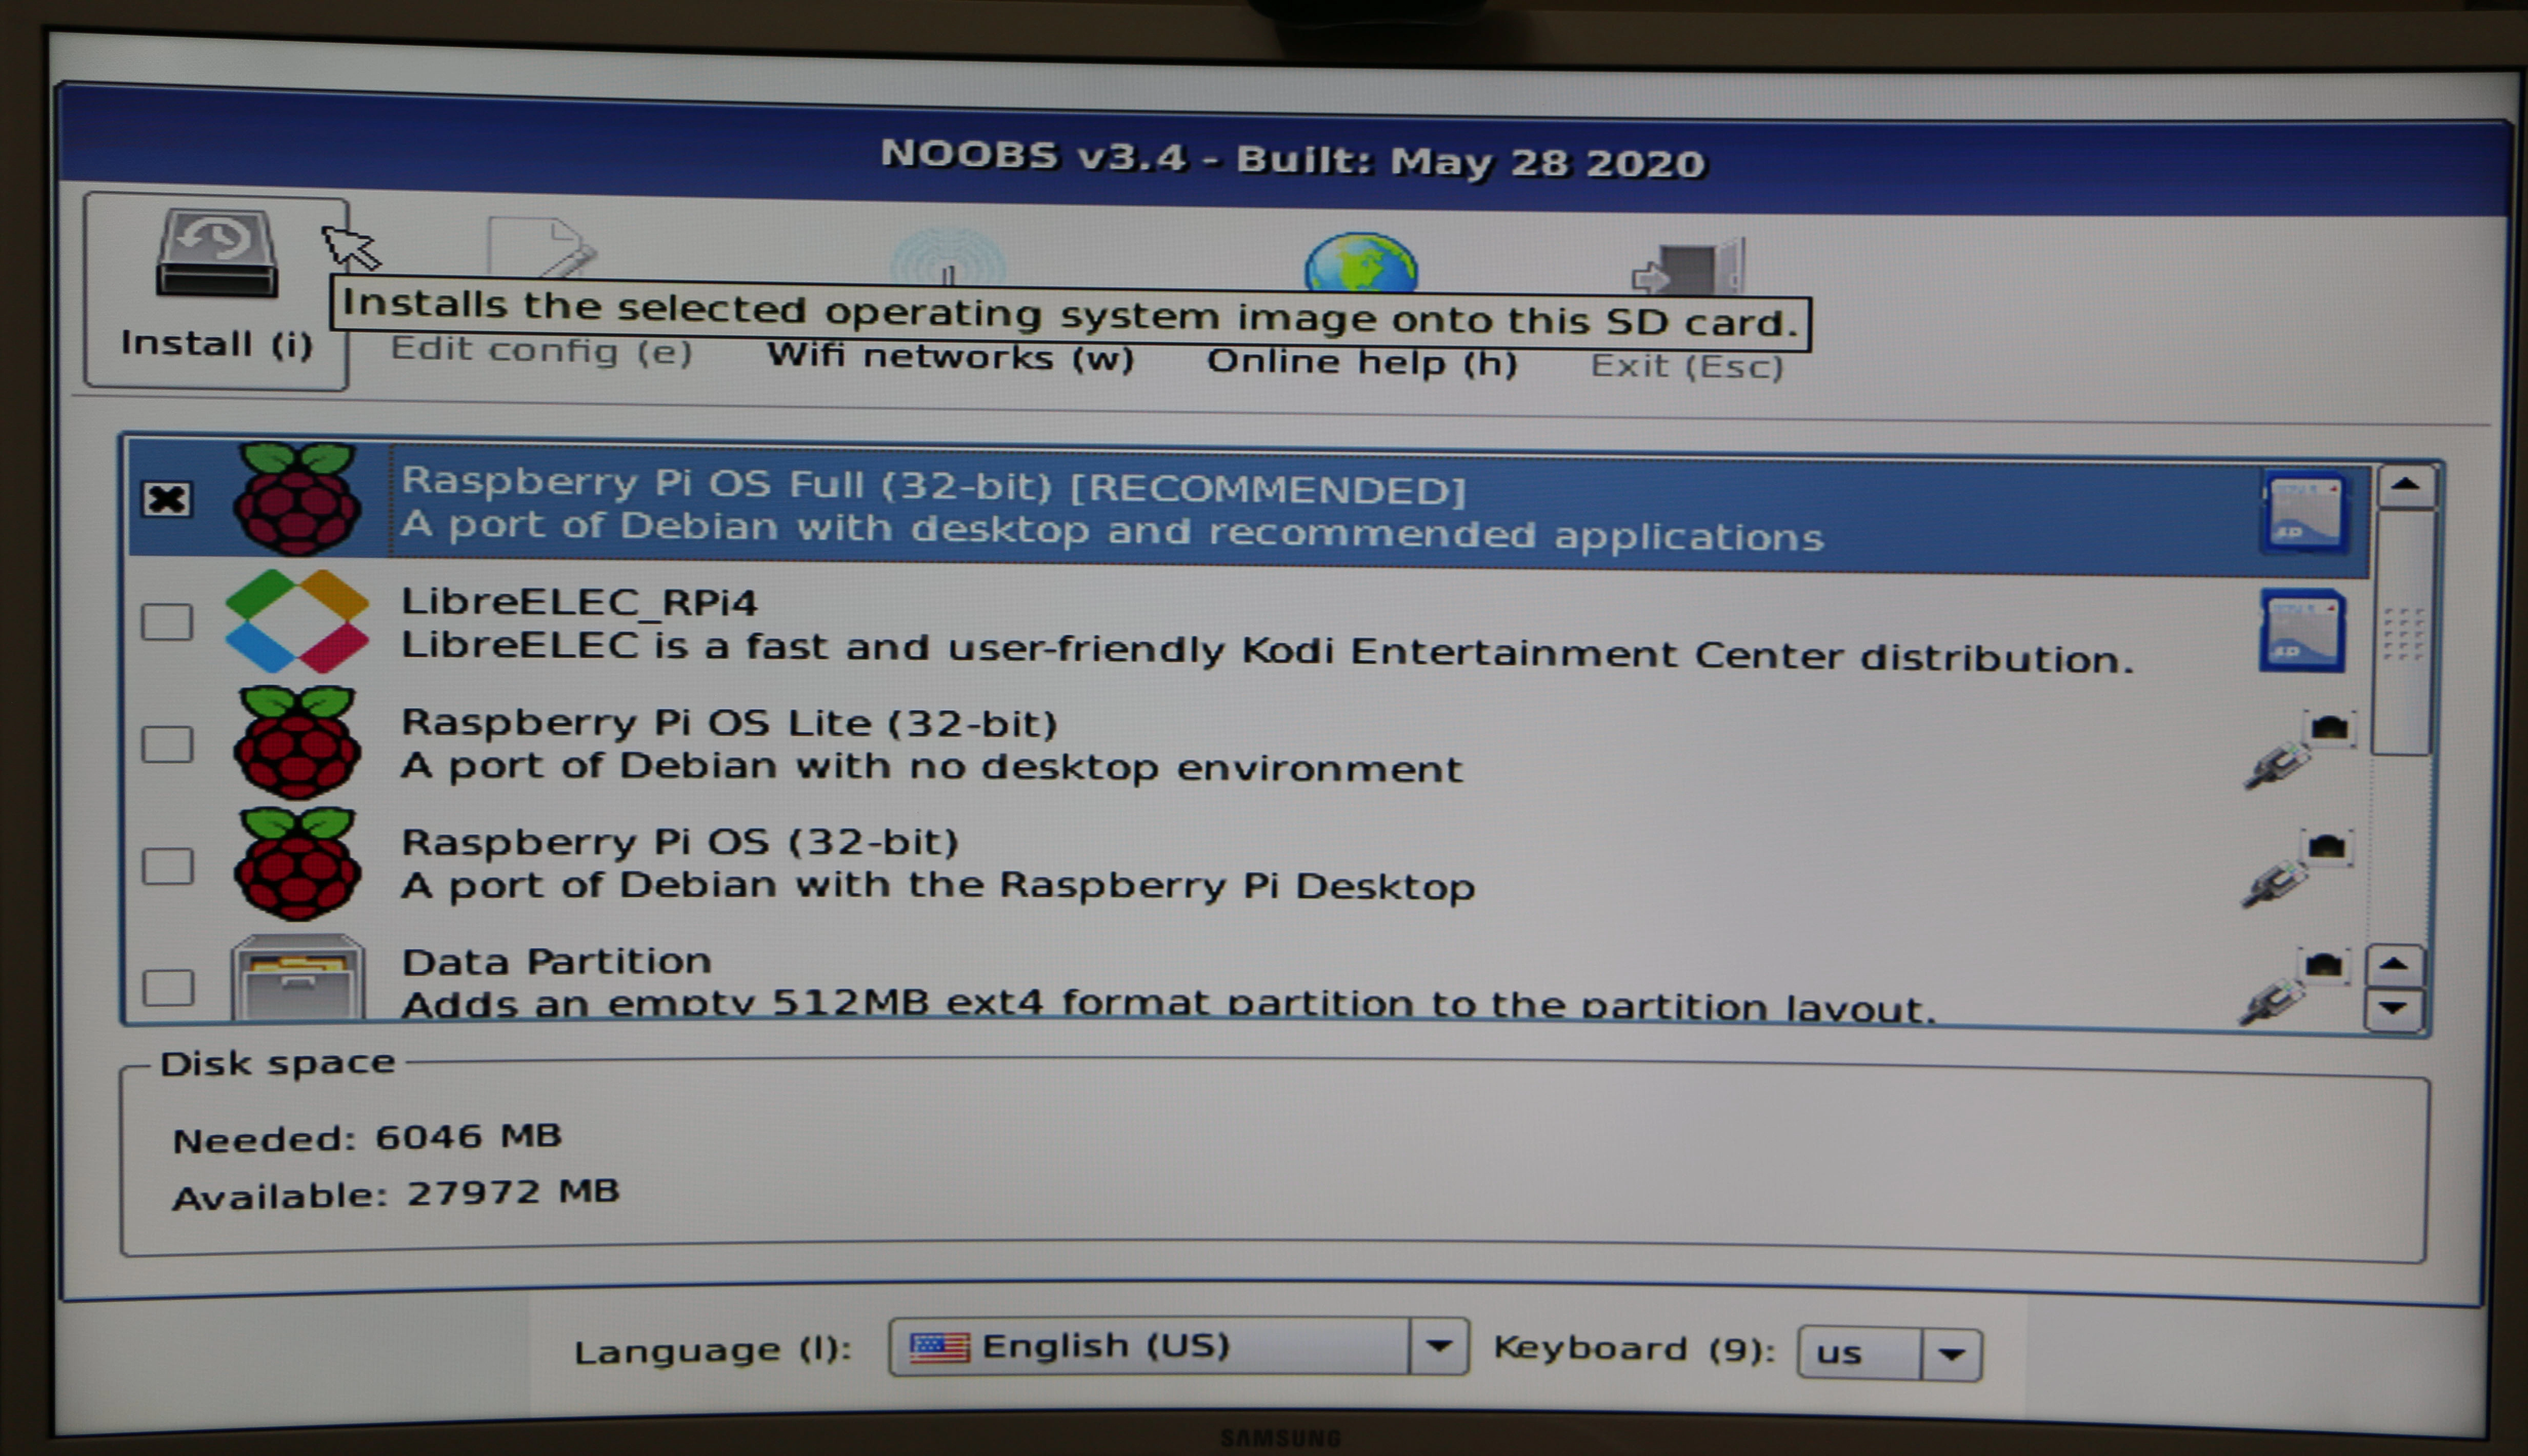
Device will boot up and will ask you to install an operating system
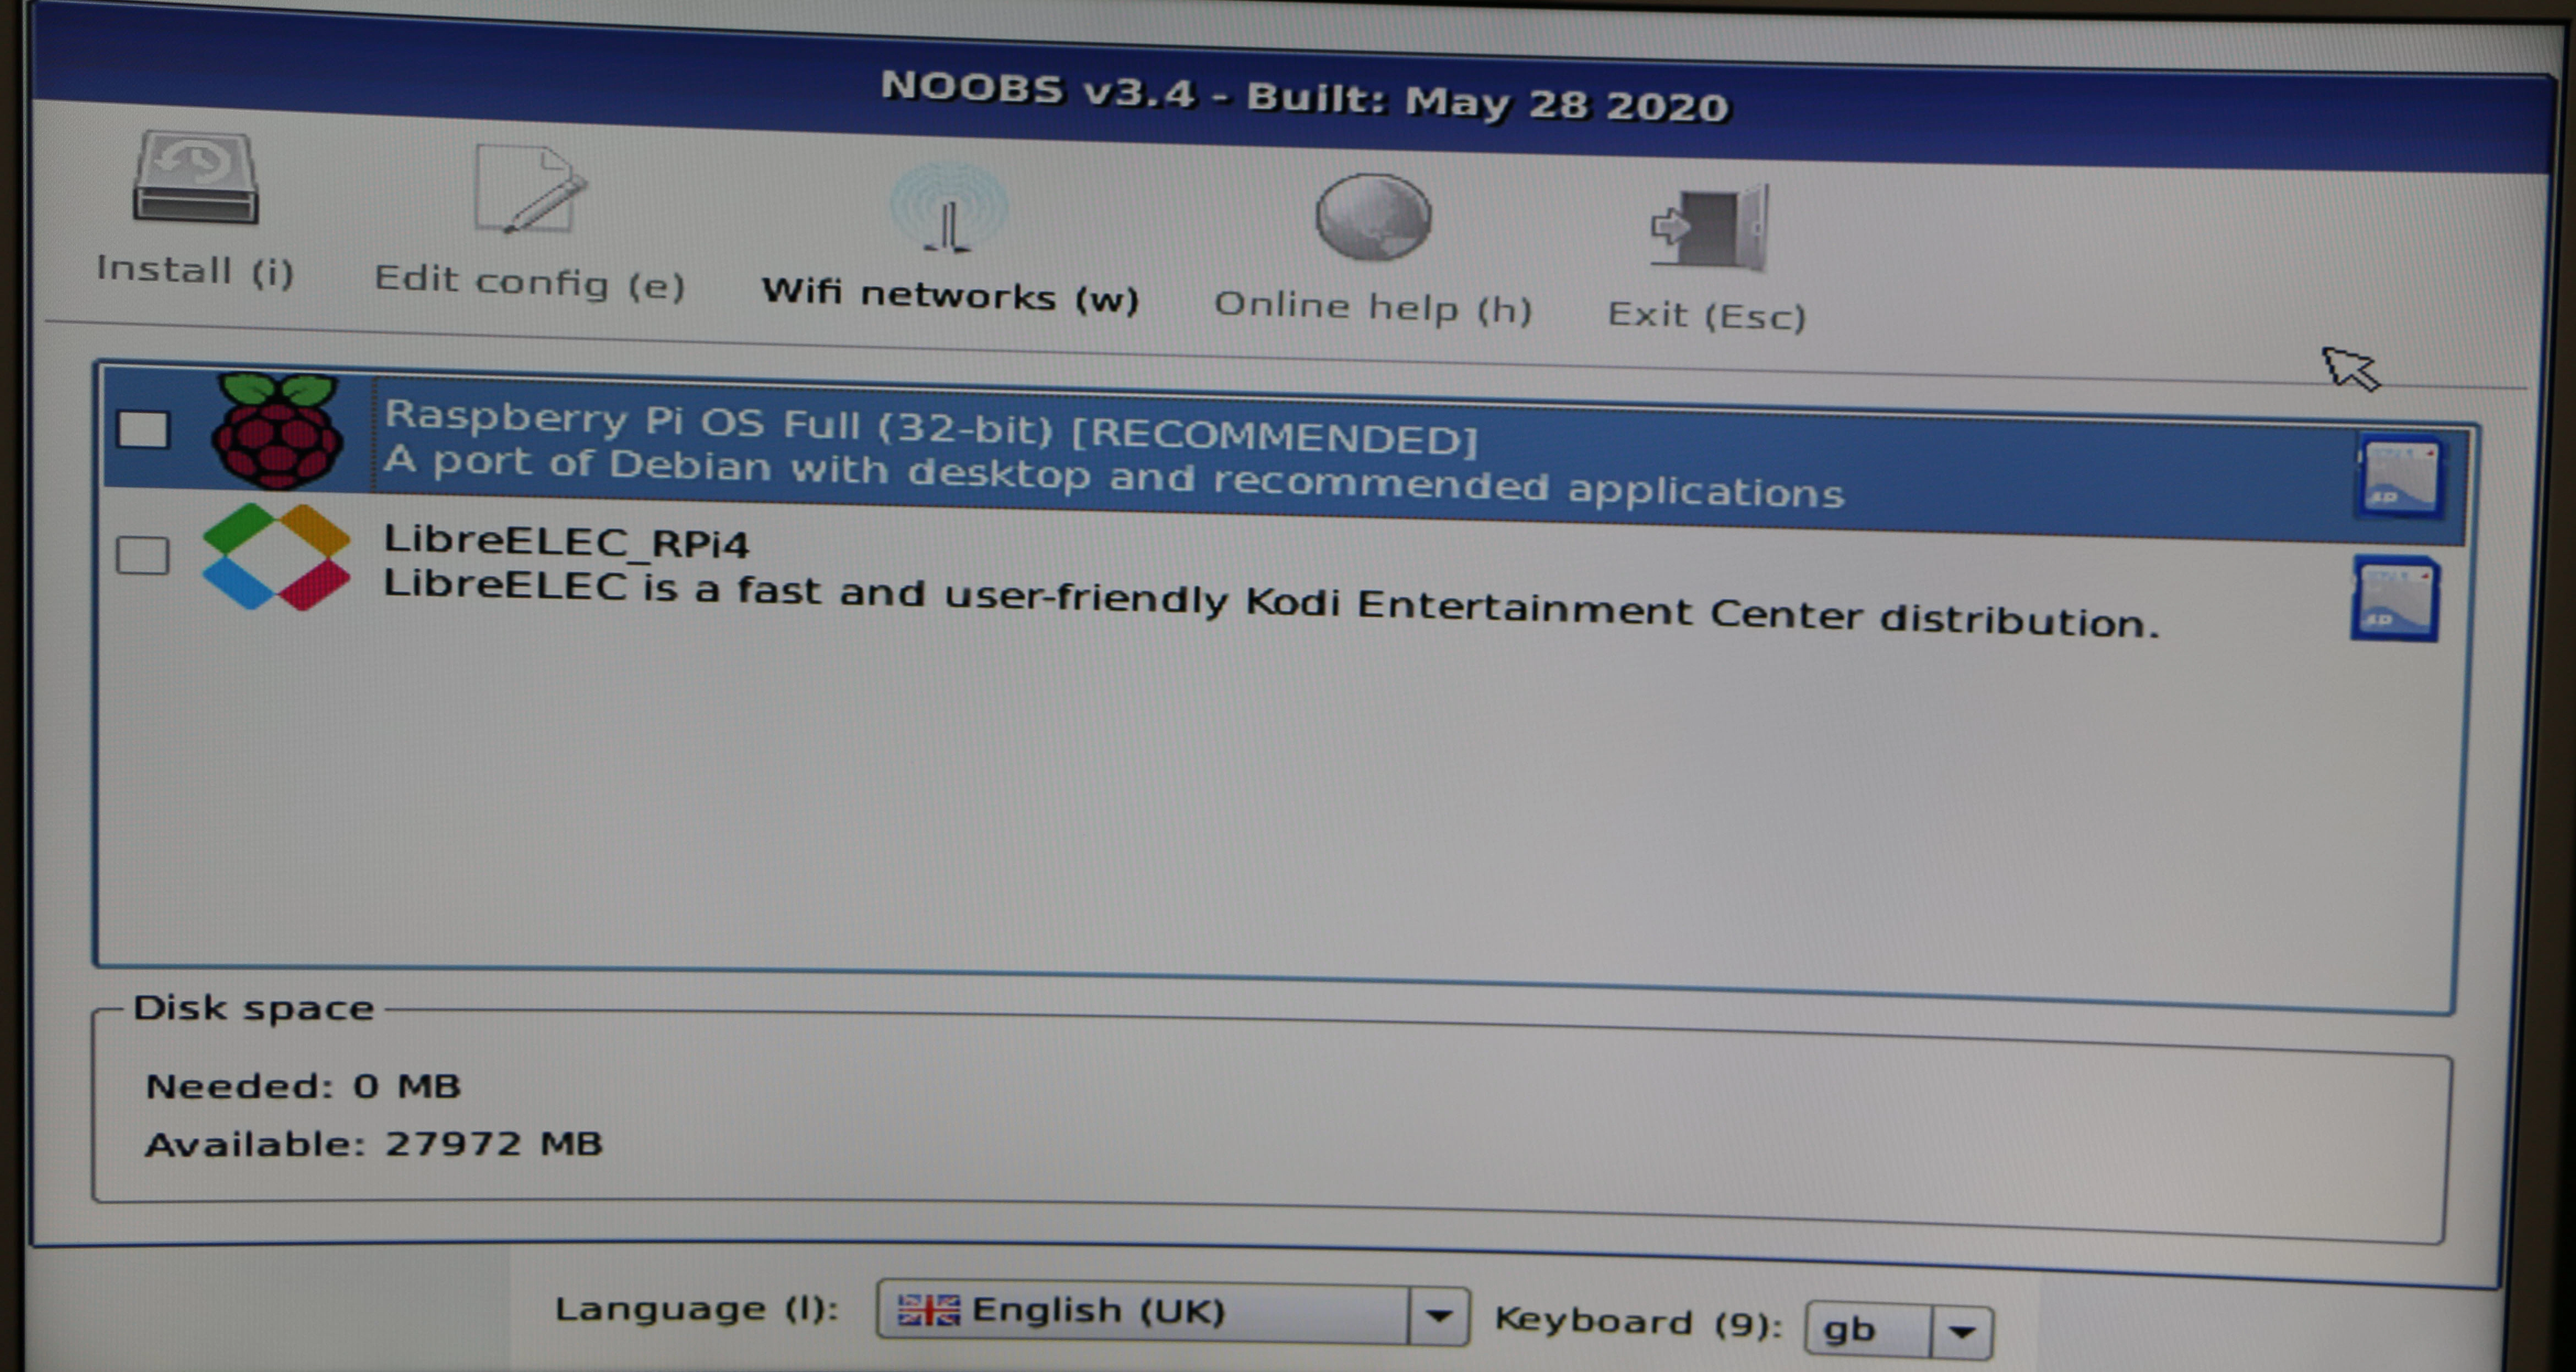
If you need more operating system choice then click on Wifi Networks and connect to your network
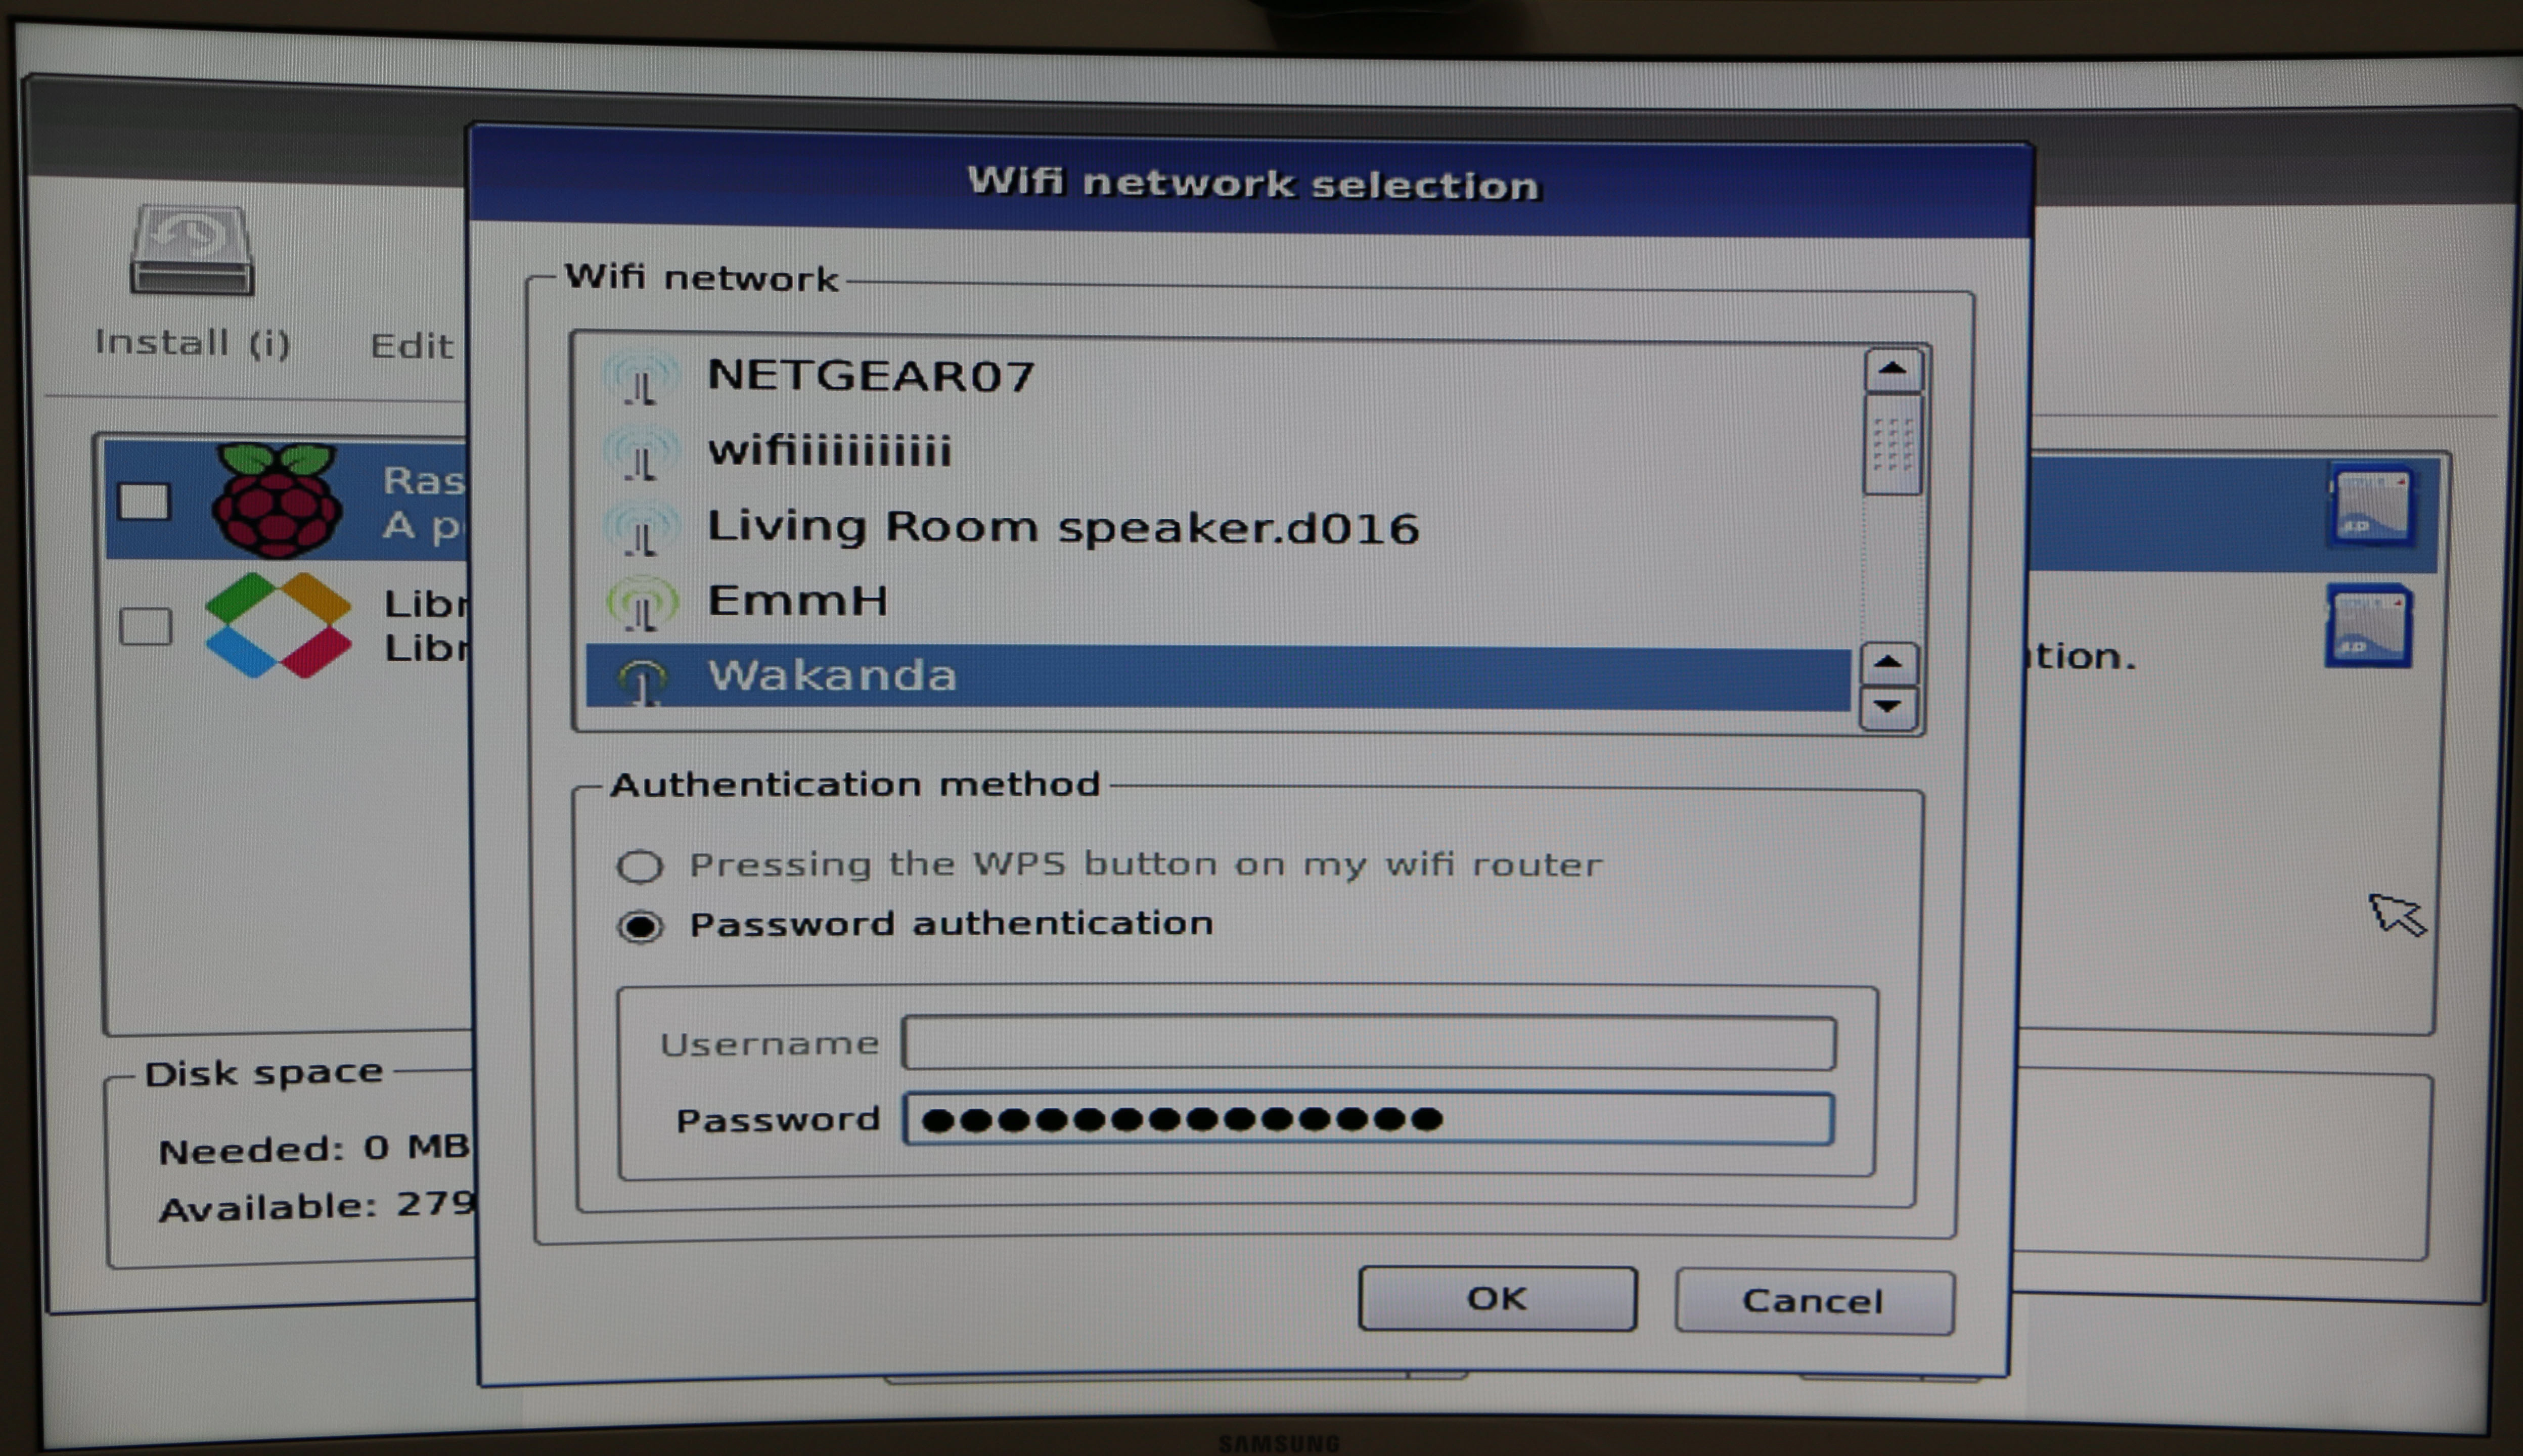
Successful connection to WiFi will bring in additional operating system options as shown below, Select the OS you like and proceed with the installation. In this case I choose Raspbian Full
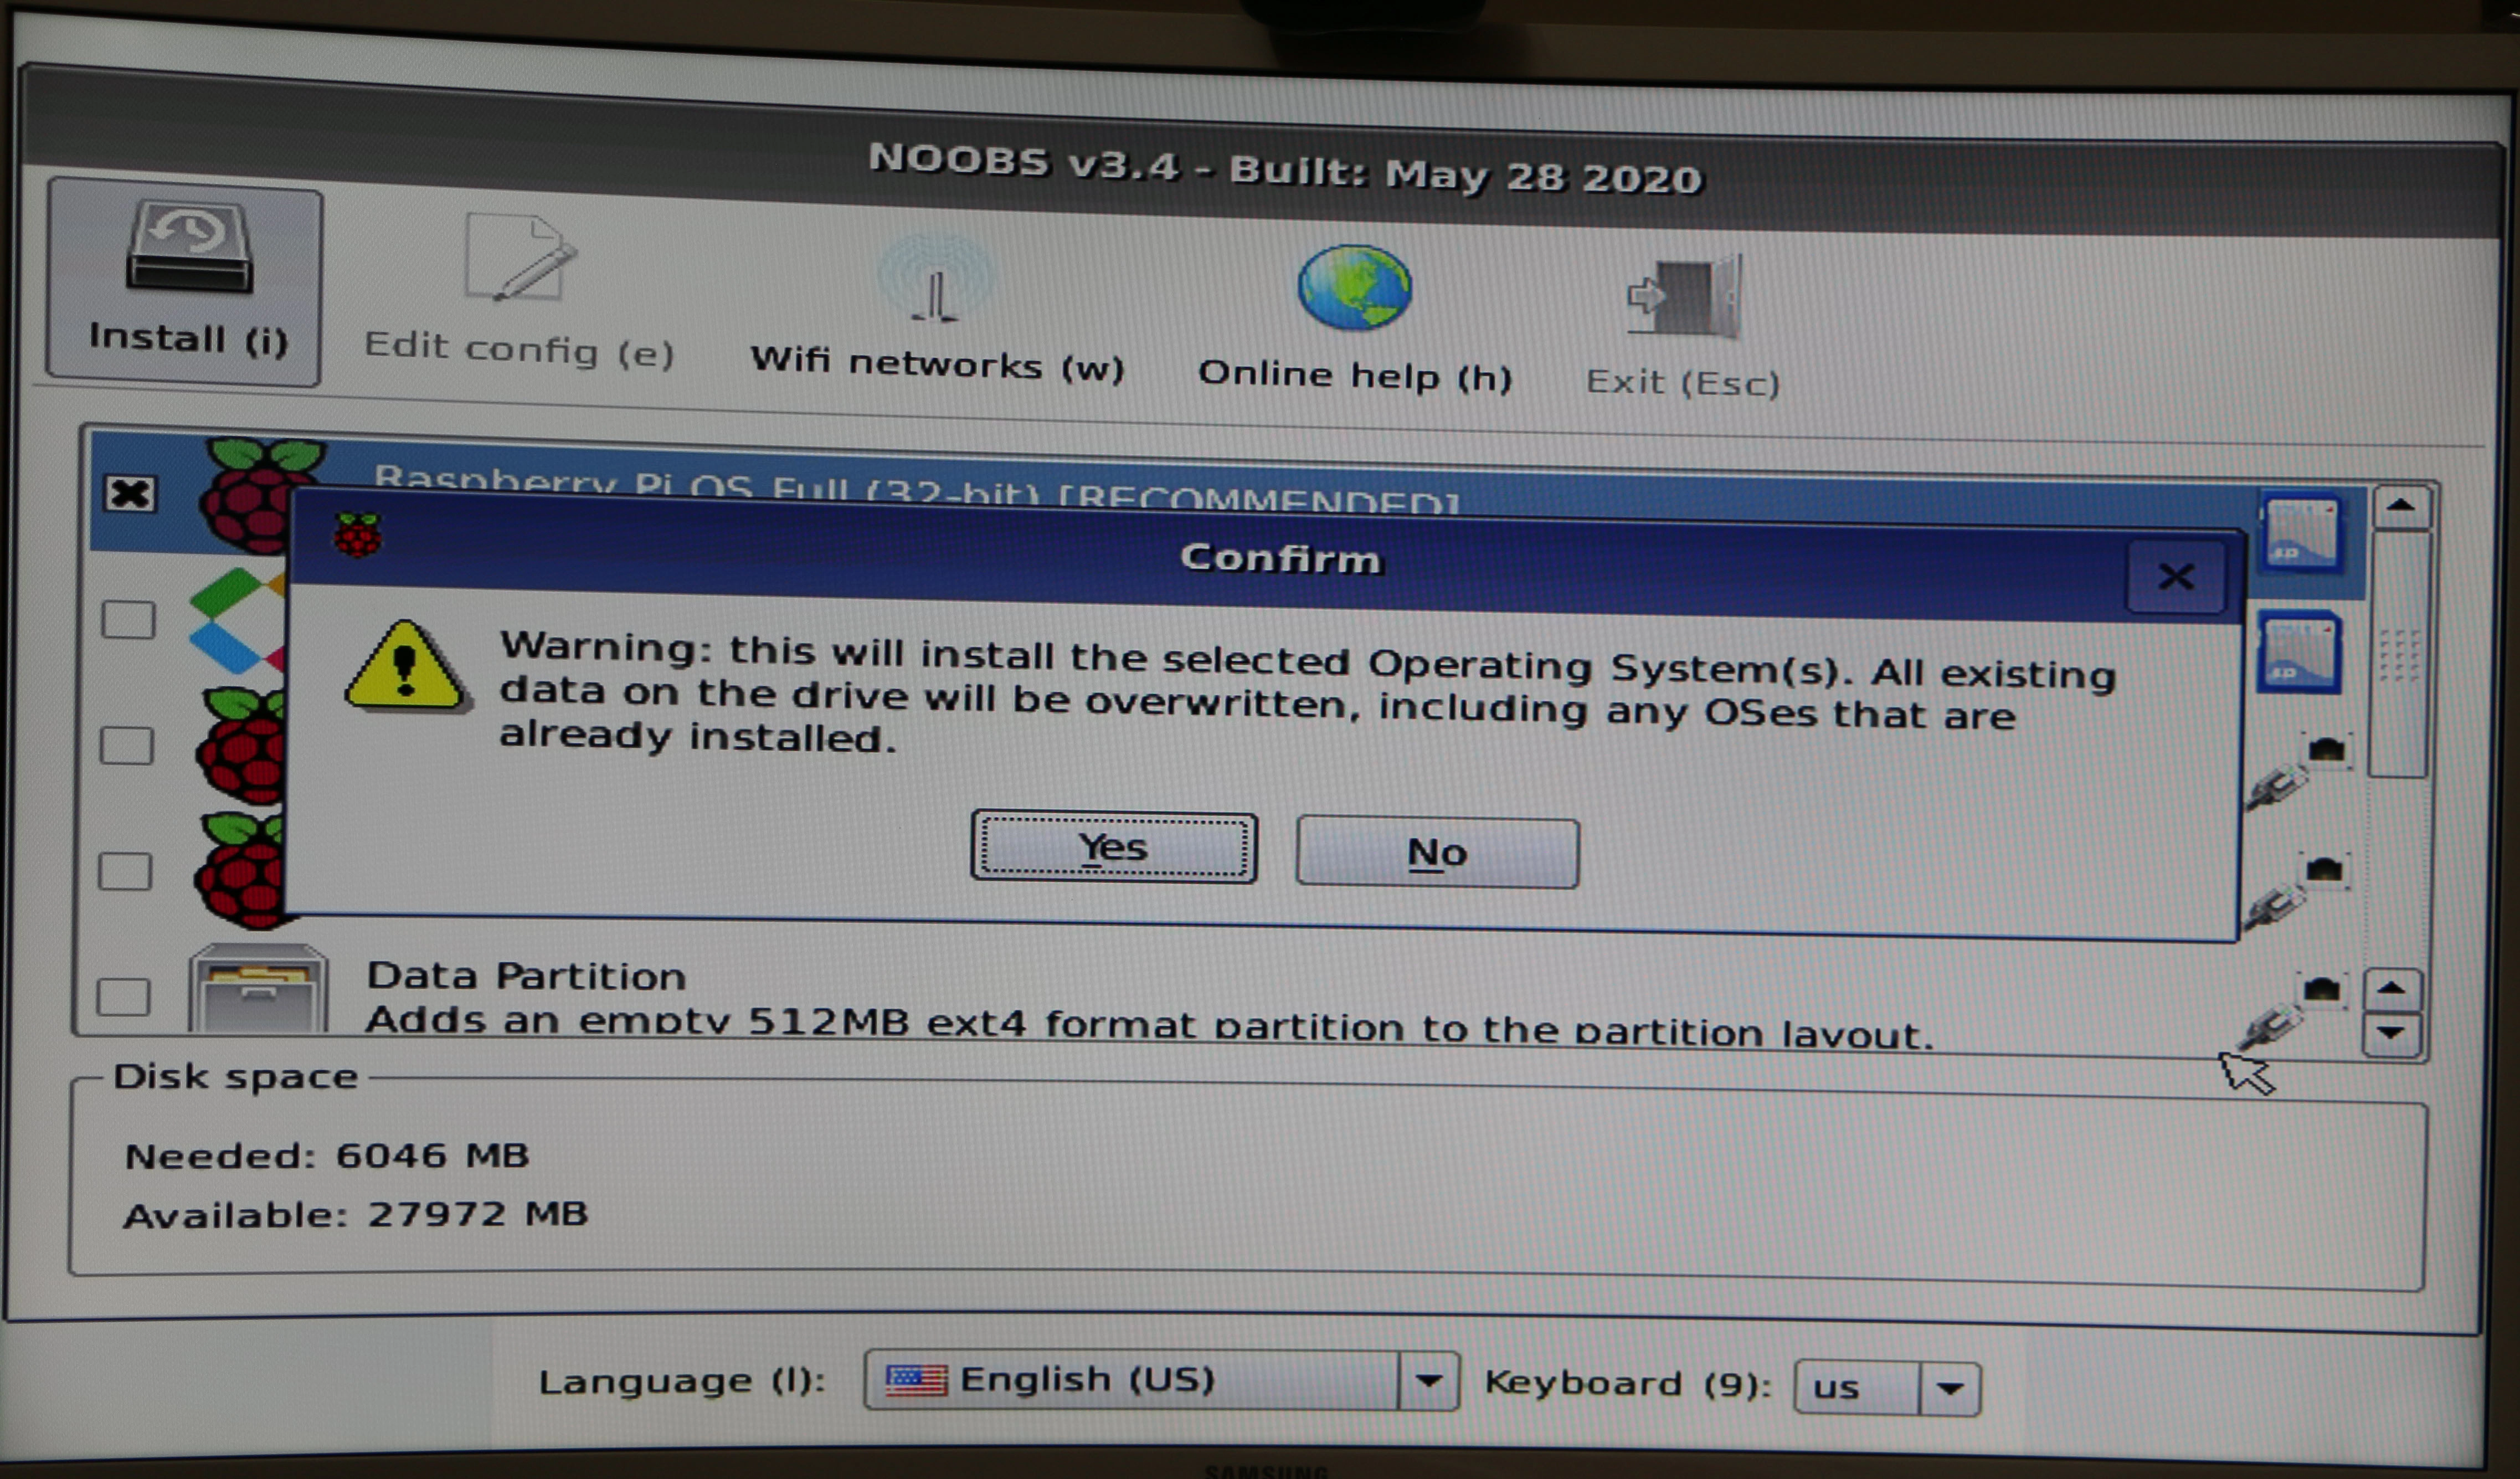
Select ‘Yes’ on the warning message
Install will take few minutes to finish
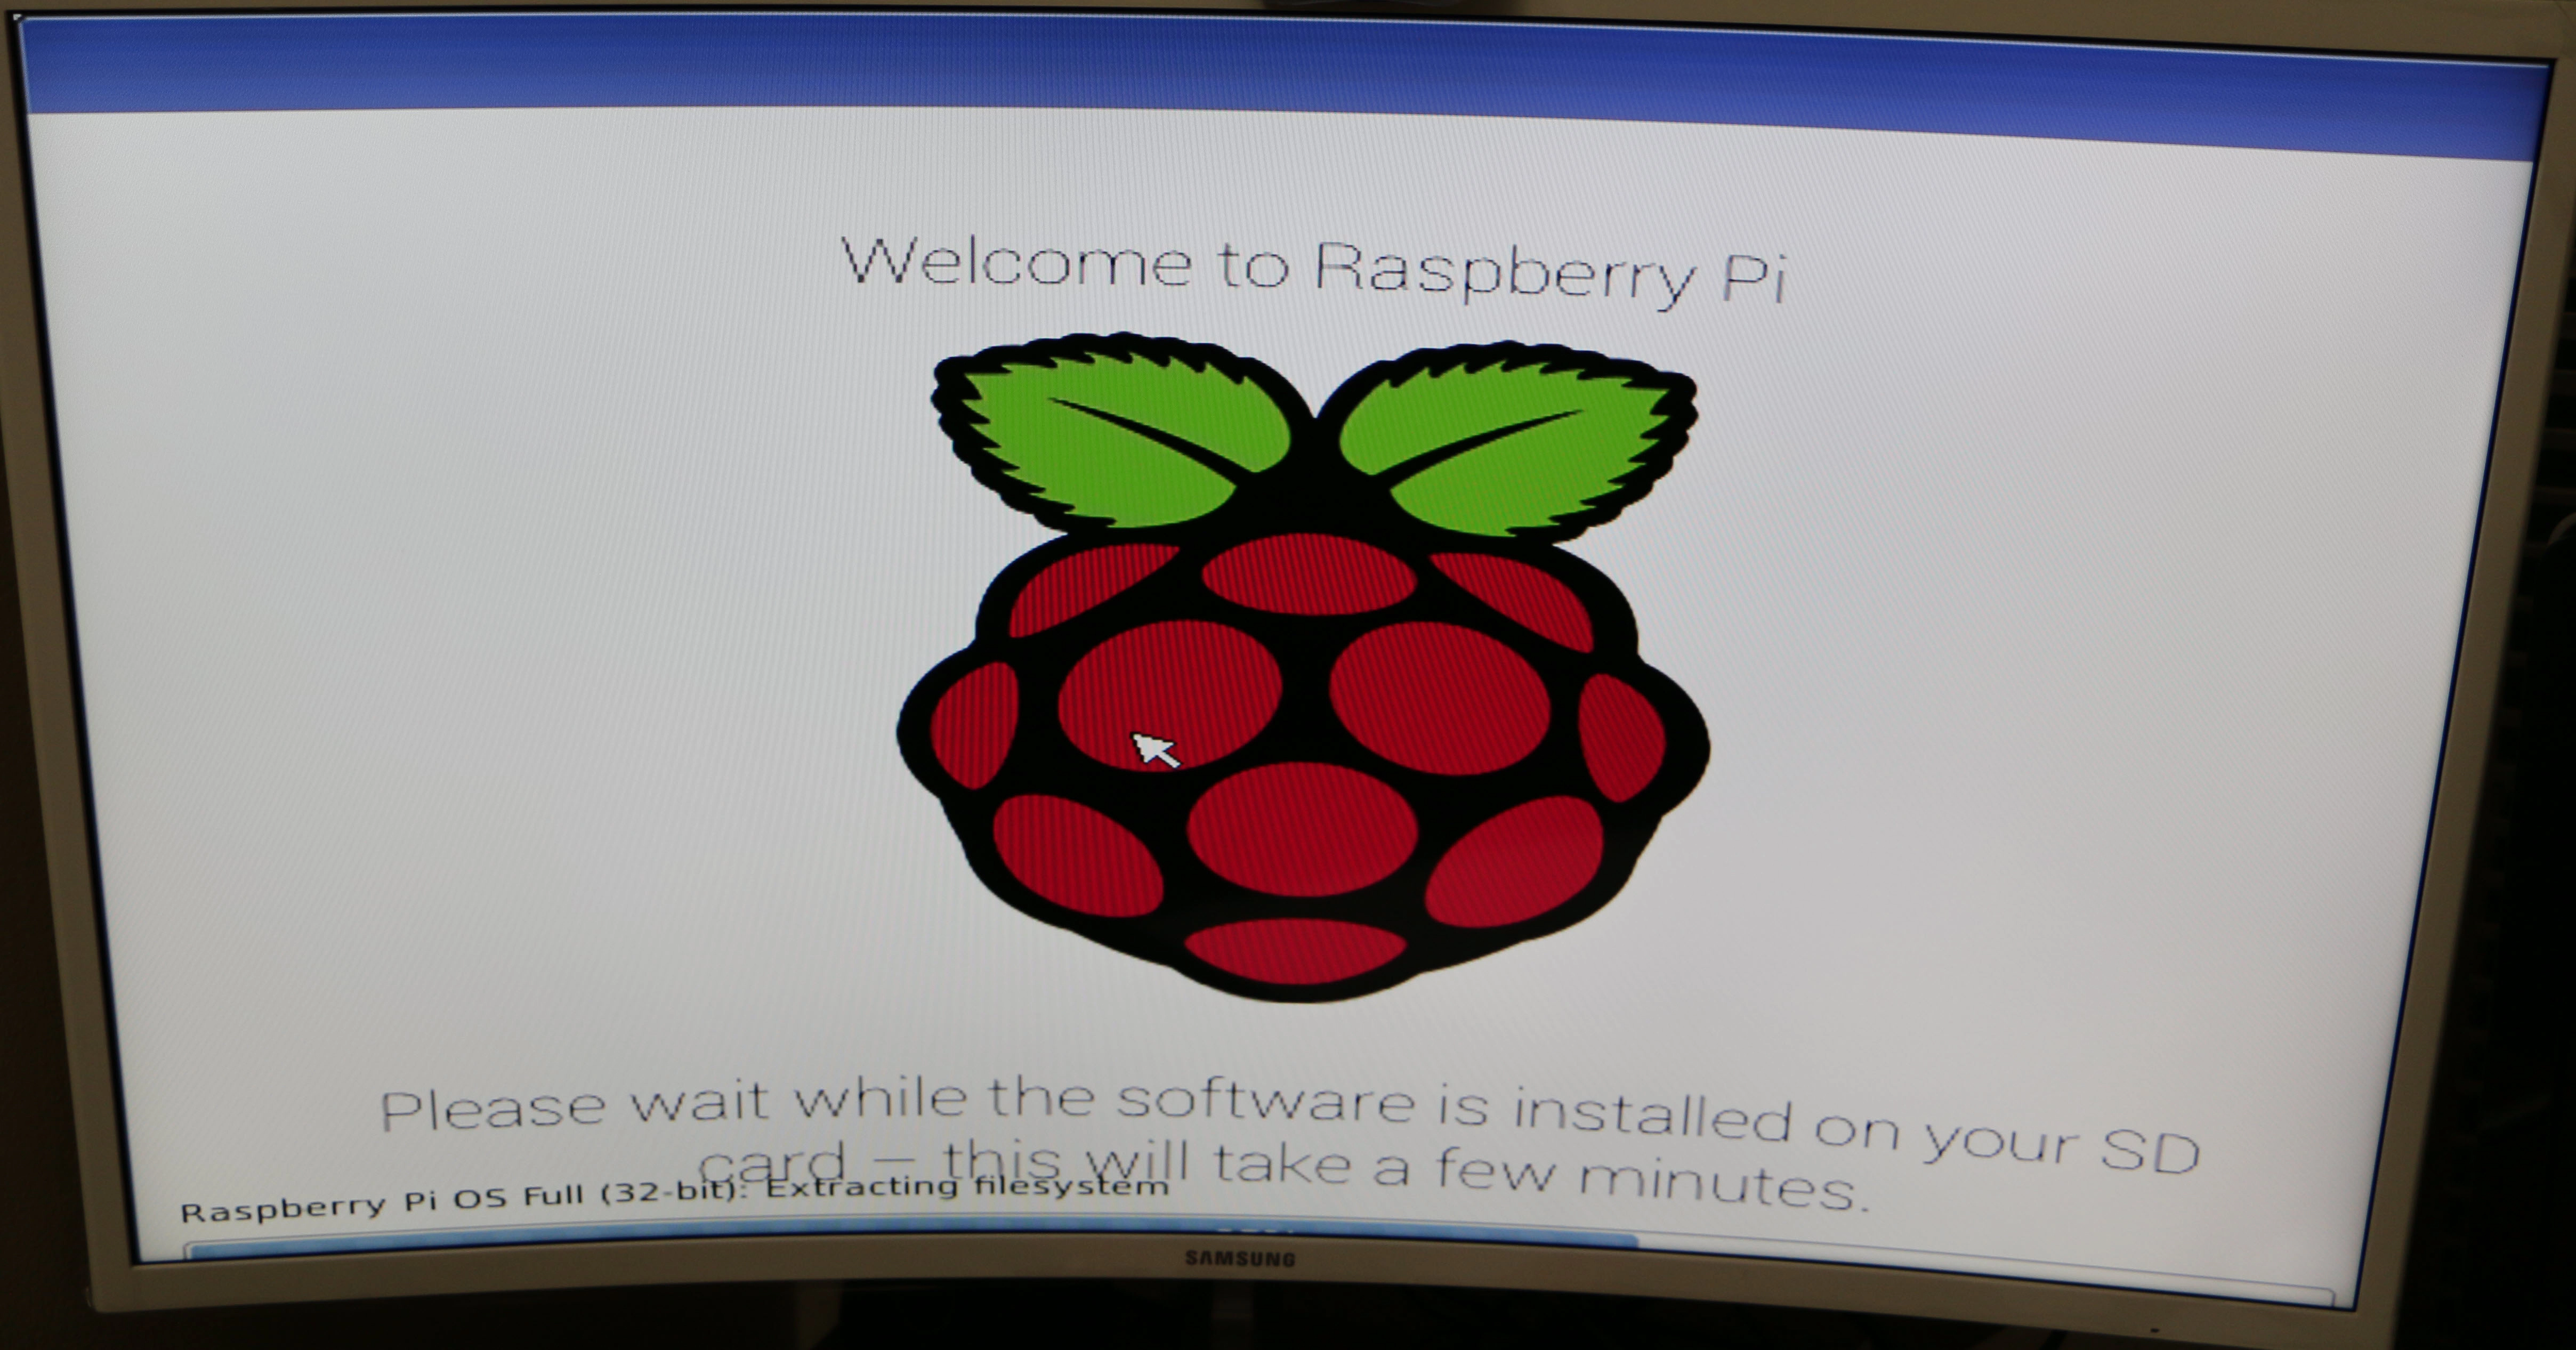
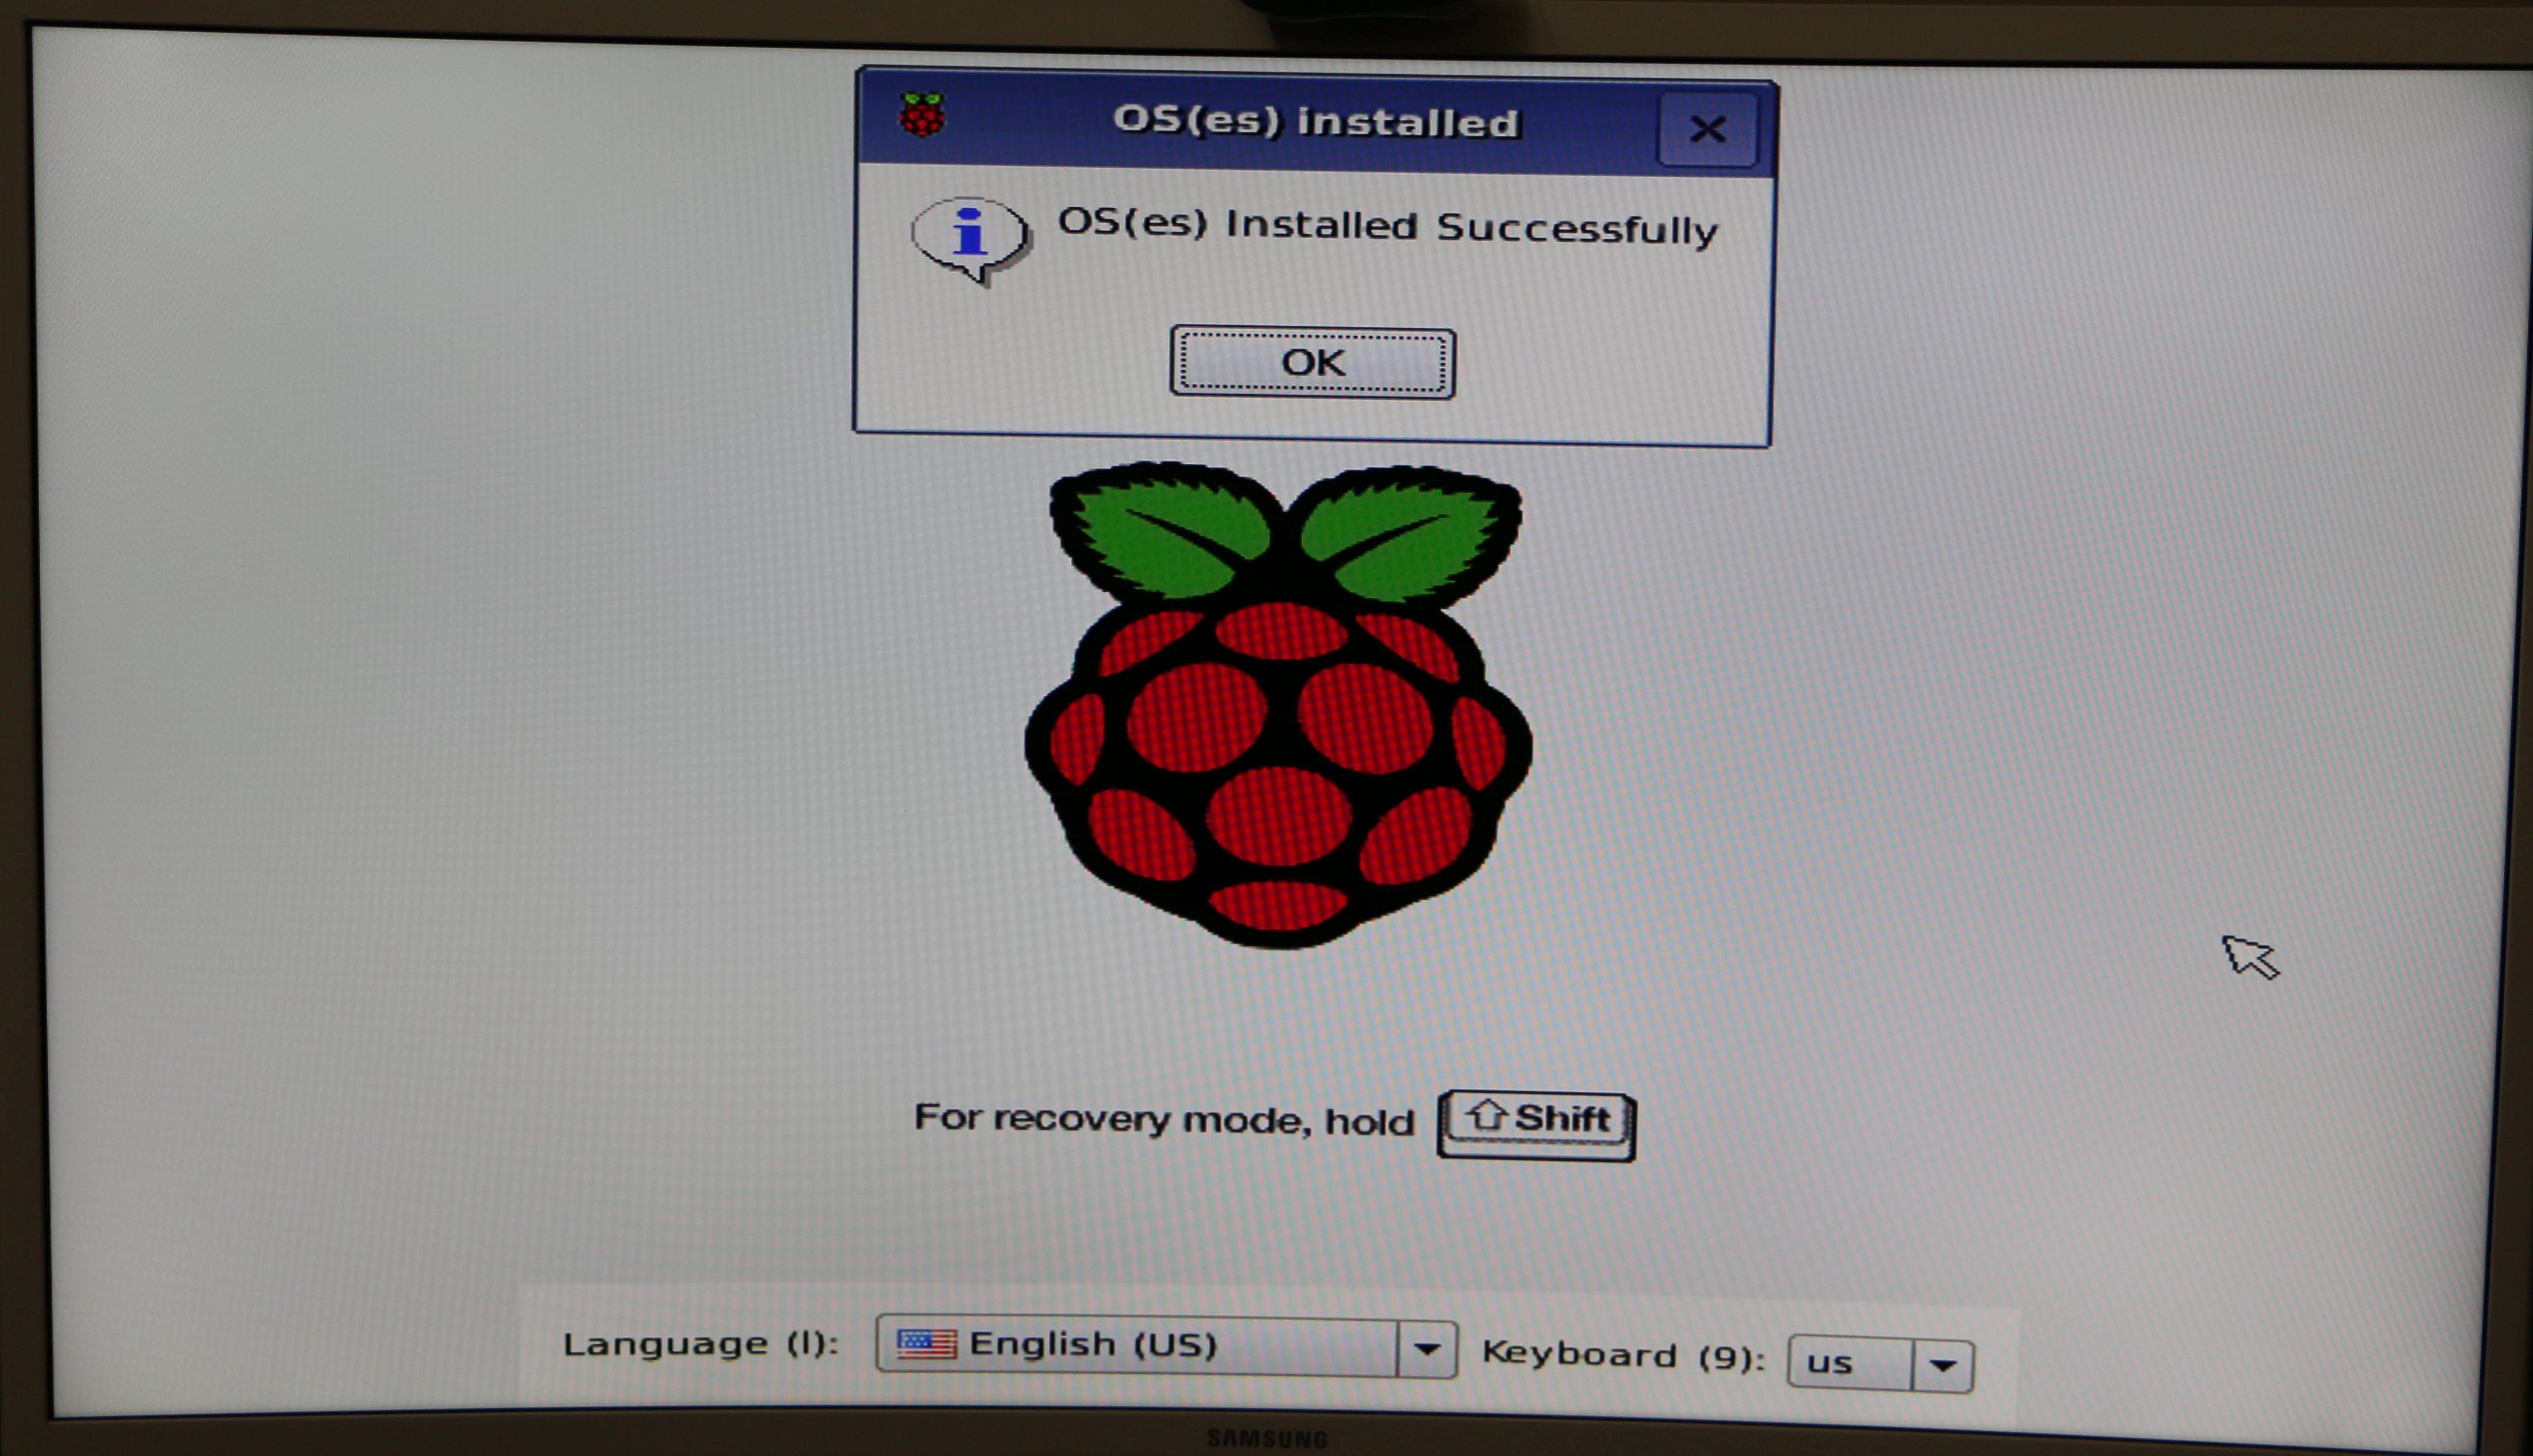
You should see below message after the install finishes
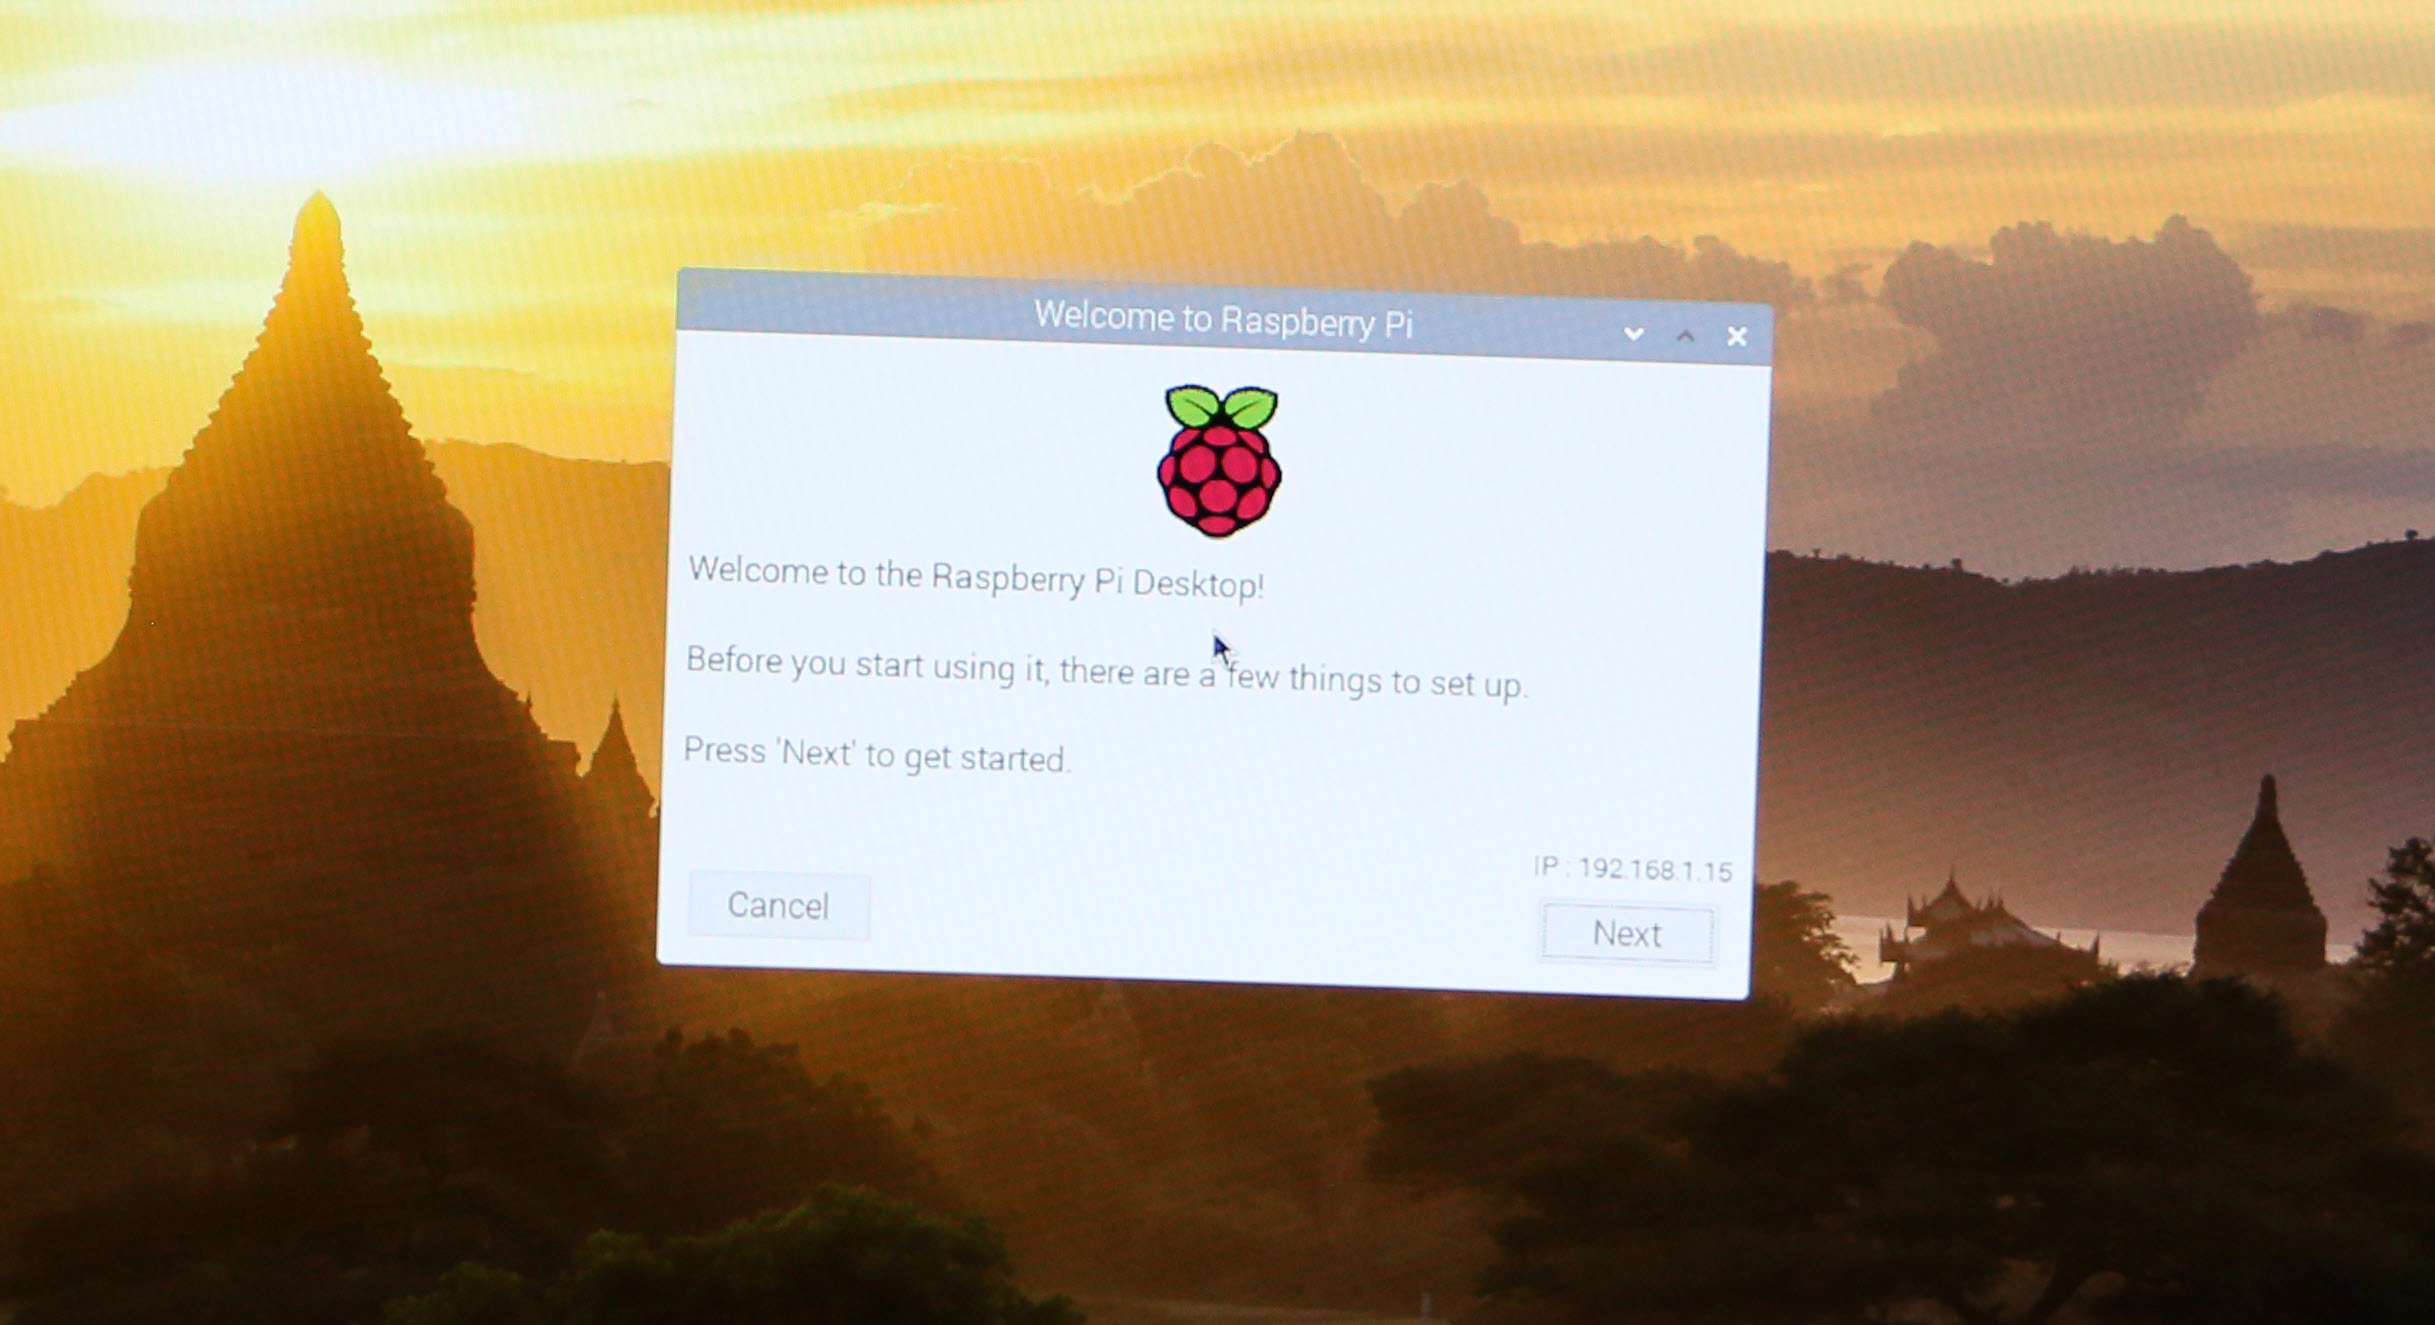
At this point the desktop will boot up and with a welcome window
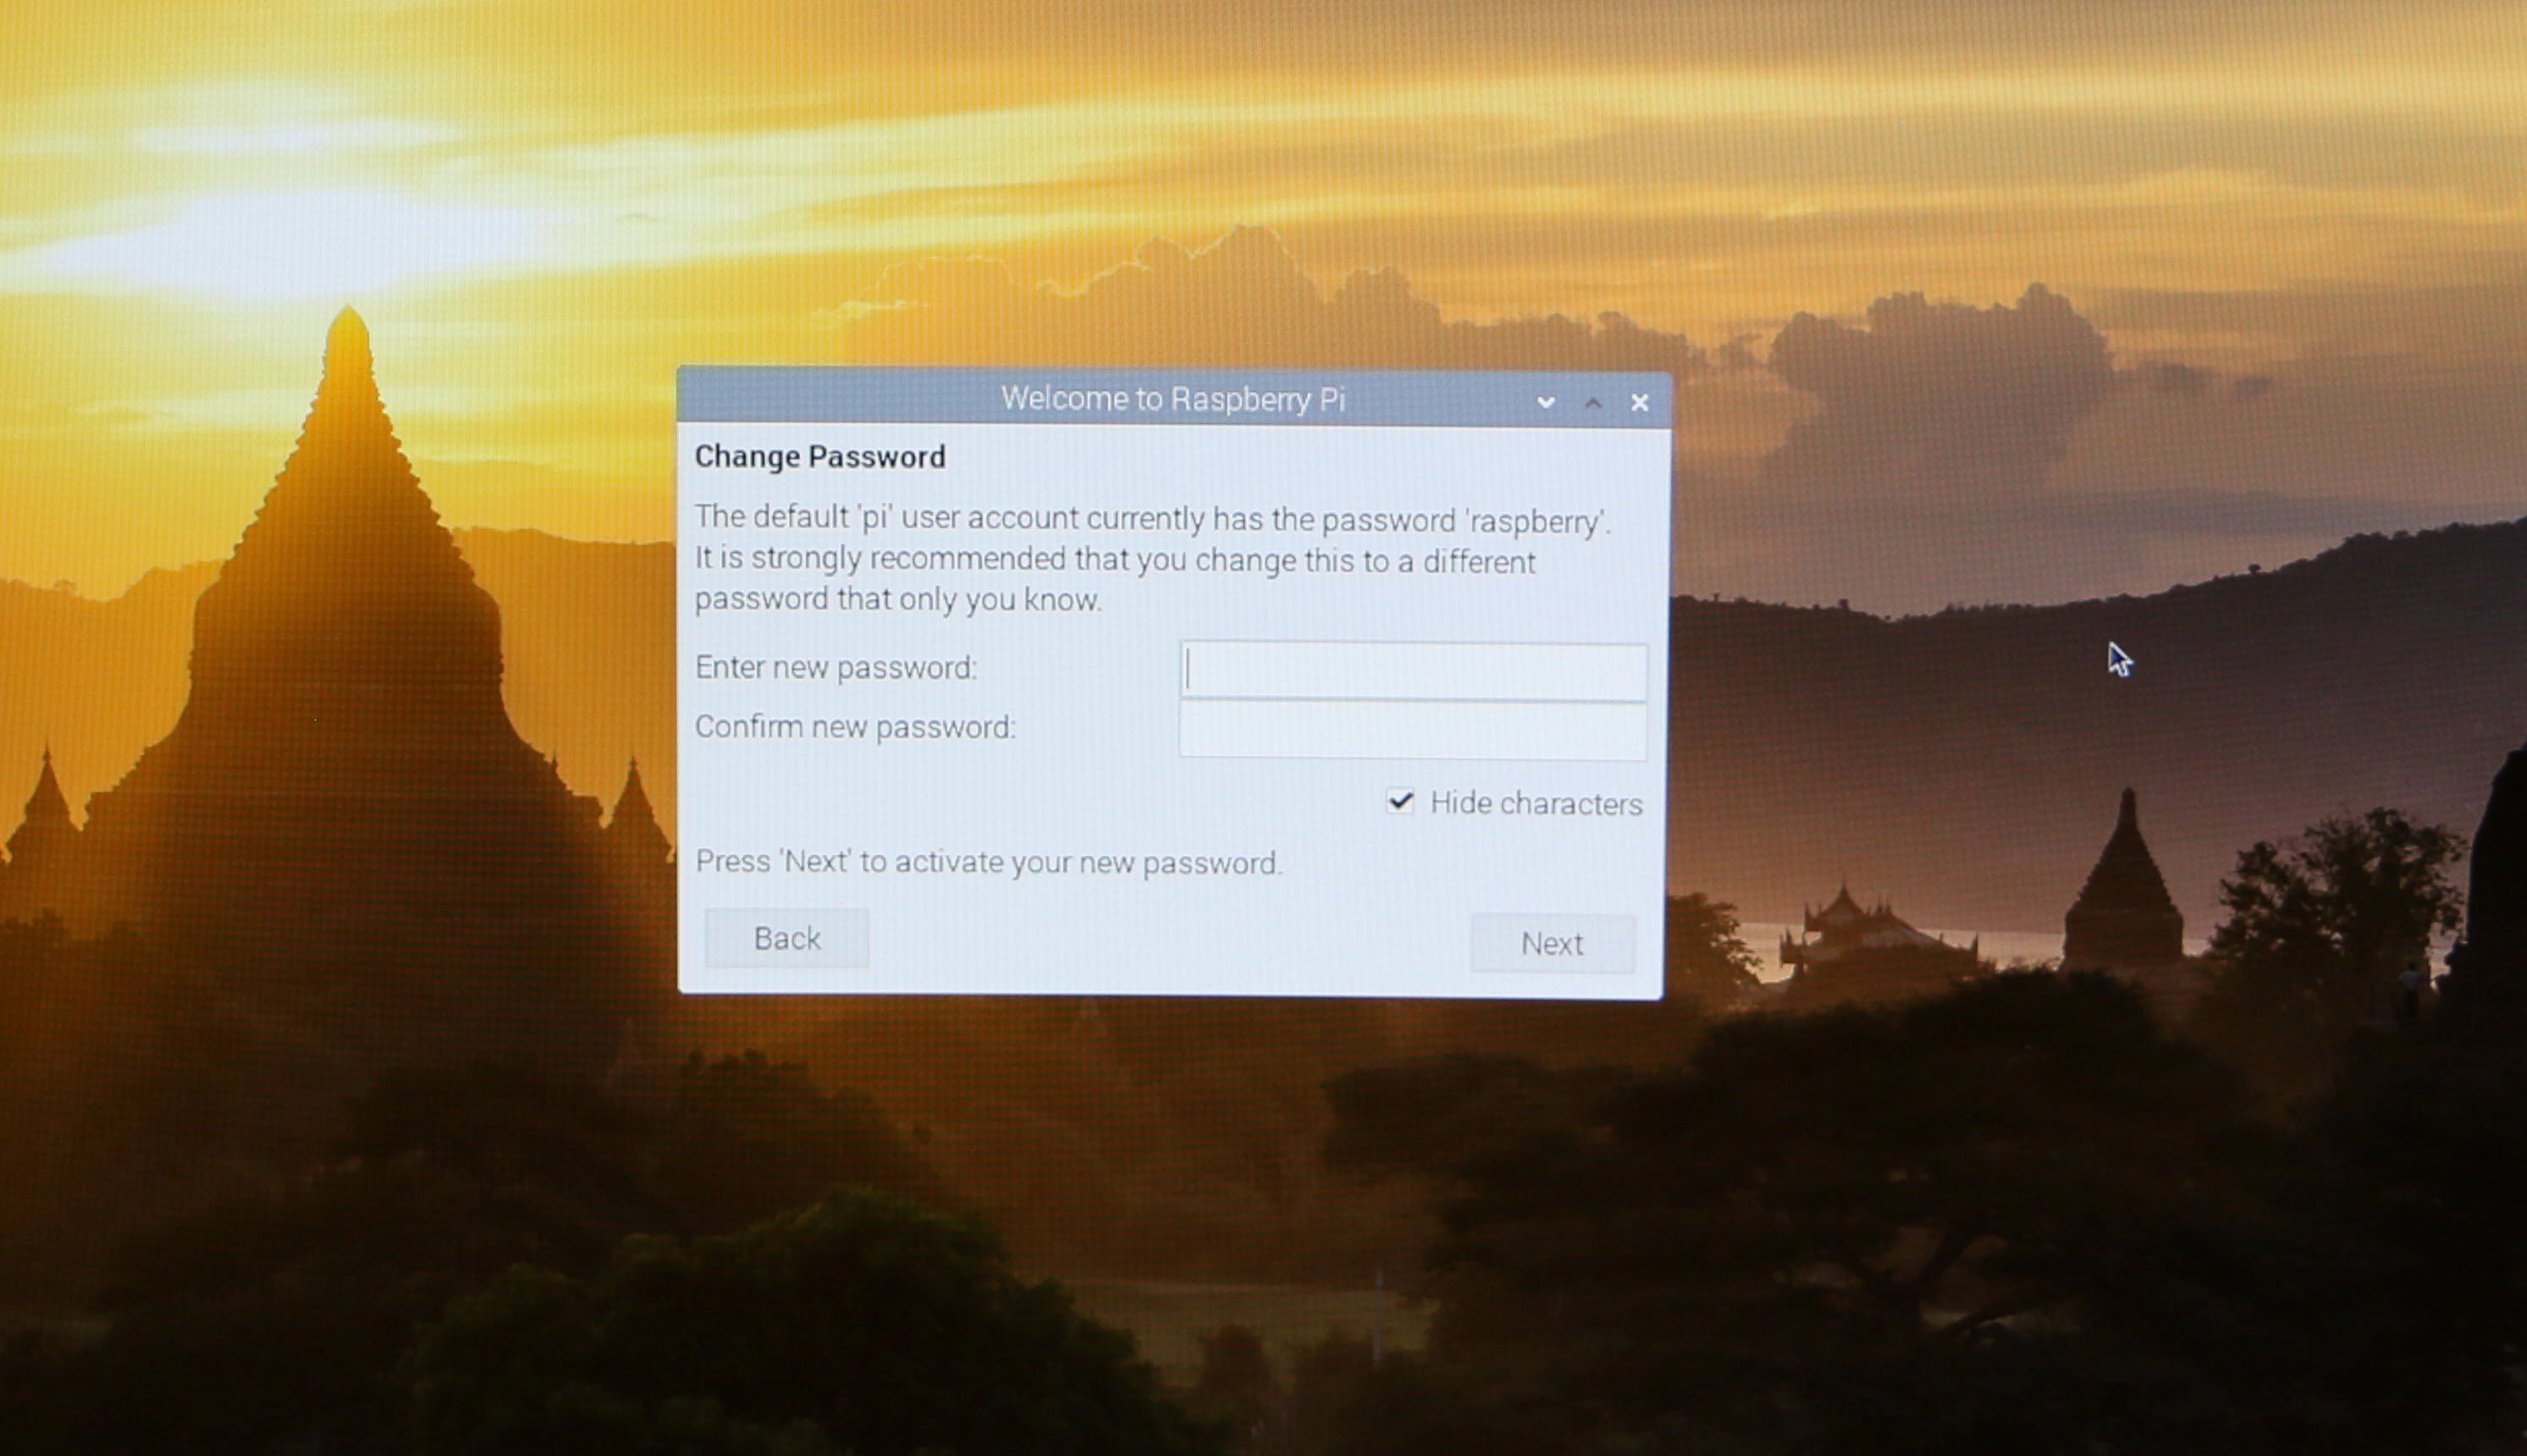
Set a new password for your machine
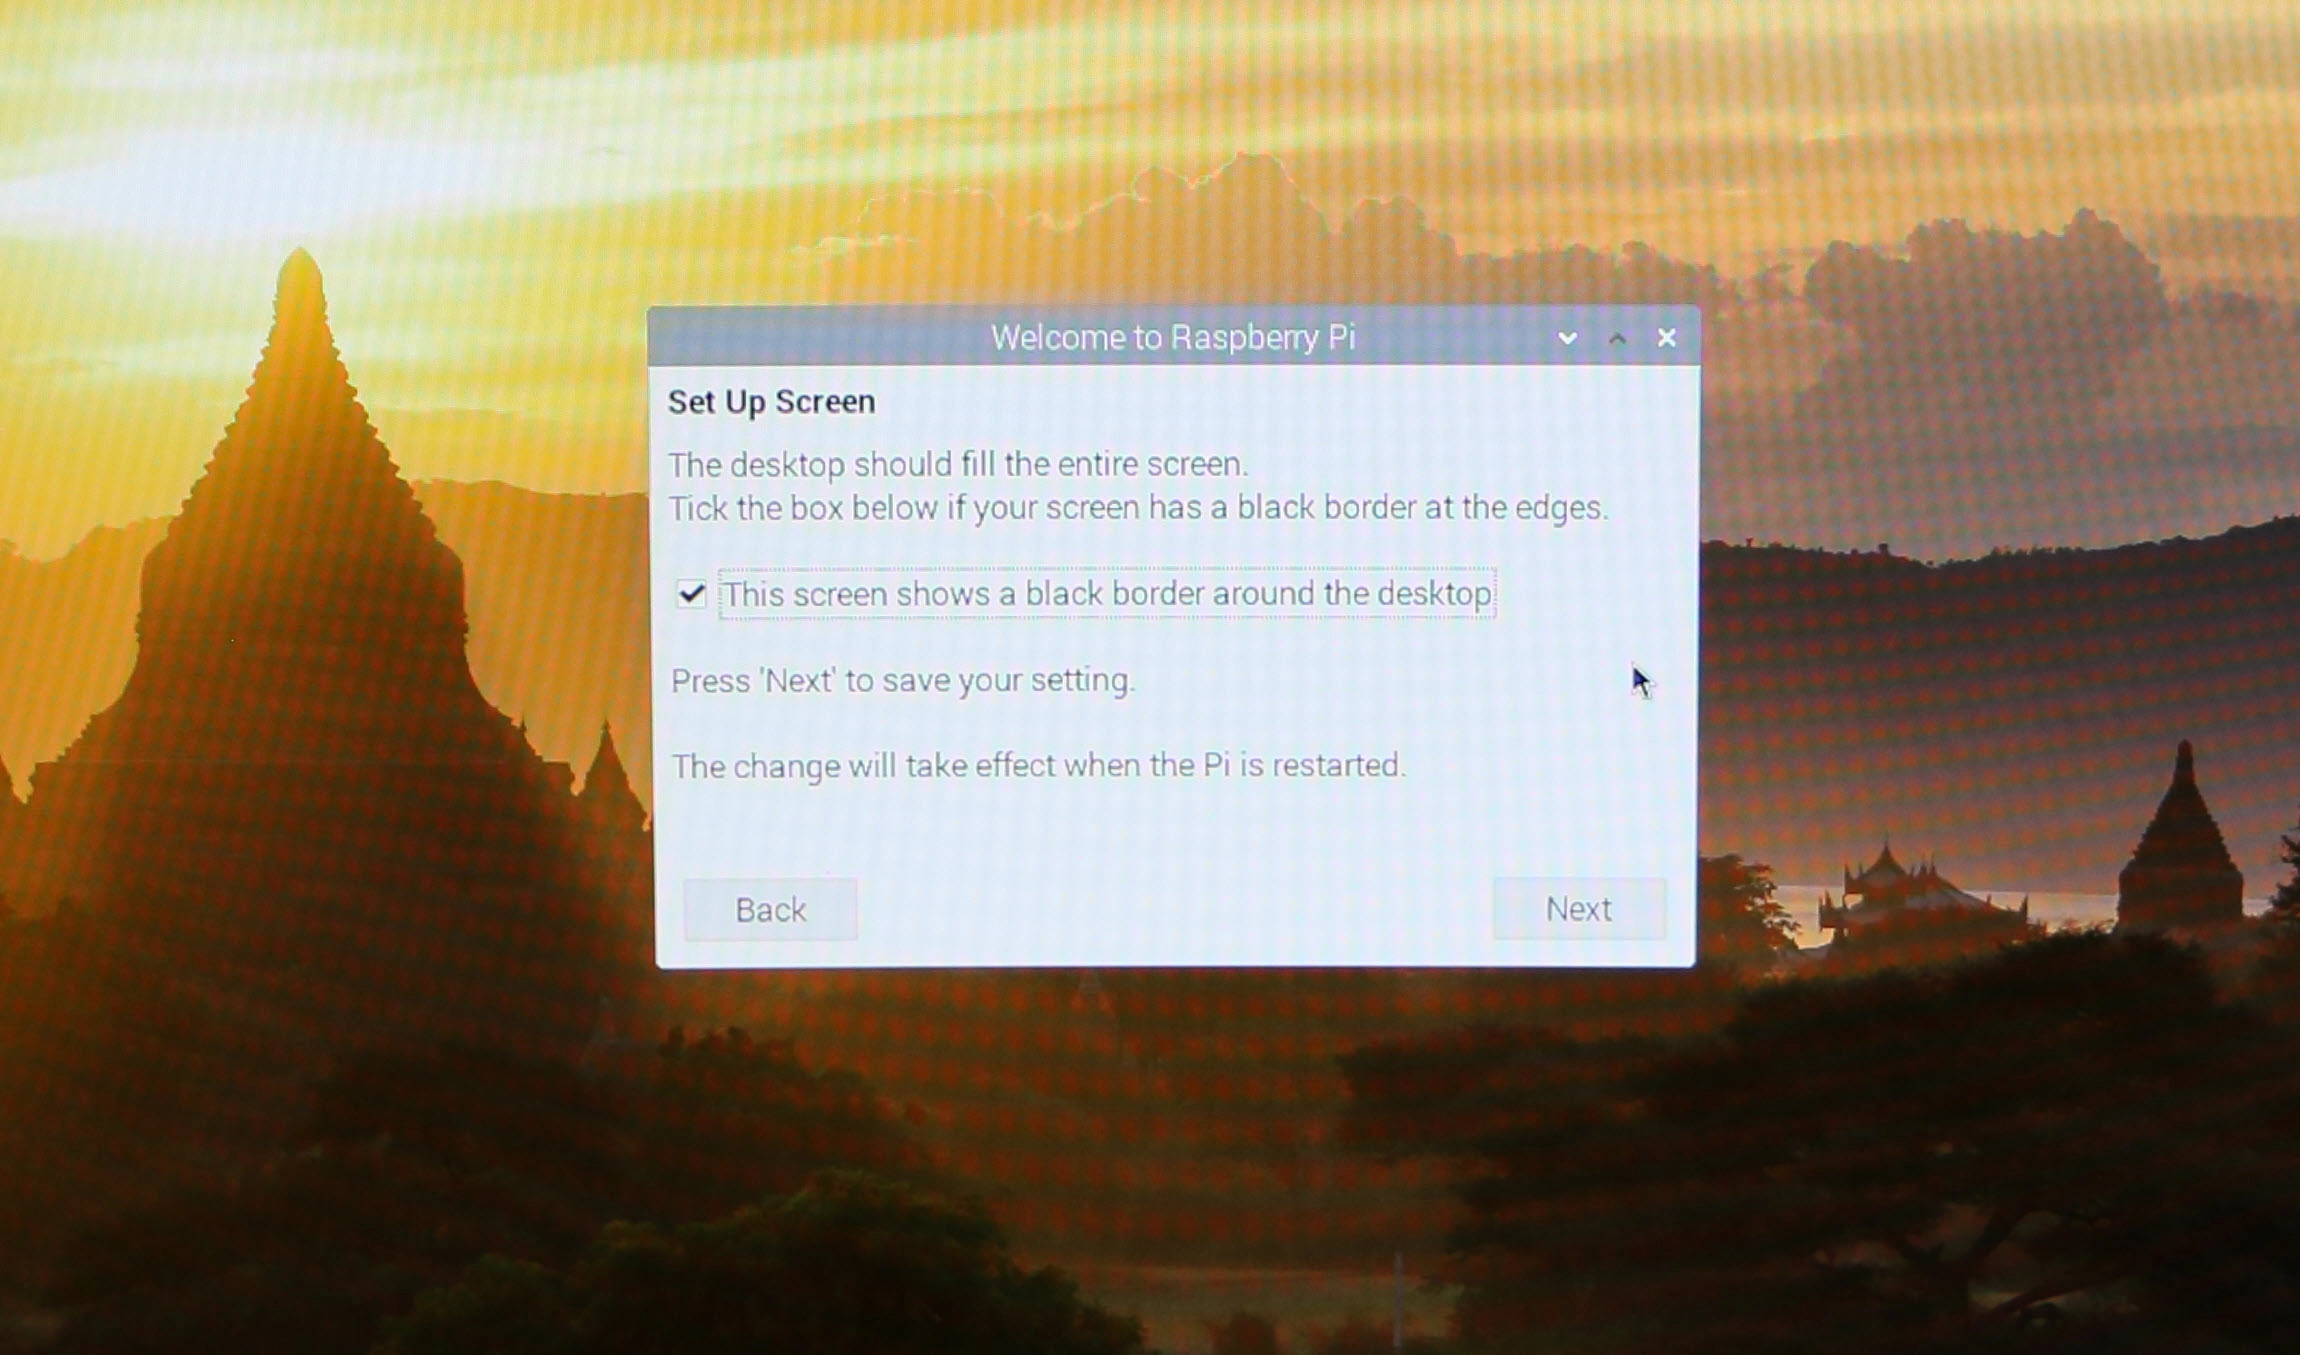
Set up the screen, Select the This screen shows a black border around the desktop incase you are seeing the black border
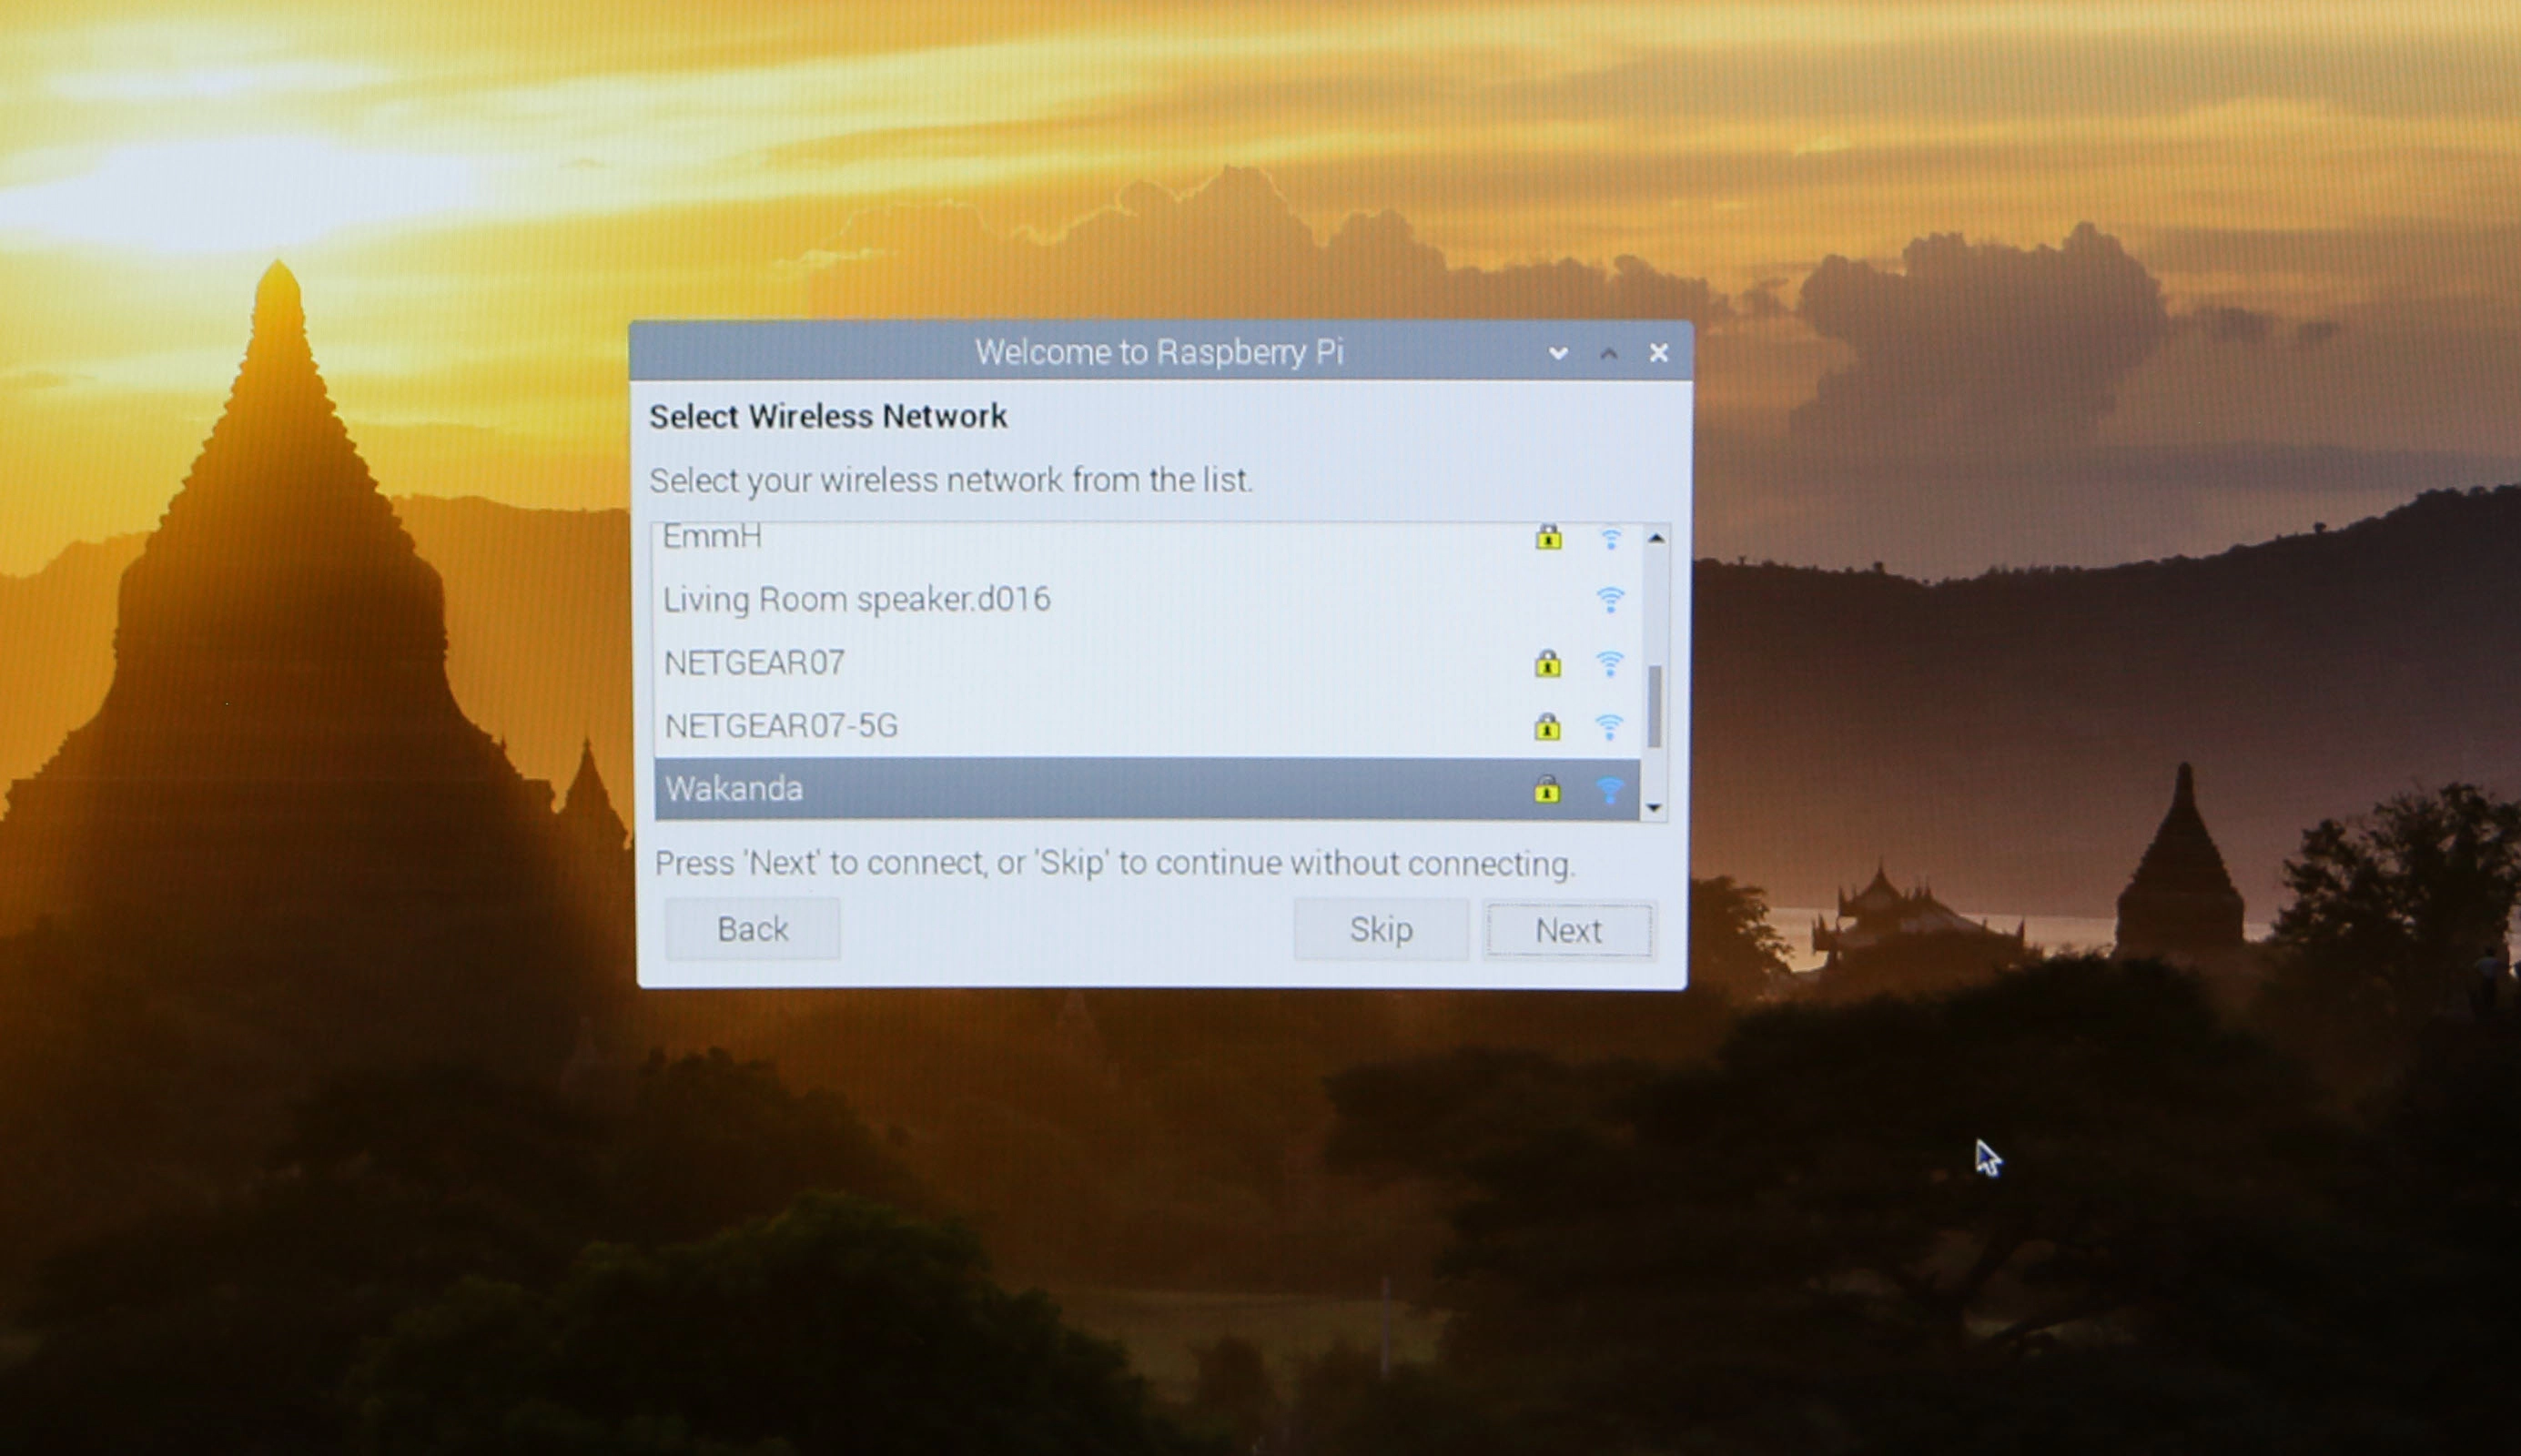
Connect to the Wireless Network. You can just click next if you have already configured WiFi previously
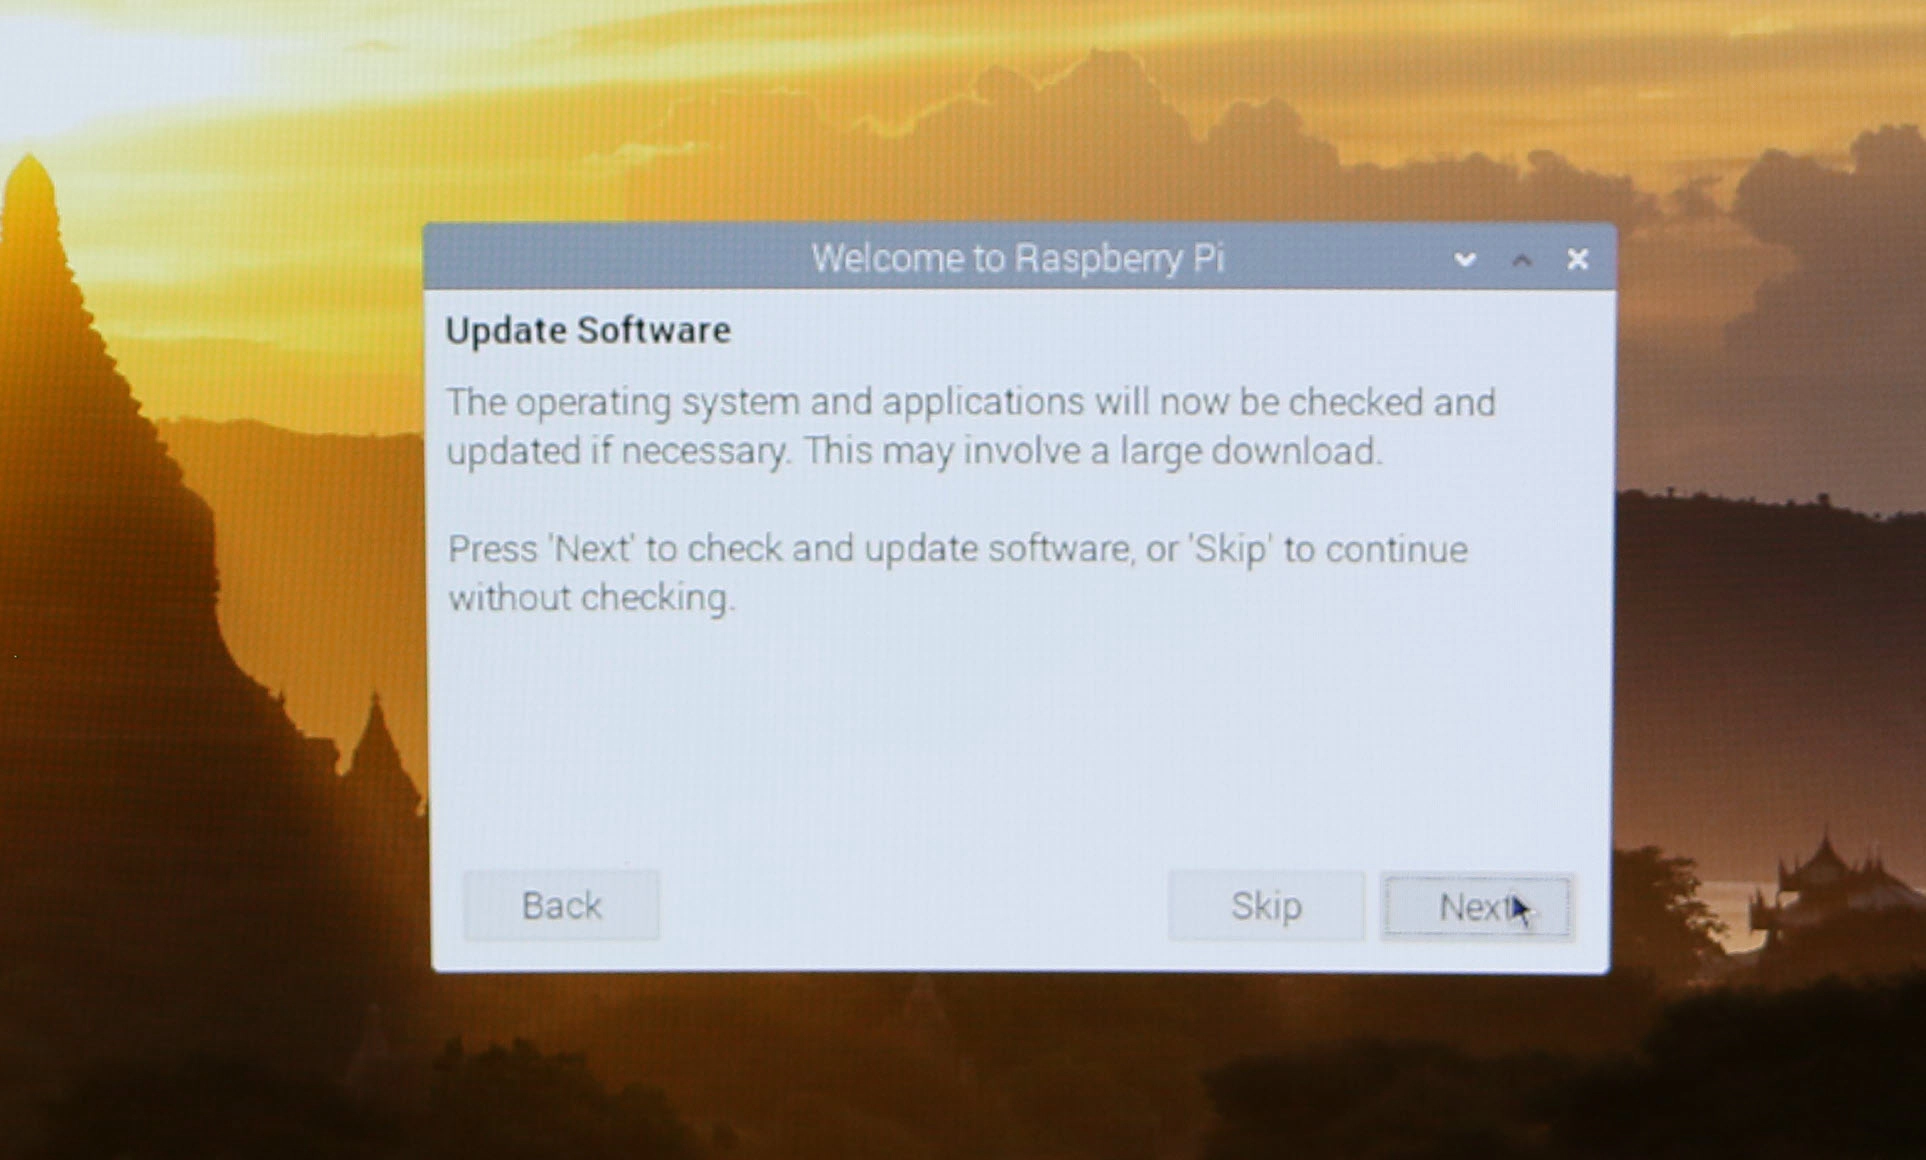
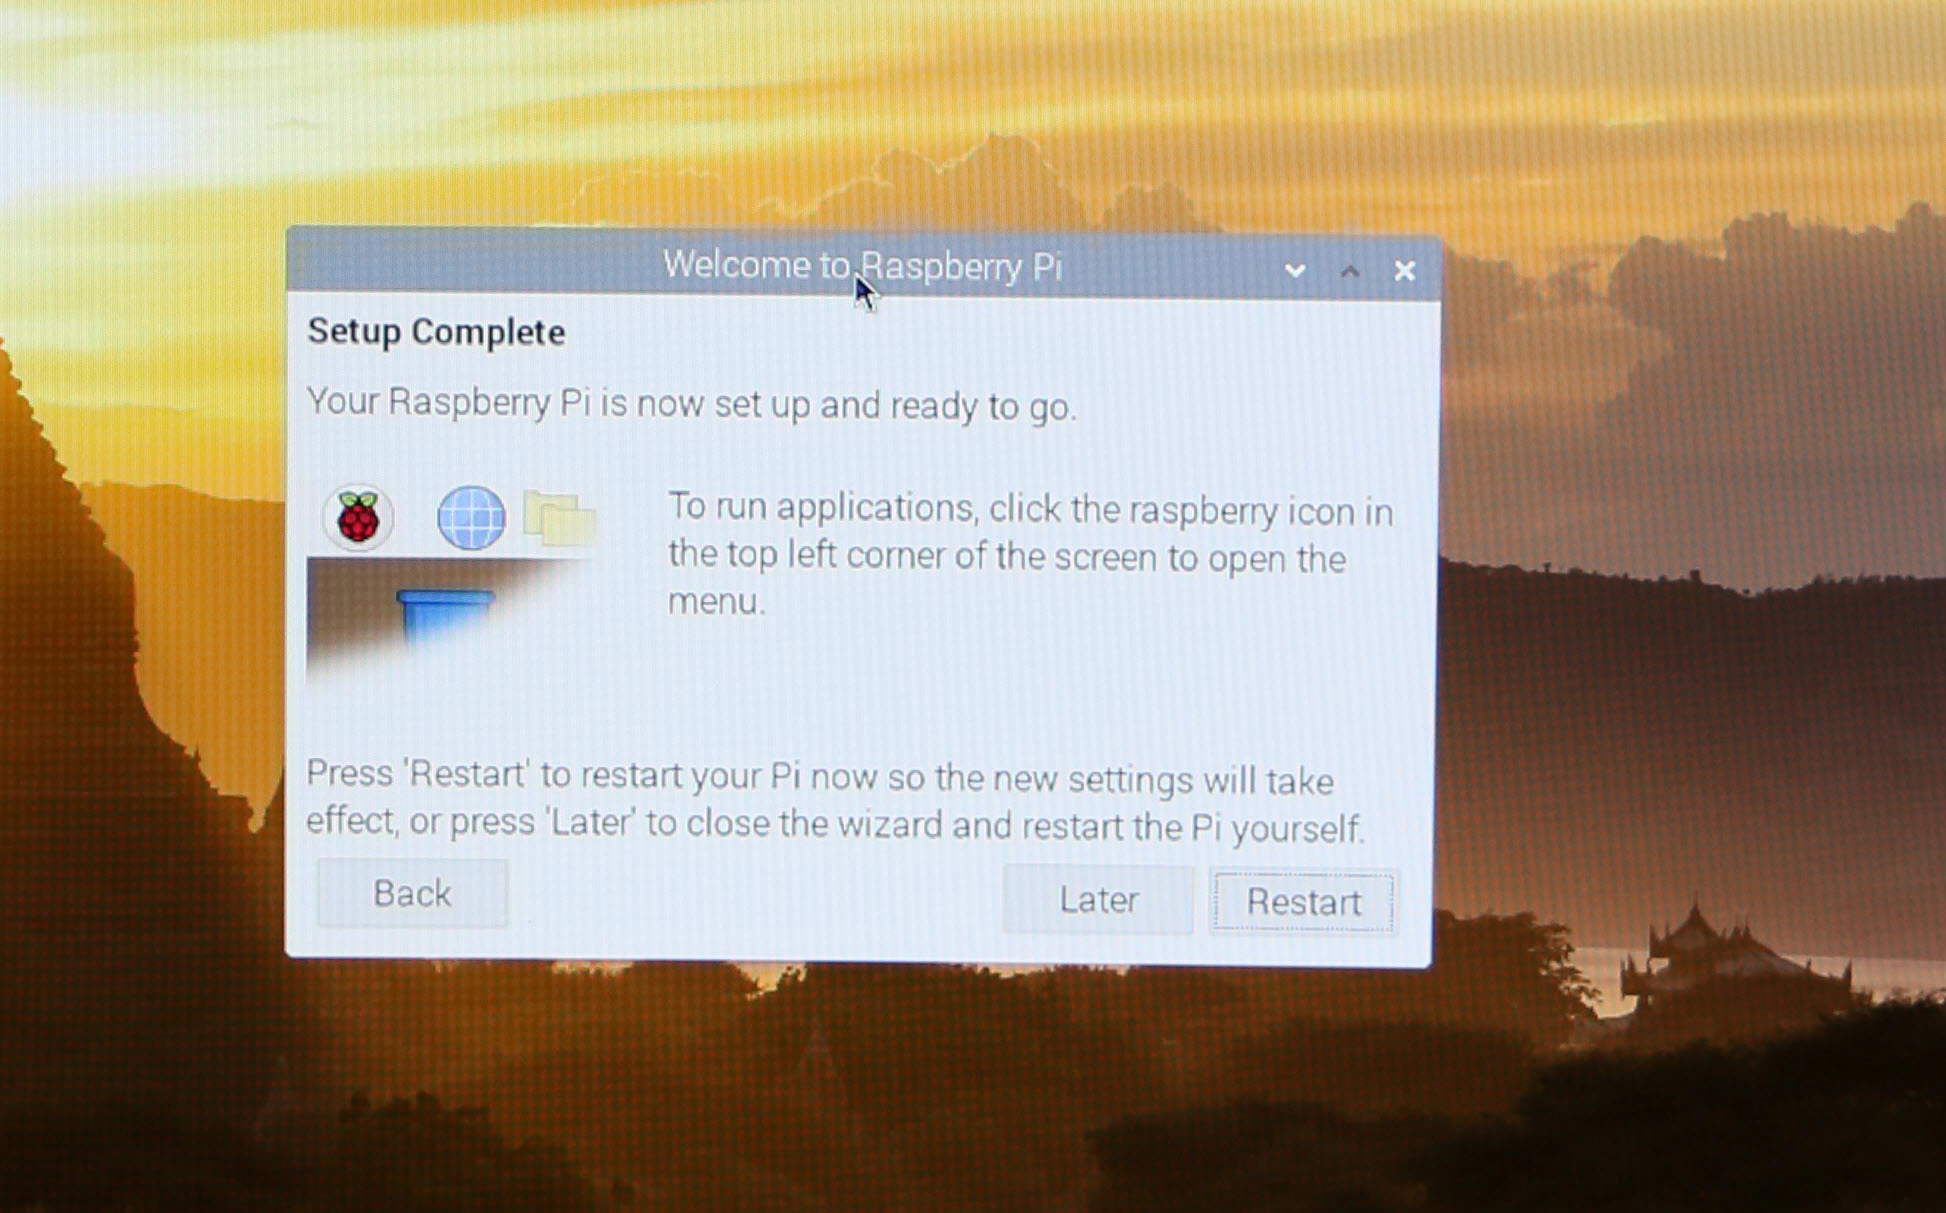
Update Software and Reboot the machine if required
Now, Go to Preference –> Raspberry Configuration

In the configuration, Update Hostname to preferred name
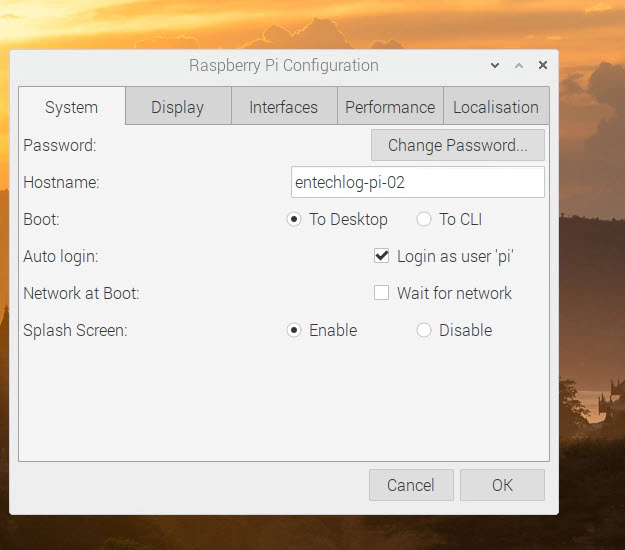
In the configuration, Enable SSH

Open Terminal session and install xrdp for RDP access.
sudo apt-get update
sudo apt-get upgrade
sudo apt-get install xrdp
Now initial set up of Raspberry Pi is complete. The Raspberry Pi can be accessed using ssh OR RDP from the home network now.
Hope this was helpful. Did I miss something ? Let me know in the comments.
Pi-hole is a network-wide ad blocker. This will block Ads to all devices connected to your home network without having …
Pi-hole is a network-wide ad blocker. This will block Ads to all devices connected to your home network without having …