
How to Install Pi-hole in a Windows machine
Pi-hole is a network-wide ad blocker. This will block Ads to all devices connected to your home network without having …


Pi-hole is a network-wide ad blocker. This will block Ads to all devices connected to your home network without having the need to install ad blocker in each device. Pi-hole can run on multiple devices ranging from Pi Zero to servers. Try to select a device which you can run 24/7, If you are worried about power usage then Pi zero might be the best option. In this article, we will see the steps to install Pi-hole in Pi Zero.
You would need following for this install
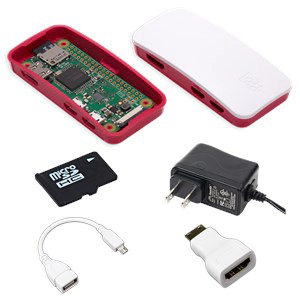
Instead of getting the individual items you could also get the kit with these accessories from CanaKit
Insert the SD card into the SD Card slot
Connect the Pi Zero W to all accessories as shown below

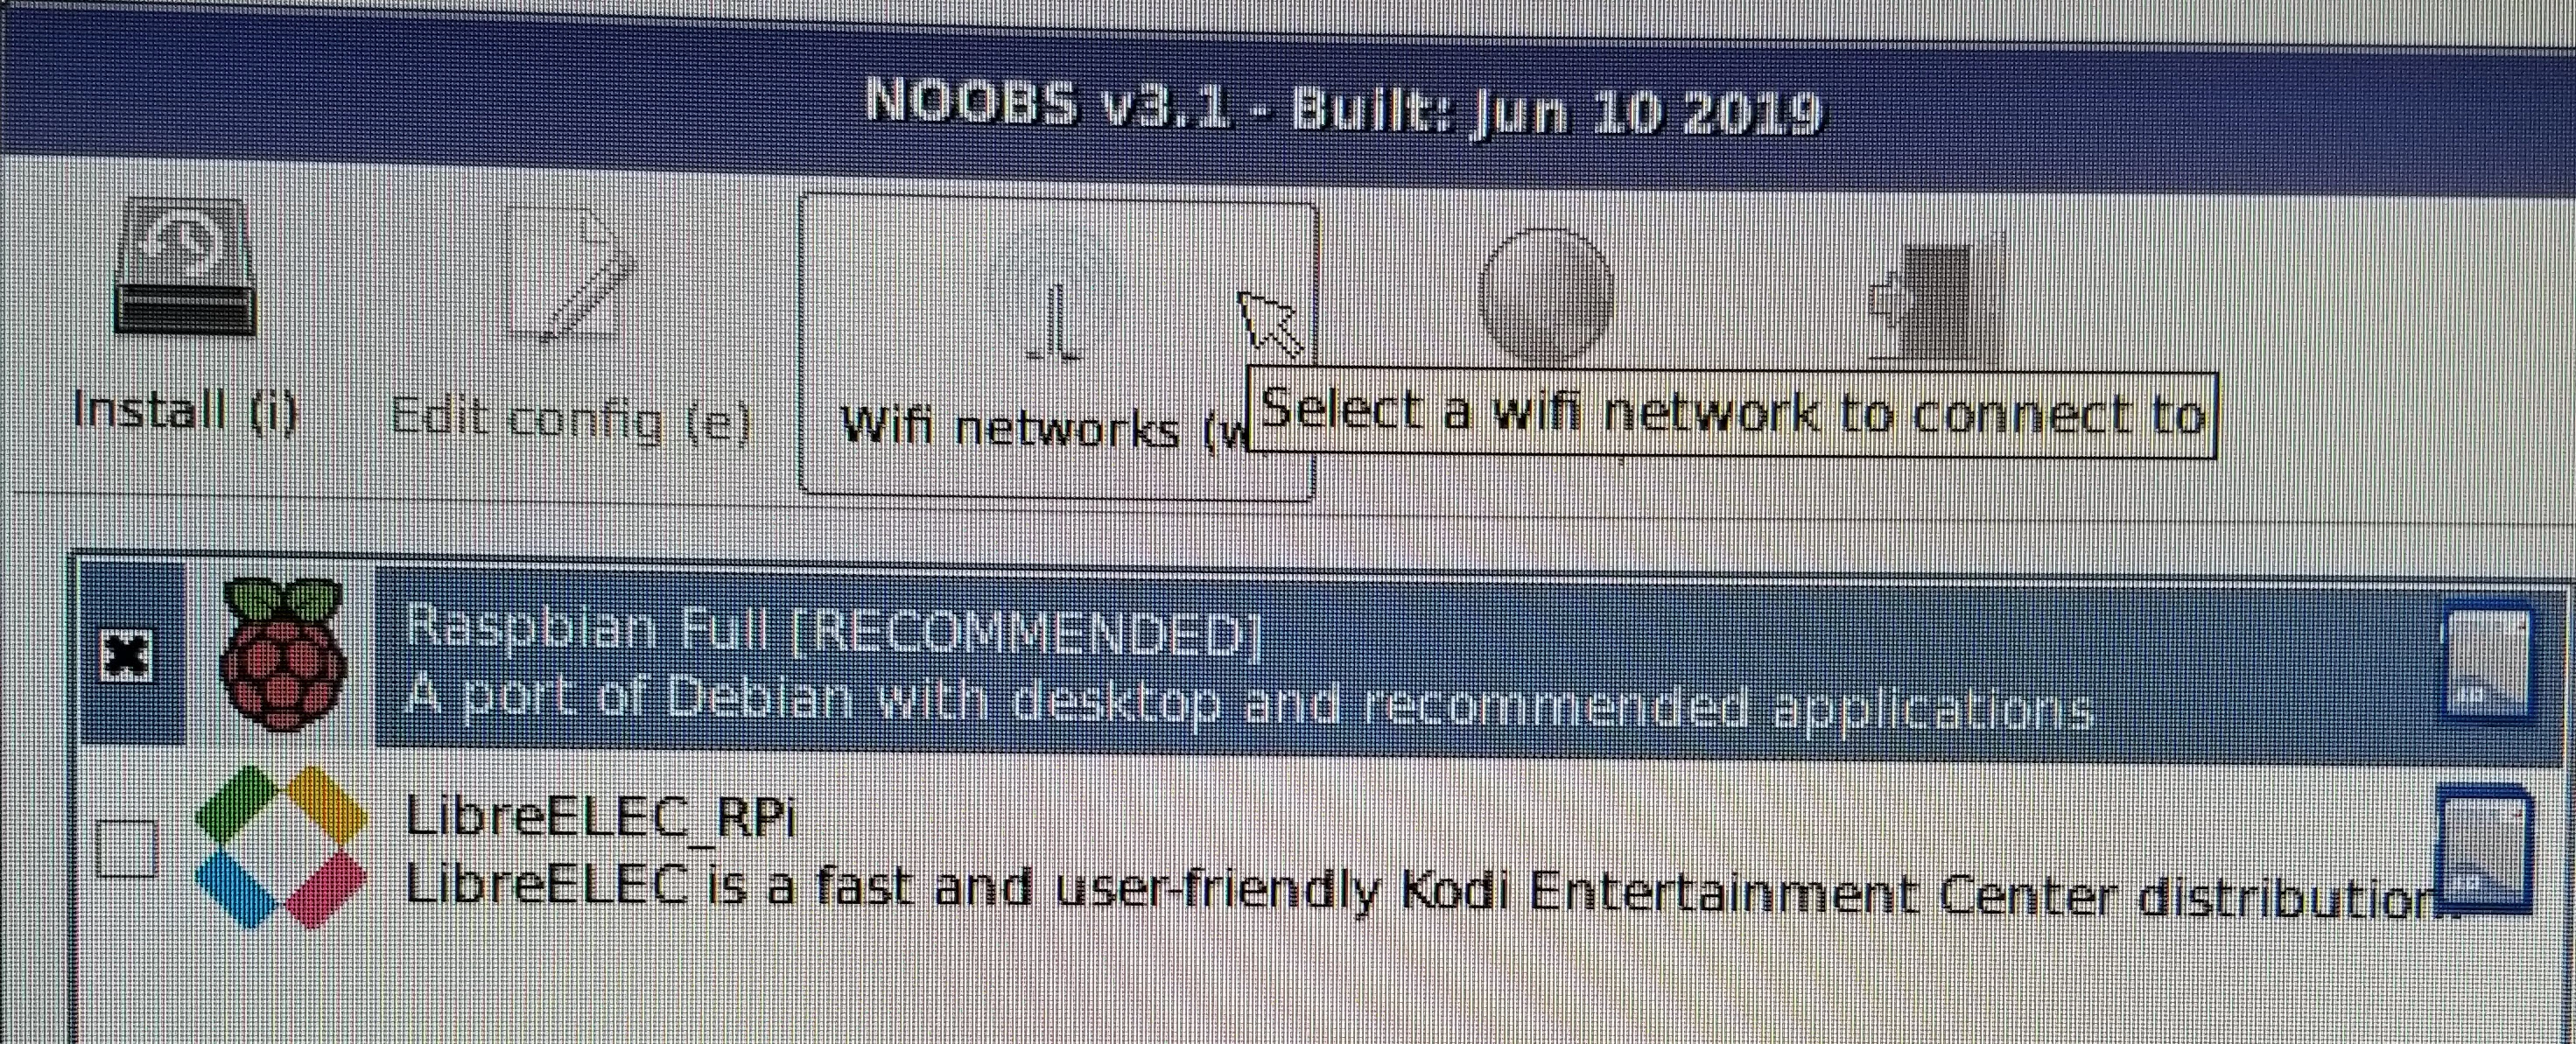
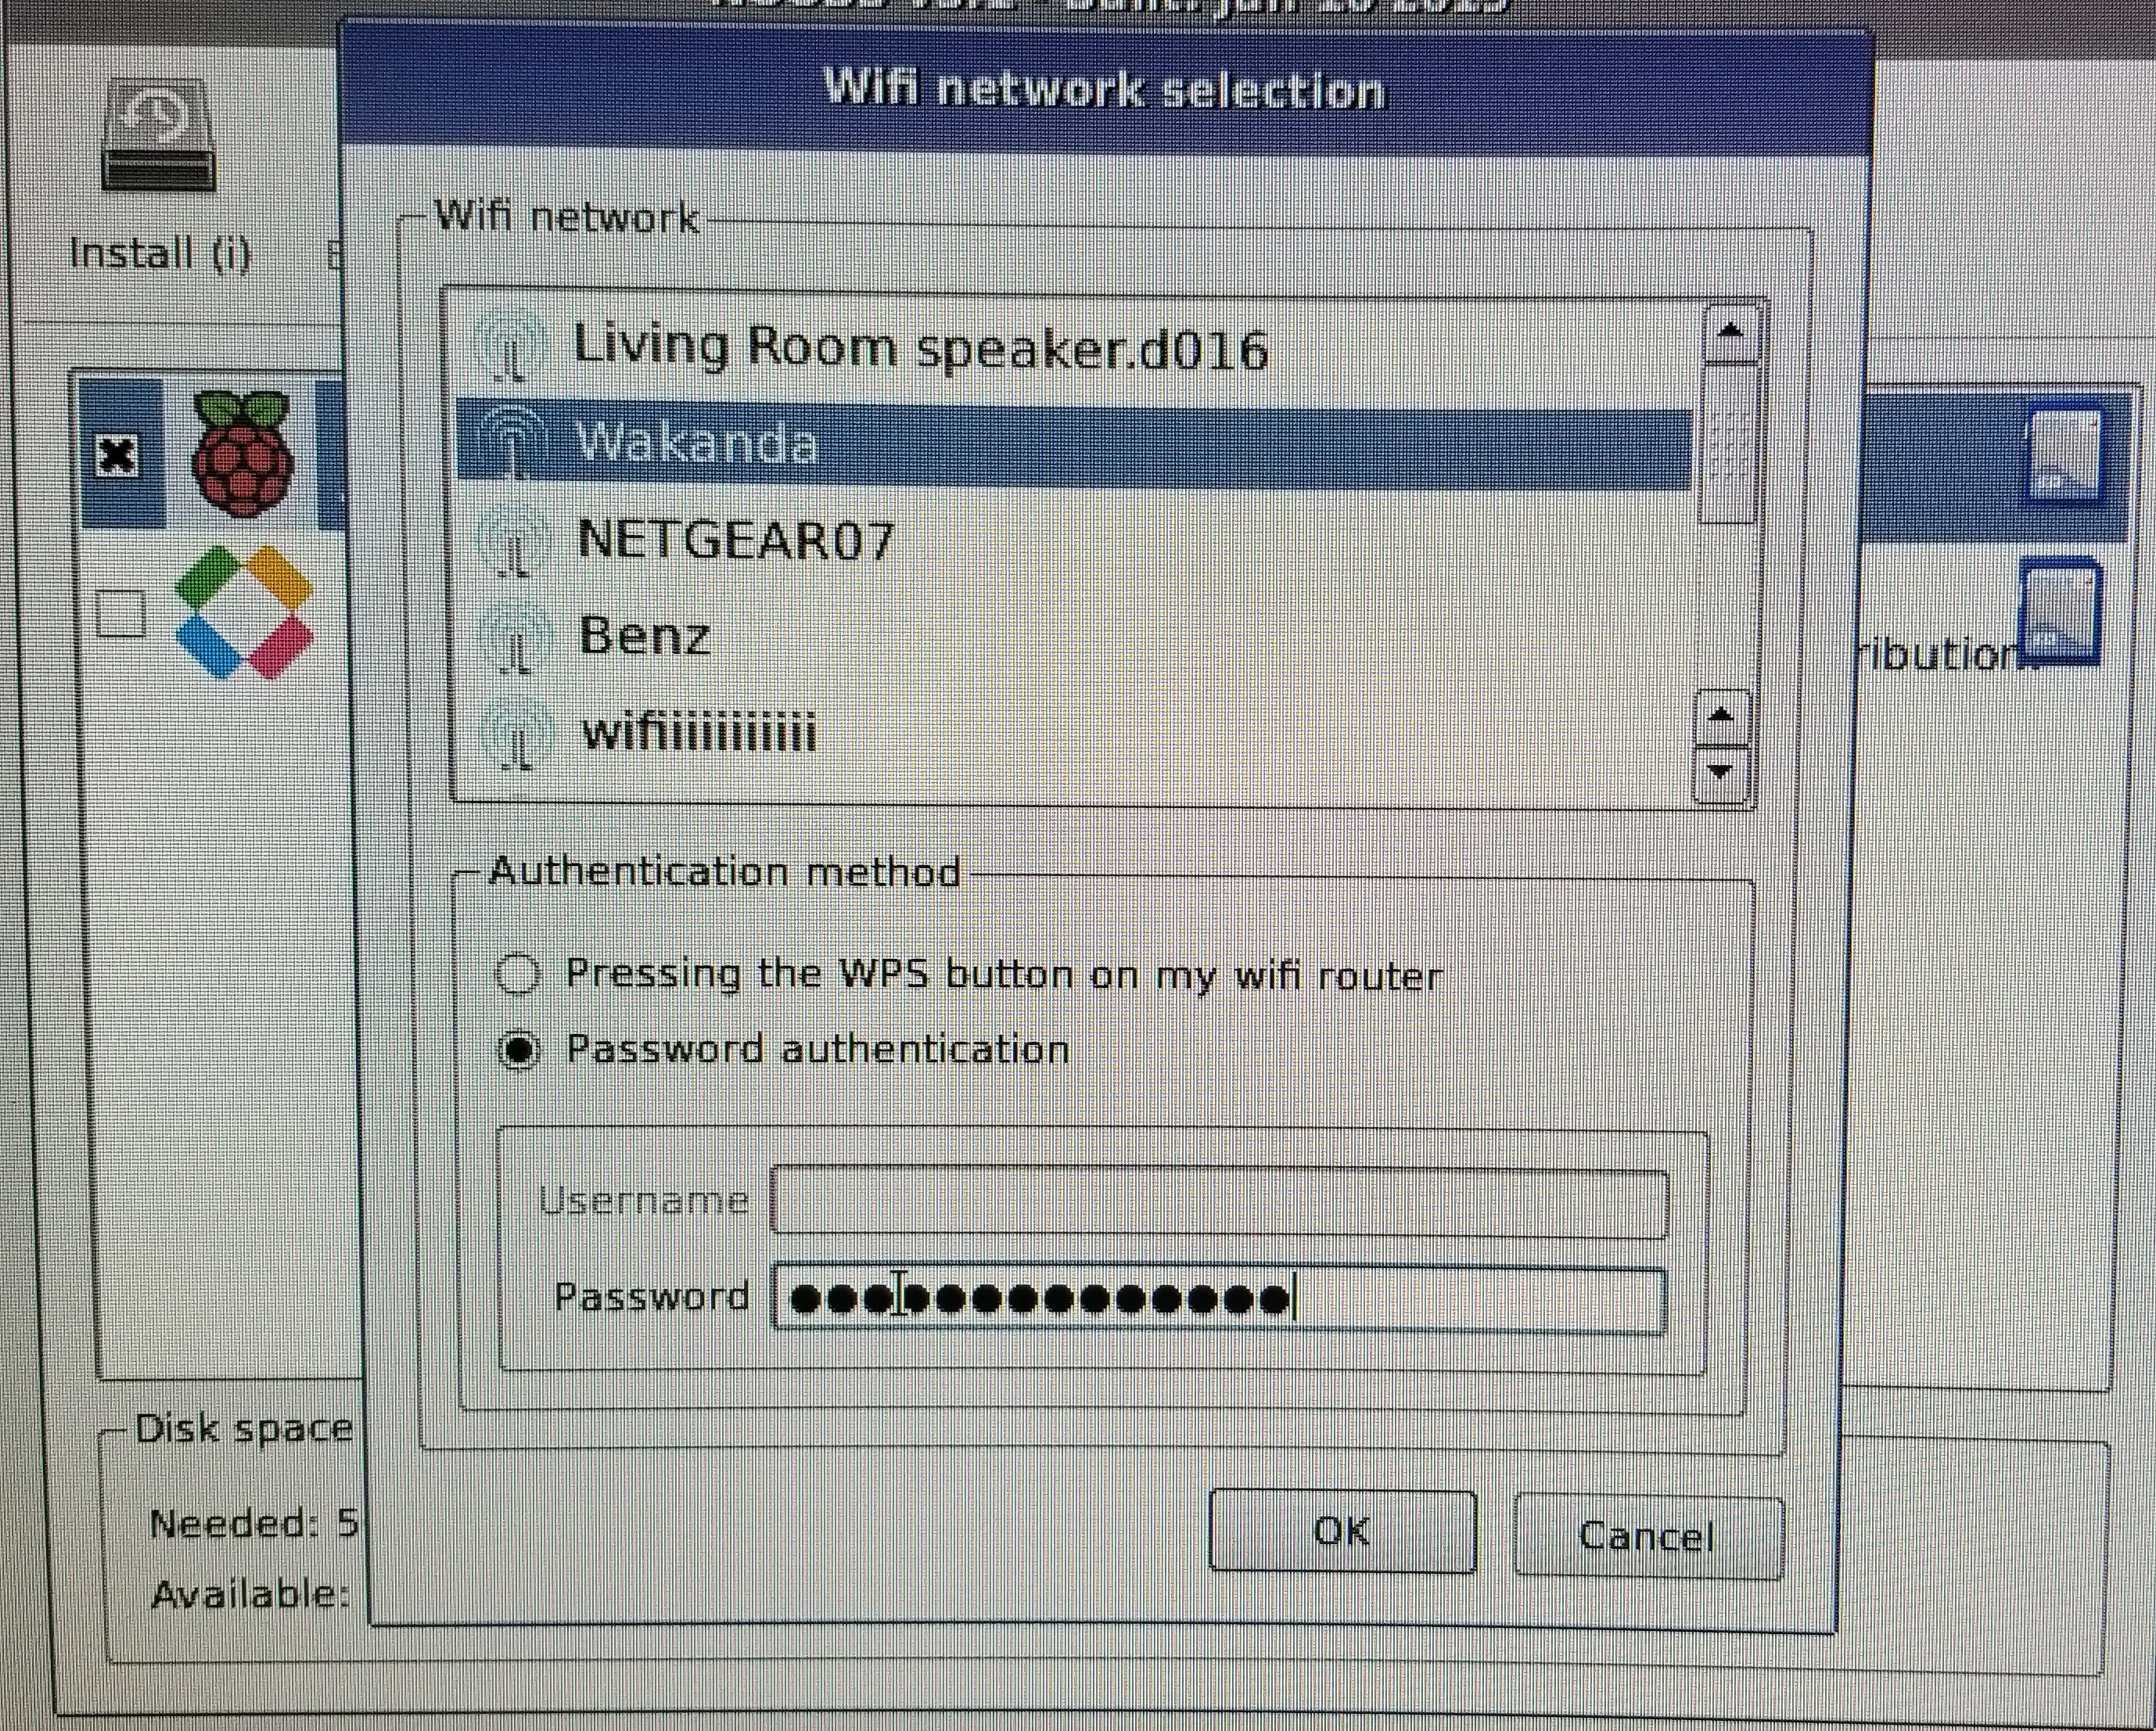
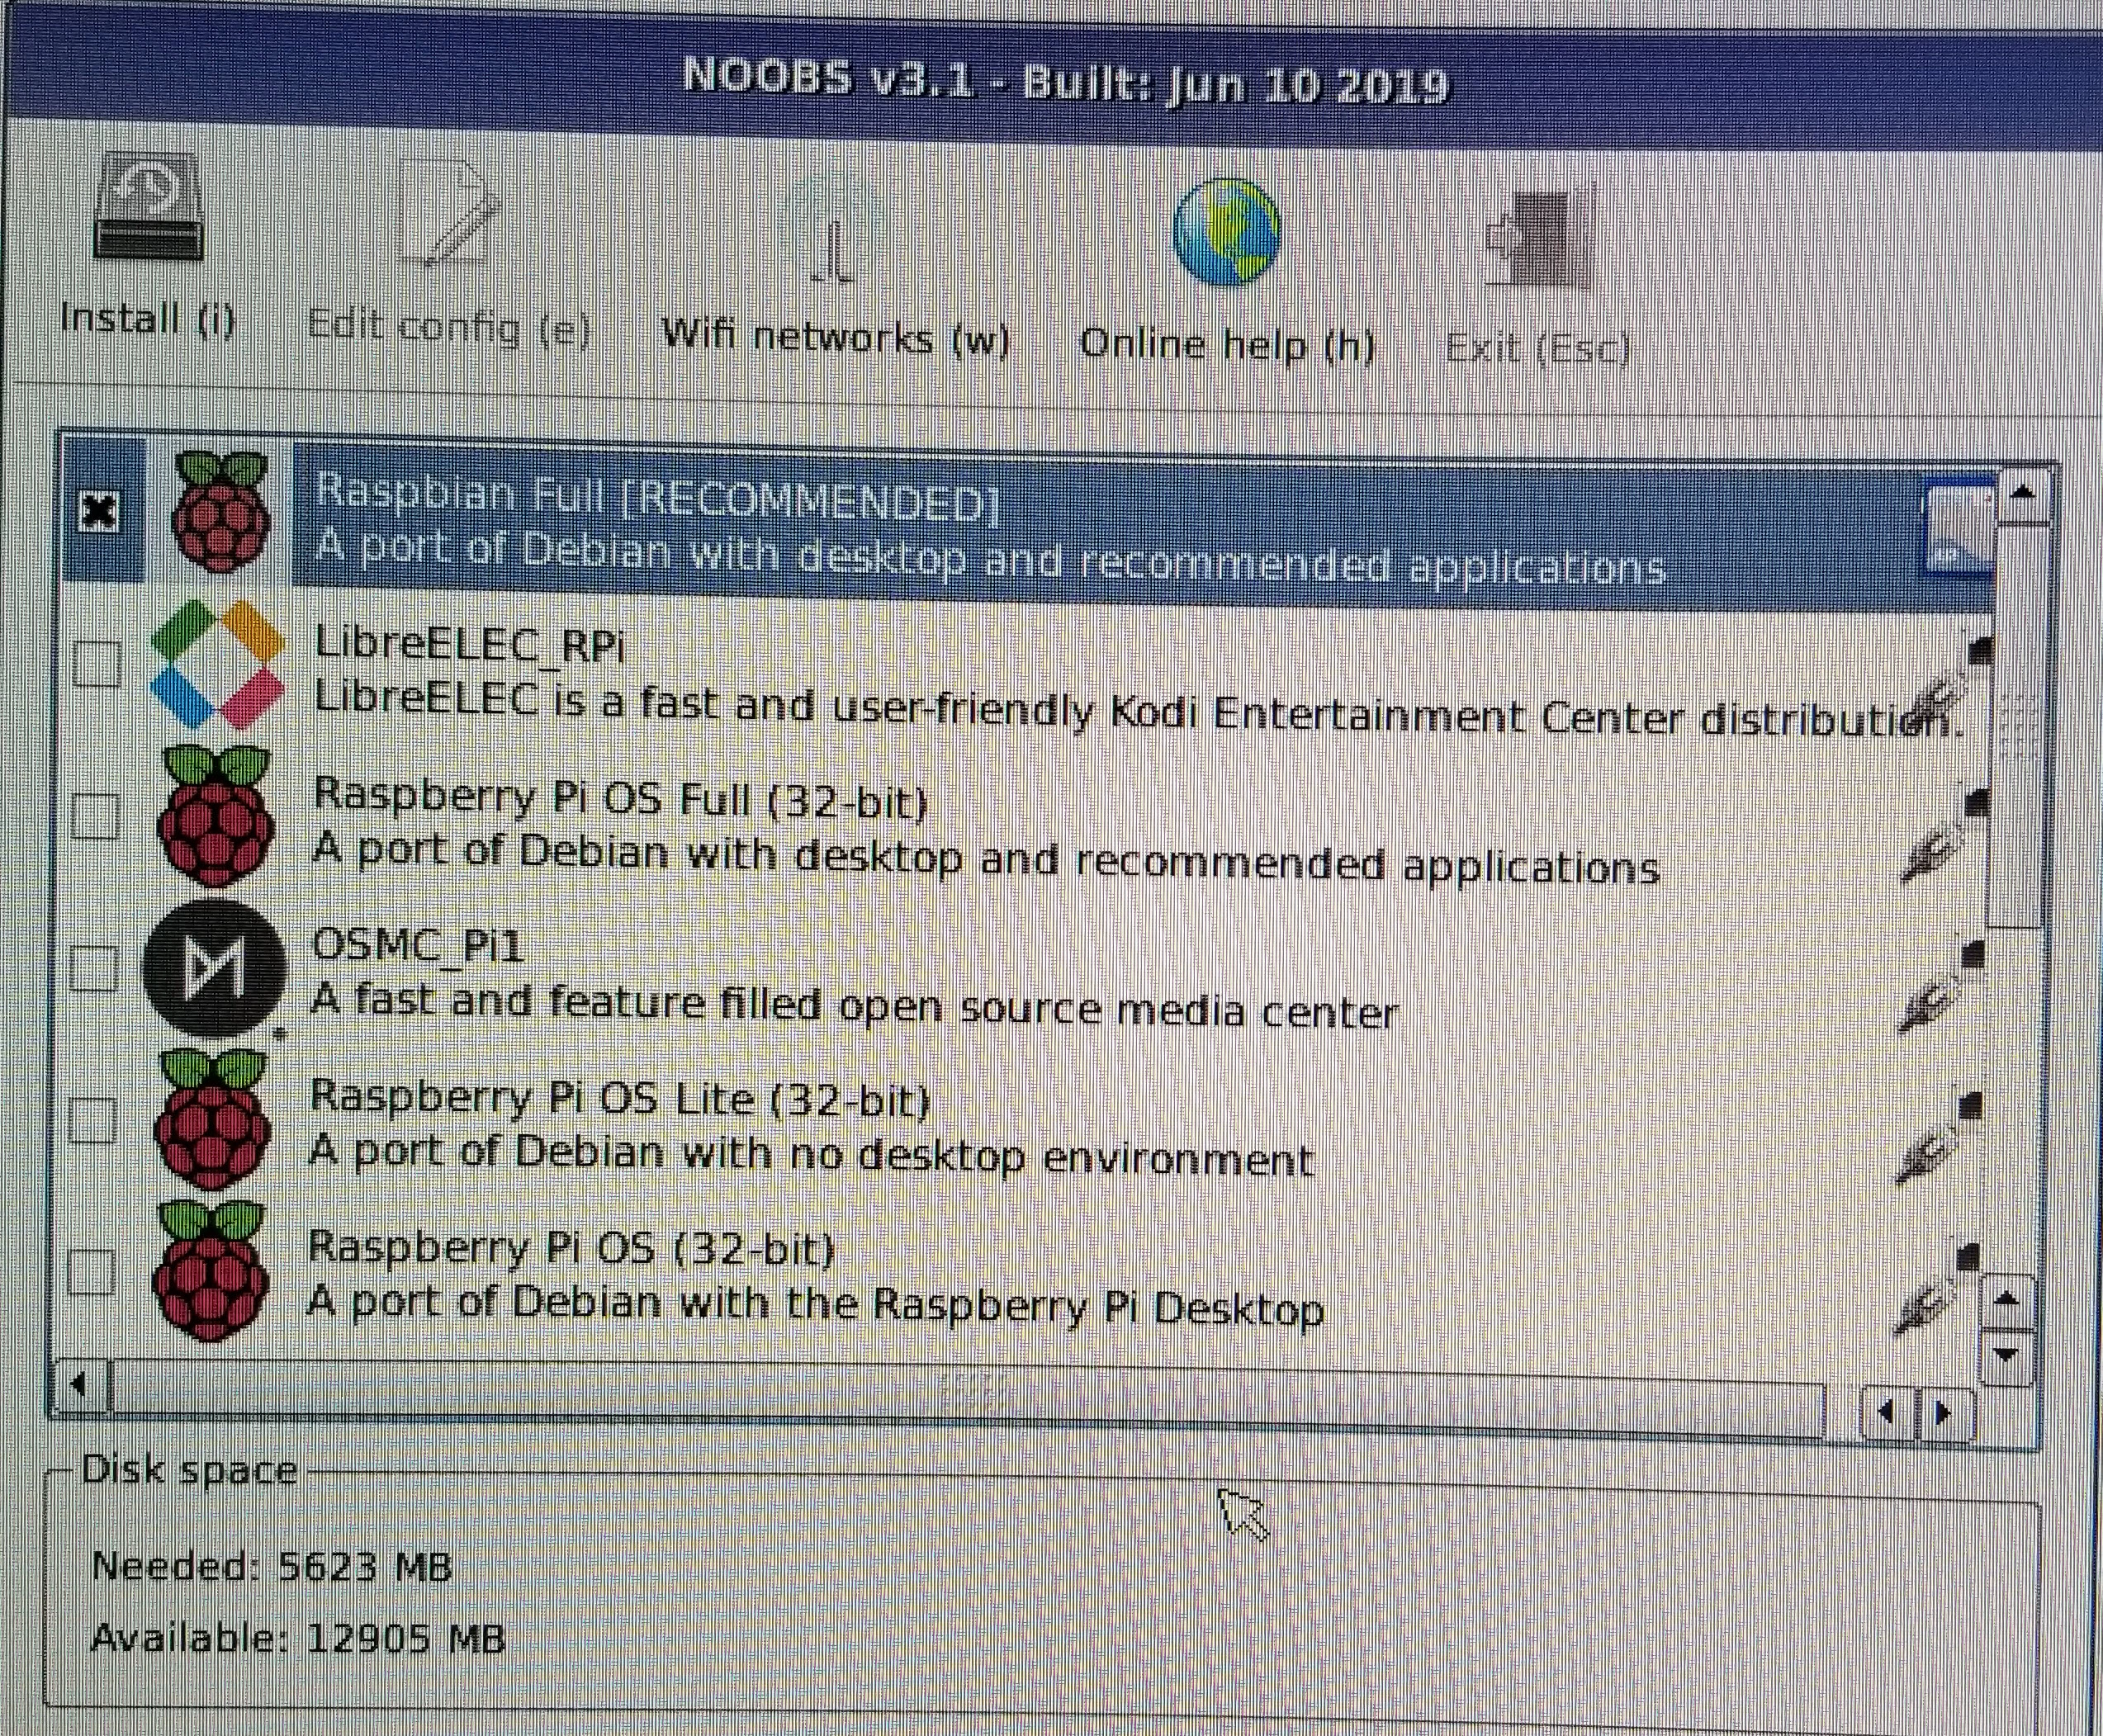
Device will boot up and will ask you to install an operating system. If you need more operating system choice then click on Wifi Networks and connect to your network
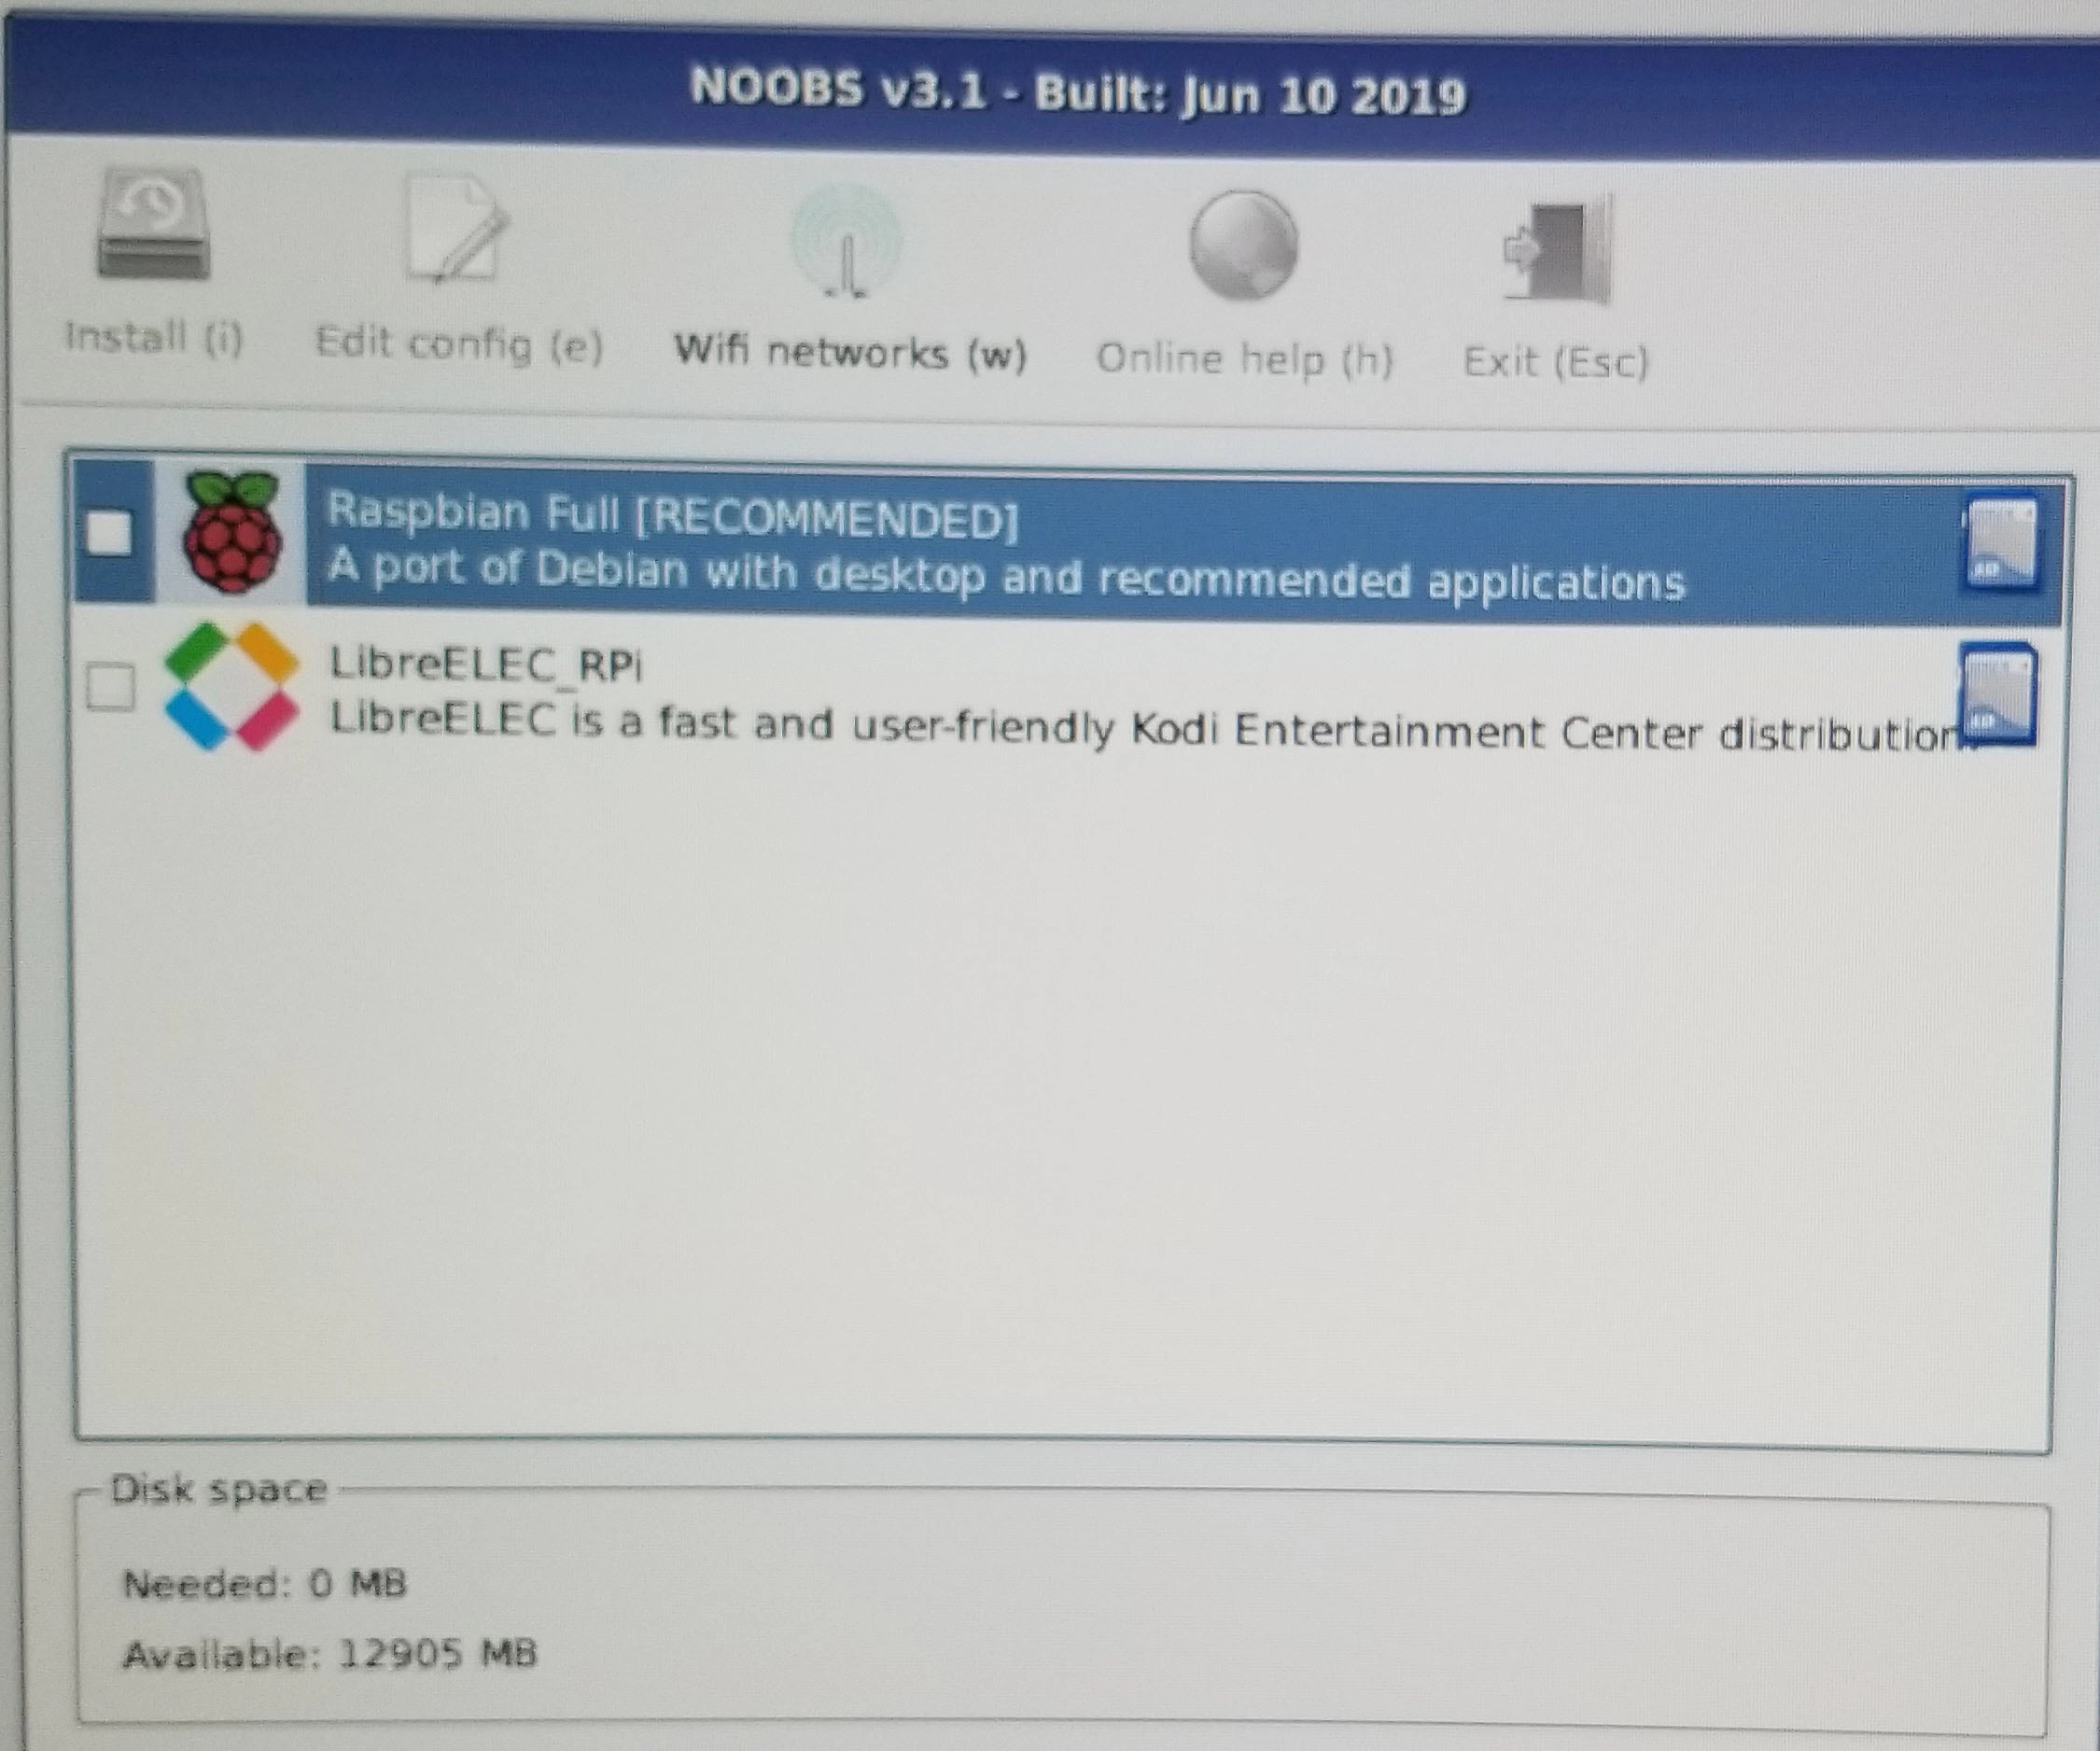
Successful connection to WiFi will bring in additional operating system options as shown below, Select the OS you like and proceed with the installation. In this case I choose Raspbian Full
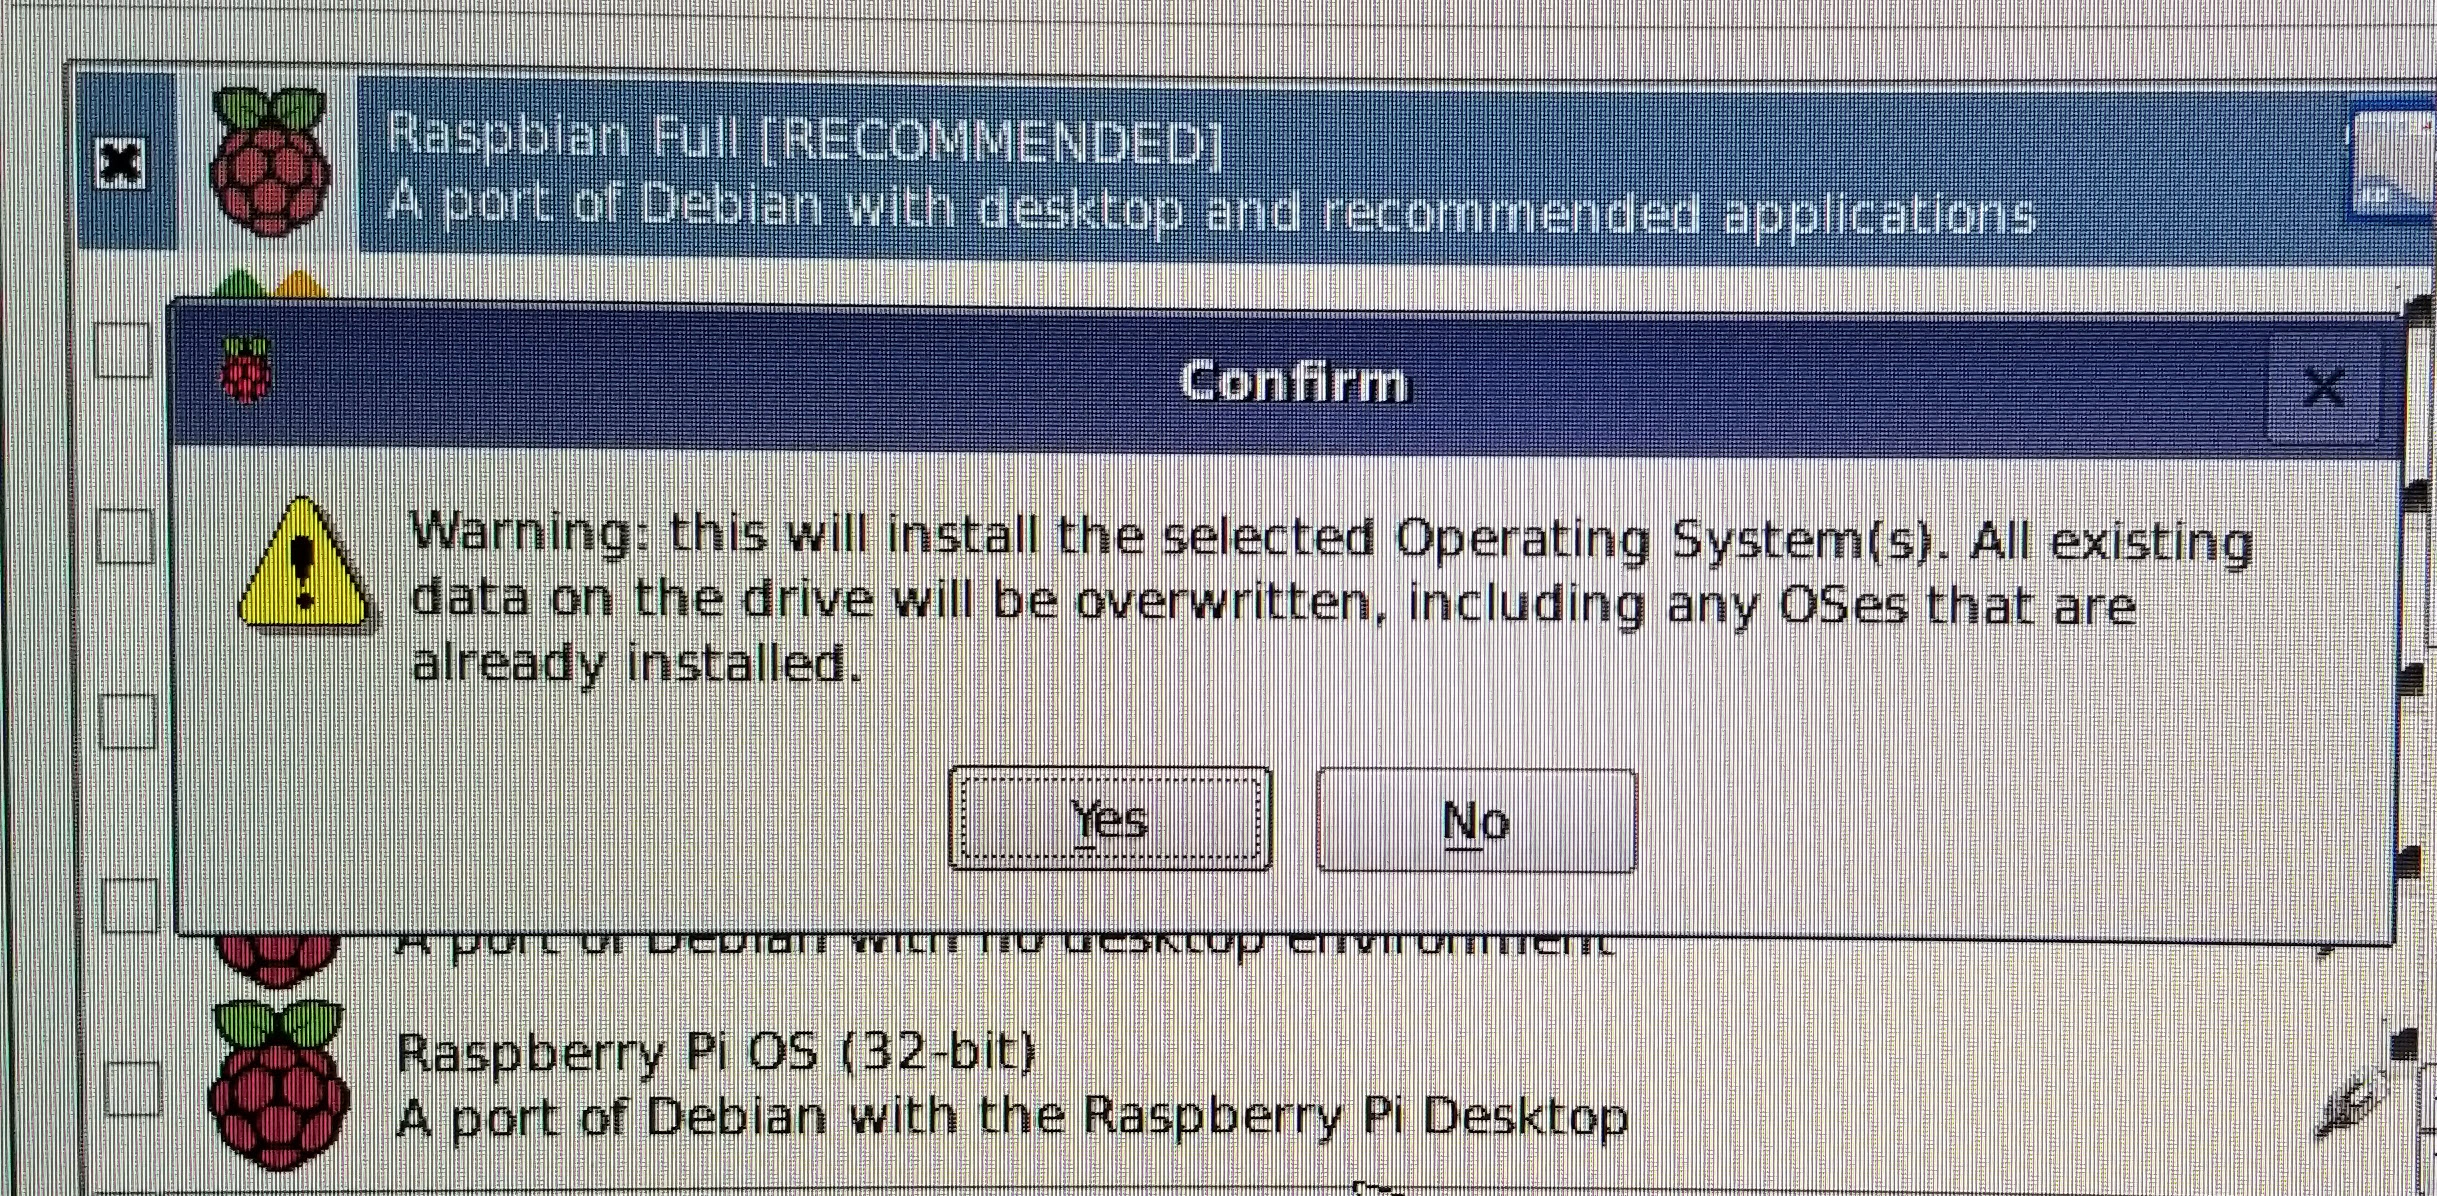
Select Yes on the warning message
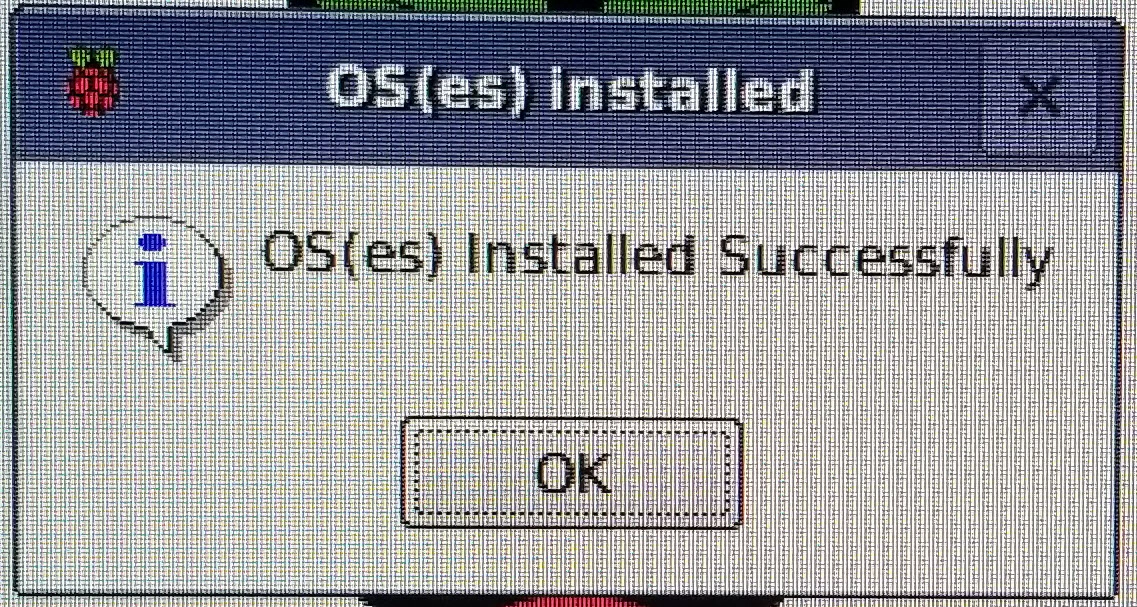
Install will take few minutes to finish. You should see below message after the install finishes
At this point the desktop will boot up. In the configuration do the following
Hostname for your Pi Zero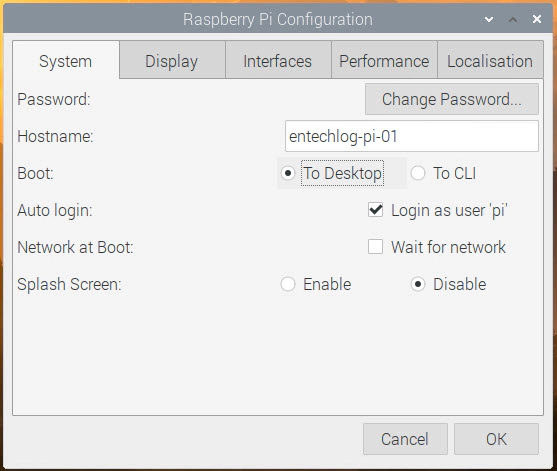
SSH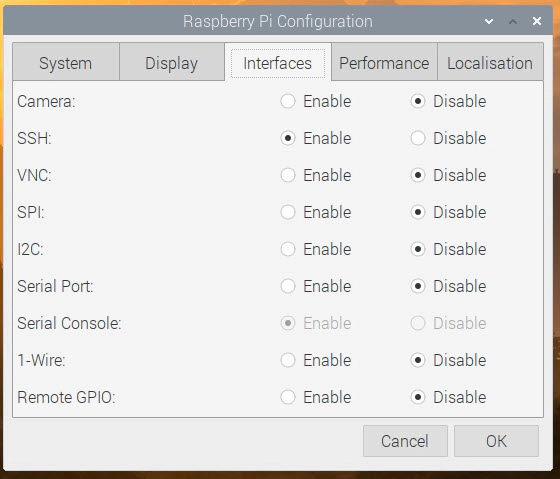
Open Terminal session and install xrdp for RDP access
sudo apt-get update
sudo apt-get upgrade
sudo apt-get install xrdp
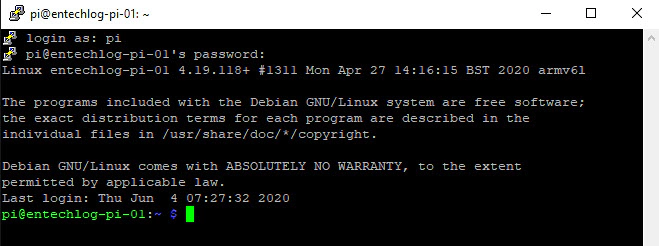
ssh into Pi Zero using putty. User name is pi and password is what you selected during Raspberry Pi Desktop configuration
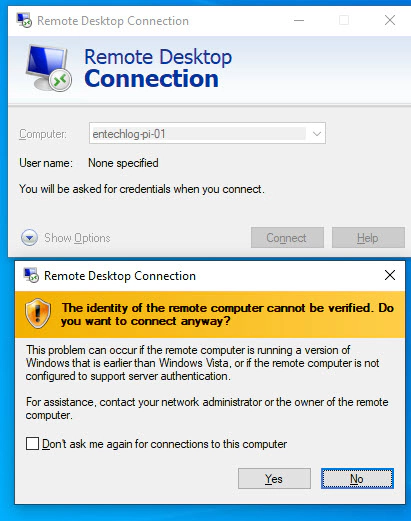
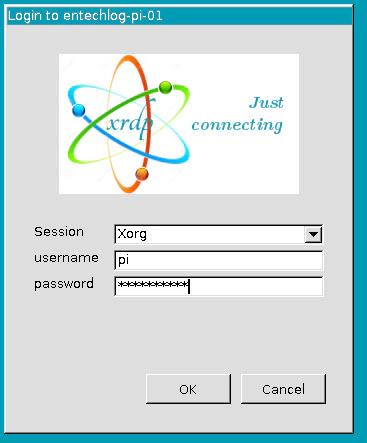
Alternatively you can also RDP into Pi Zero and Install from the terminal. User name is pi and password is what you selected during Raspberry Pi Desktop configuration
sudo into root using
sudo su
Install Pi-hole using below command. Refer https://pi-hole.net/ for any additional information
curl -sSL https://install.pi-hole.net | bash
Installation will bring up UI with on screen instructions
Ok as applicableYes to use current network settings as static addressOn for web admin interface, web server and log queries| Router Brand | Login IP | Default username | Default password |
|---|---|---|---|
| Linksys | http://192.168.1.1 | admin | admin |
| Belkin | http://192.168.2.1 | admin | admin |
| Asus | http://192.168.1.1 | admin | admin |
| Netgear | http://192.168.0.1 | admin | password |
| Synology | http://192.168.1.1 | admin | admin |
| Arris | http://192.168.0.1 | admin | password |
| Zyxel | http://192.168.0.1 | admin | 1234 |
| Other Brands | http://192.168.0.1 | admin | see tag on your router |
Navigate to Pi-hole admin console at http://192.168.x.xxx/admin/. Replace the IP address with the static IP address from your installation.
Admin console will show details in dashboard as shown below
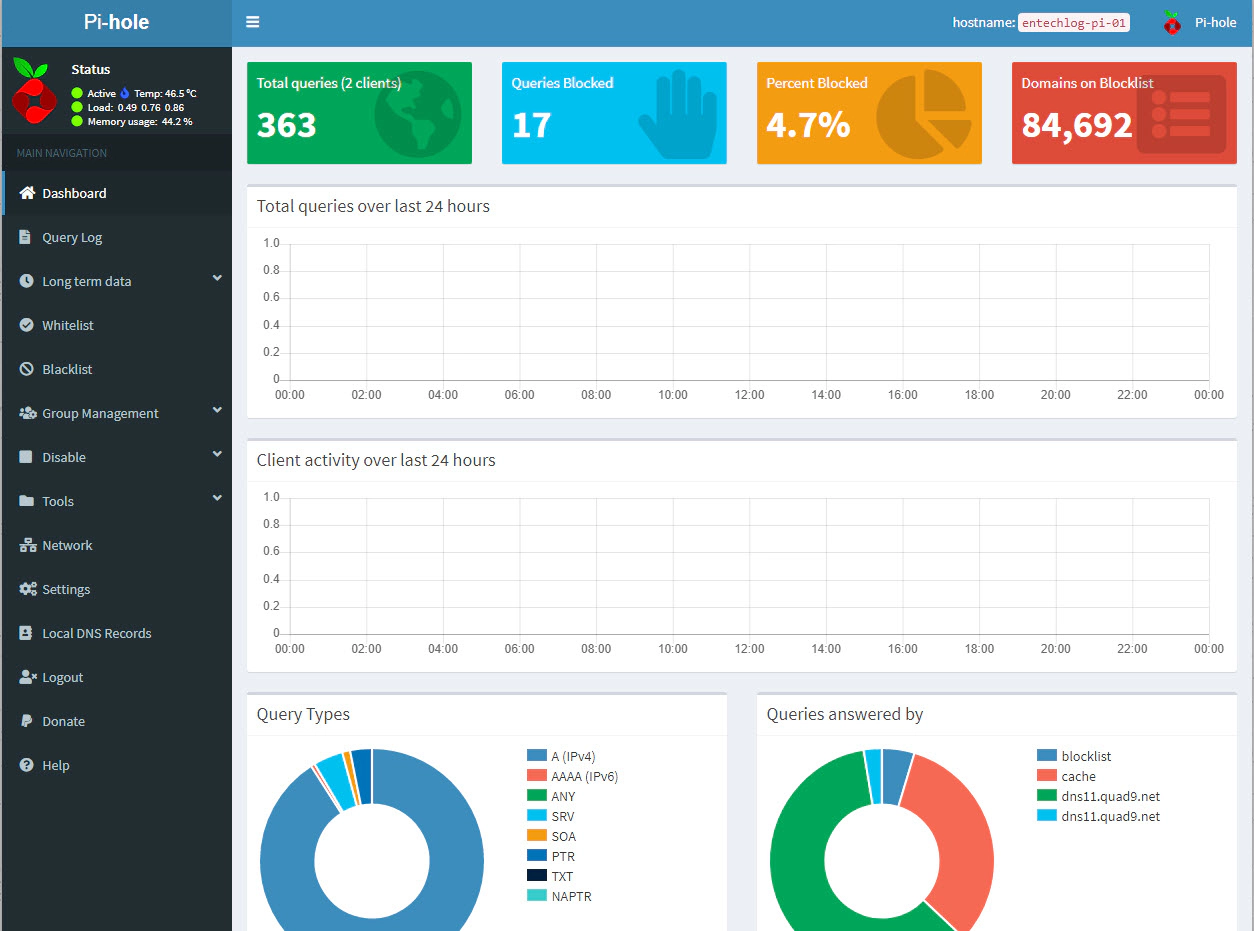
Pi-hole has now been successfully installed in your network. Ads to any devices connected to your network will be automatically blocked by Pi-hole. Remember to block ads, a machine with Pi-hole should be always running.
Pi-hole is a network-wide ad blocker. This will block Ads to all devices connected to your home network without having …

Computers have been doing work for humans for decades. The fundamental loop has always been the same: a person has a …