How to set up Mainframe in Raspberry Pi
In this article, we will see how to install Multiple Virtual Storage, more commonly called MVS operating system into …

In this article, we will see how to install and configure Kubernetes cluster in Raspberry Pi. Docker, Ansible, k3s and Raspberry Pi 4 (8GB) version were used for this setup. K3s is a fully compliant light weight Kubernetes distribution.
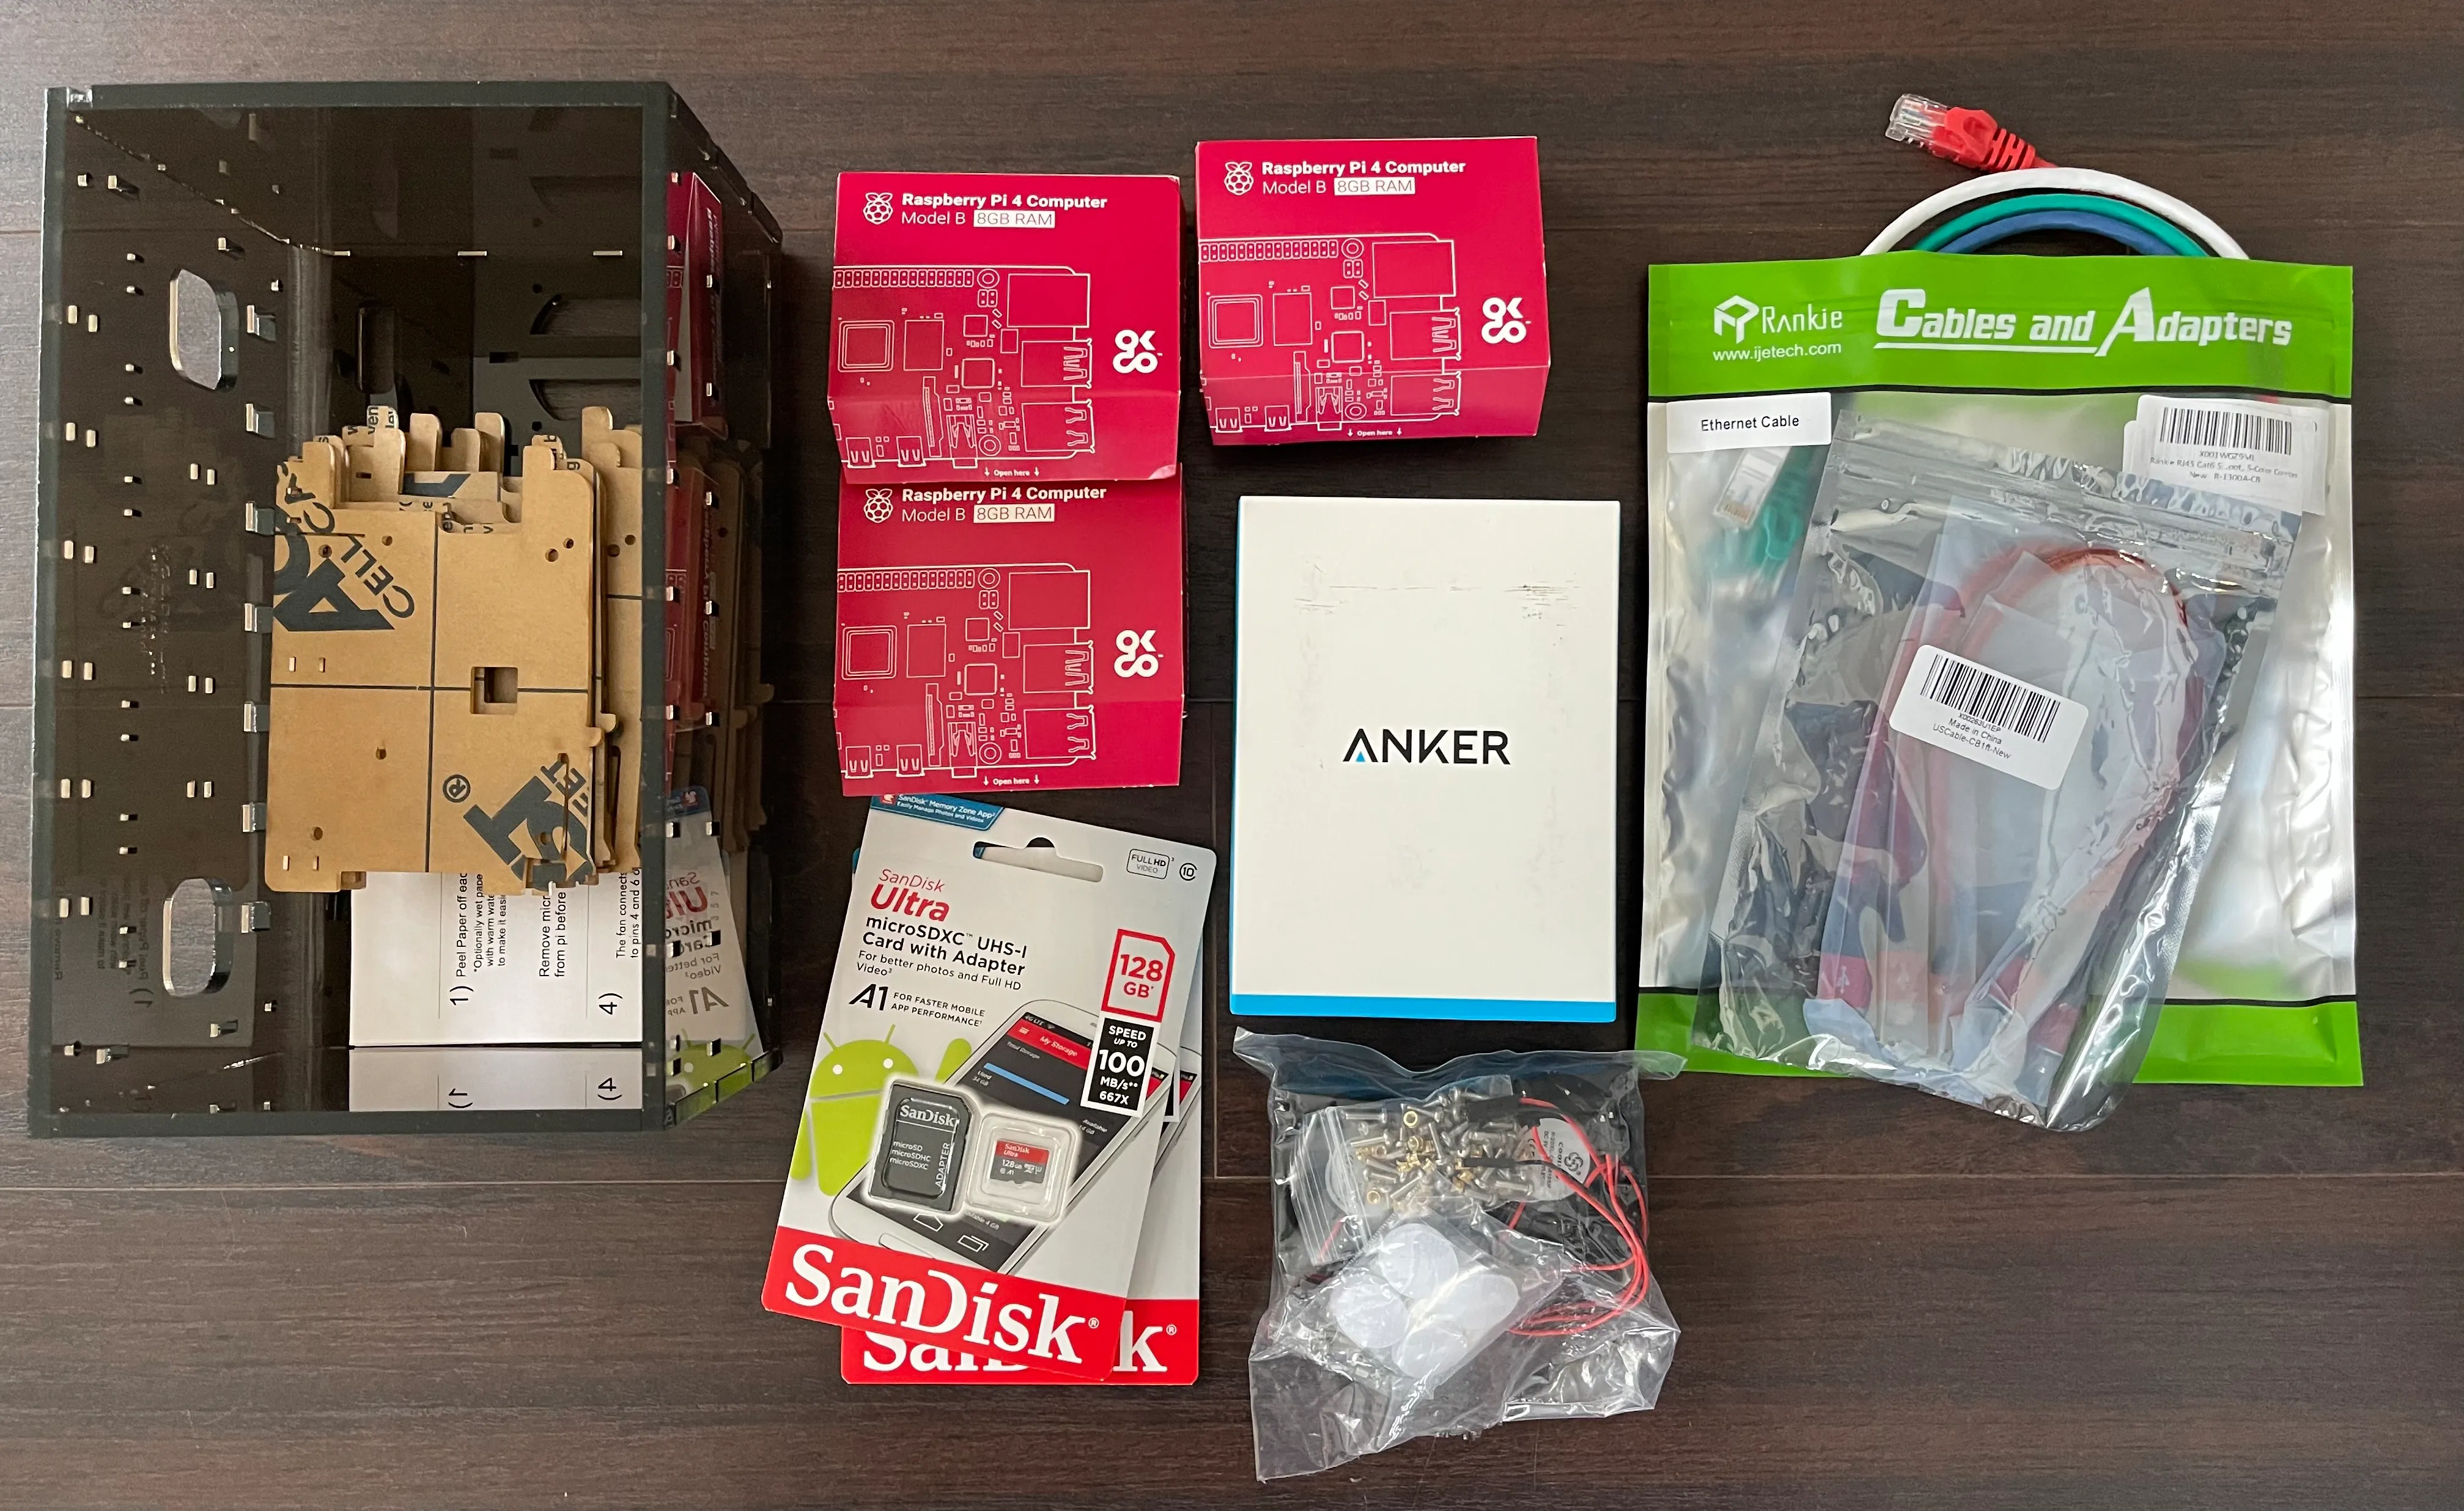
List of required hardware components:
| Hardware Type | Model |
|---|---|
| Raspberry Pi | Raspberry Pi 4 (8 GB) |
| Case | C4Labs Cloudlet Cluster Case |
| Memory Card | SanDisk 128GB Ultra MicroSDXC |
| Power Supply | Anker PowerPort 6 (60W 6-Port USB Charging Hub) |
| USB Cable | 1 Feet Cabepow USB A to Type C Cable |
| Cat6 Cable | Rankie RJ45 Cat6 |
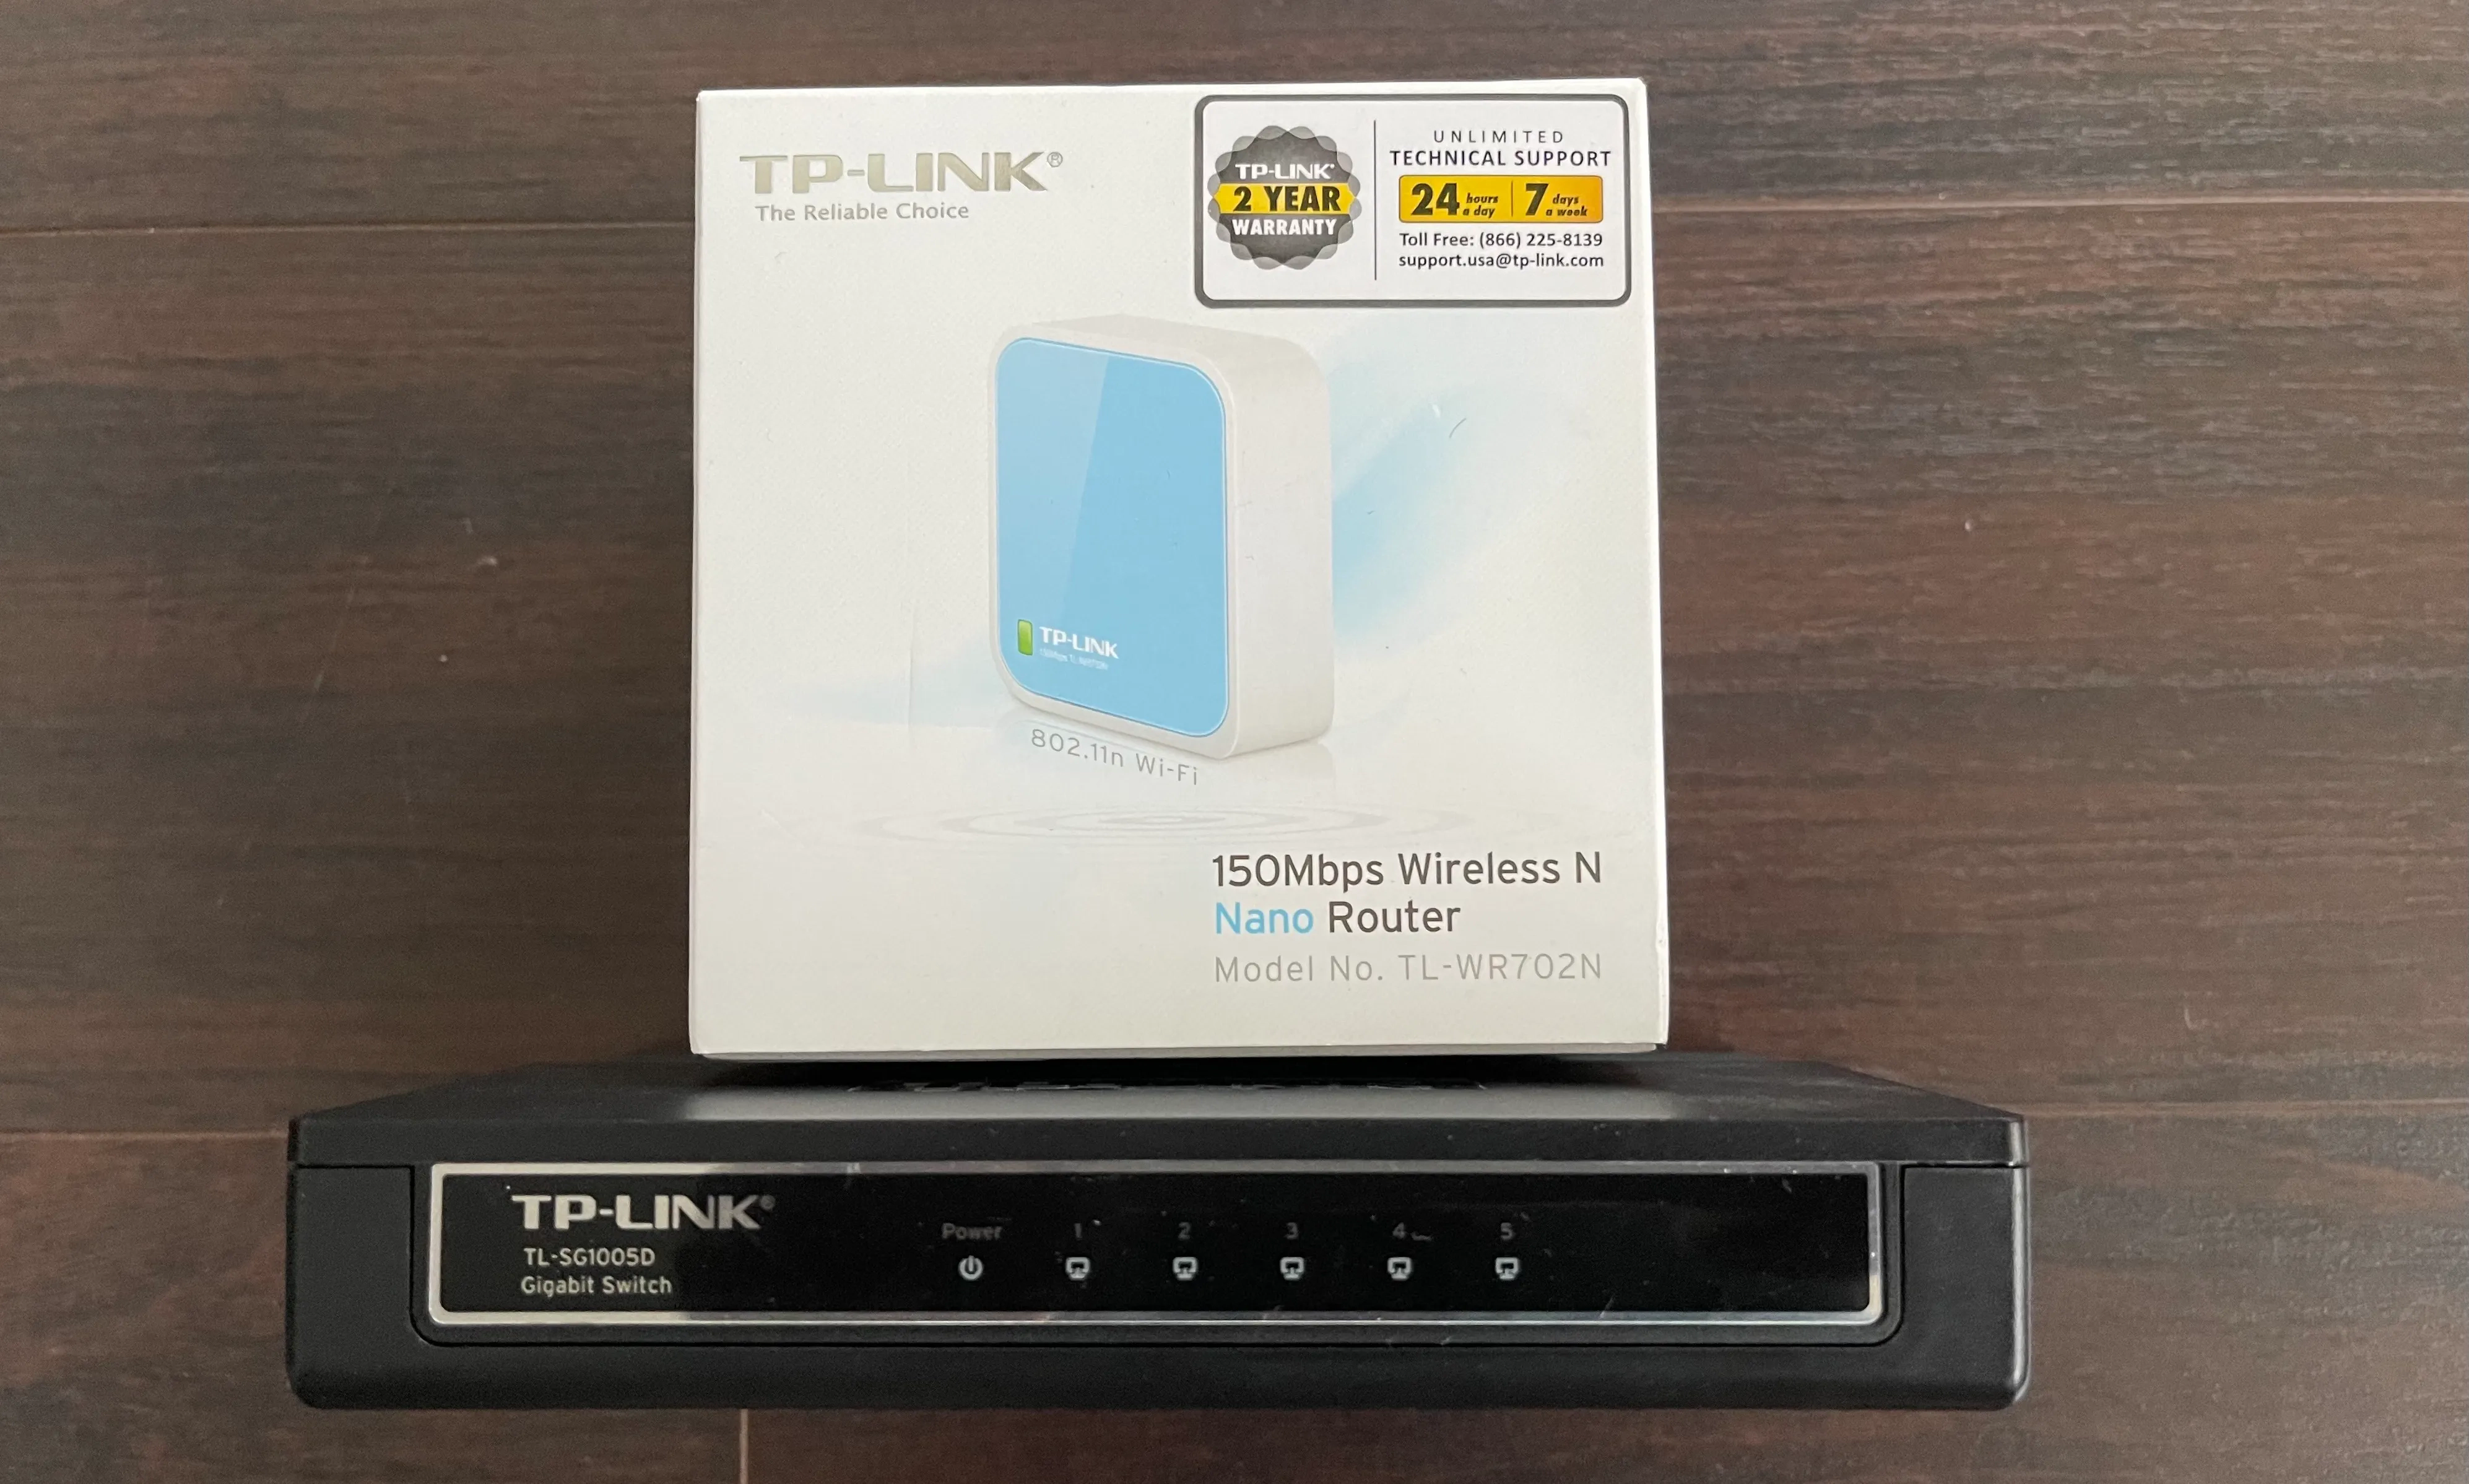
| Wireless Router | TP-Link Wireless N Nano Router |
| Network Switch | TP-Link 5 Port Gigabit Ethernet Network Switch |
Wireless router is optional to make the cluster portable. Wireless router and network switch used here are outdated models, this is because I used something which I already had available. If you are looking for a newer model, then go for a 8 port switch and the latest Wireless N Nano Router.
Unbox the Raspberry Pi and all accessories
Attach fan to the case
Install heat sinks on CPU, RAM and USB controller chip
Install the fan by connecting RED wire to second pin and BLACK wire to third pin in top row from left side
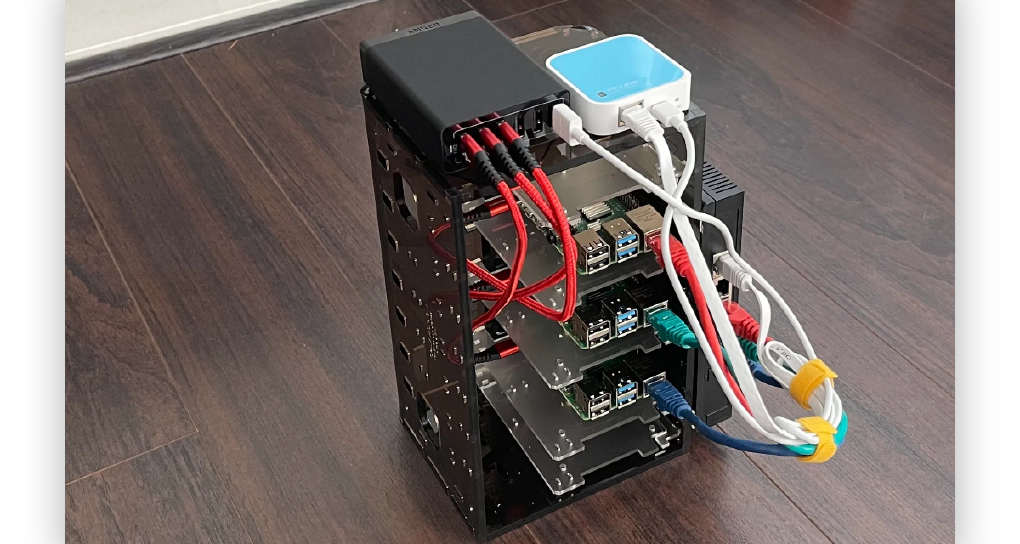
Safely attach the Raspberry Pi to the case and connect the power supply and ethernet cables
Attach the network switch, router and power supply to the case using double sided tapes (optional). If you are not using a wireless router, you can also connect the Pi’s directly to the router using Cat 6 cables
Download and install Etcher in your machine
Download Ubuntu image for Raspberry Pi. Pick the OS type you need. We will use Ubuntu Server for this setup, but you can also use Ubuntu Desktop if you have a micro HDMI cable and a USB keyboard
Insert SD card into your machine and flash it using Etcher to install Ubuntu for Raspberry Pi
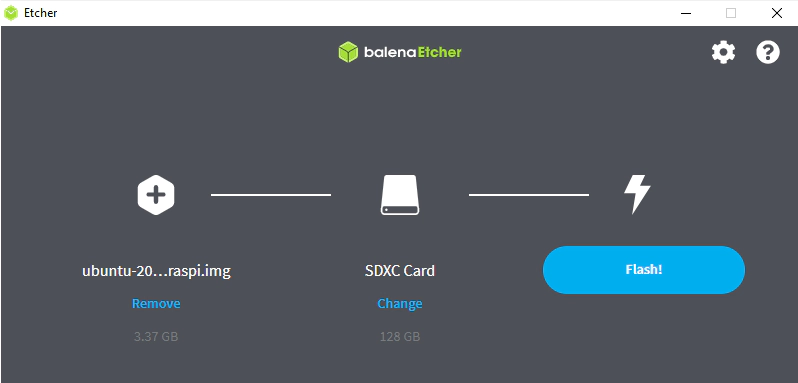
For Ubuntu Server, enable SSH by adding an empty file named ssh inside “system-boot” directory of the SD card. This helps us to bring up Raspberry Pi completely headless
For Ubuntu Desktop, connect the Pi to the display and keyboard, then enable ssh using following method
sudo apt update
sudo apt upgrade
sudo apt install openssh-server
sudo service ssh enable
sudo service ssh start
Insert SD card into Raspberry Pi’s SD slot and power on the devices
Identify the IP address of all Raspberry Pi’s using nmap command OR from the routers admin console. It’s advisable to reserve the IP address for all Raspberry Pi’s in the router setting so the IP addresses won’t change in future with restarts
# Adjust the IP address to the default gateway address of your network
sudo nmap -sn 192.168.0.1/24
ssh into Raspberry Pi’s using the credential ubuntu\ubuntu and change the default credential to a more secure one
We will use the official ansible template from k3 and few additional ansible playbooks to install and configure k3. Please clone below repositories to get started
🔗 Ansible Playbook - k3s
🔗 Ansible Playbook - Pi Config
Download and install docker for your platform. Click here for instructions
Open a new terminal and cd into kubernetes-examples/kube-tools directory. This directory contains Dockerfile and docker-compose.yml to bring up a docker container with ansible.
Create a copy of .env.template as .env
No changes needed in .env
Start kube-tools container by running
docker-compose up -d
Validate the container by running
docker ps
SSH into the container by running
docker exec -it kube-tools /bin/bash
Validate ansible by running
ansible --version
cd into the clonned ansible config repository
cd kubernetes-examples/rpi-k3/configure/
Edit hosts.ini with the IP addresses gathered above and a user friendly host name which you would like to set for the Raspberry Pis in below format.
[master]
pi-kube-m1 ansible_ssh_host=192.168.0.100

[node]
pi-kube-n1 ansible_ssh_host=192.168.0.101
pi-kube-n2 ansible_ssh_host=192.168.0.102

[k3s_cluster:children]
master
node
cd into the clonned k3 ansible repository
cd k3s-ansible/
Create a new directory in inventory directory based on the sample directory
cp -R inventory/sample inventory/raspberry-pi
Edit inventory/raspberry-pi/hosts.ini with the IP addresses gathered above in the following format:
[master]
192.168.0.100

[node]
192.168.0.101
192.168.0.102

[k3s_cluster:children]
master
node
Edit inventory/raspberry-pi/group_vars/all.yml to set ansible_user to ubuntu
cd into the clonned ansible config repository
cd kubernetes-examples/
Generate RSA key by running following playbook
ansible-playbook rpi-k3/configure/01-generate-rsa.yml
⚠️ Alternatively, RSA key can be generated manually by running following command ⚠️
ssh-keygen -t rsa
cat /home/ubuntu/.ssh/id_rsa.pub > ~/.ssh/authorized_keys
Copy RSA keys to all Raspberry Pis by running following playbook
export ANSIBLE_HOST_KEY_CHECKING=False
ansible-playbook rpi-k3/configure/02-copy-rsa.yml -i rpi-k3/configure/hosts.ini --ask-pass
export ANSIBLE_HOST_KEY_CHECKING=True
⚠️ Alternatively, RSA key can be copied manually by running following command for each Pi ⚠️
cat /home/ubuntu/.ssh/id_rsa.pub | ssh ubuntu@192.168.0.100 'mkdir -p ~/.ssh && chmod 700 ~/.ssh && cat >> ~/.ssh/authorized_keys && chmod 600 ~/.ssh/authorized_keys'
Update the hostnames of Raspberry Pis by running below playbook
ansible-playbook -e 'reboot=True' \
rpi-k3/configure/03-change-hostname.yml -i rpi-k3/configure/hosts.ini
⚠️ Alternatively, hostname can also be changed manually by ssh’ing into each Pis and editing hostnames in /etc/hostname and /etc/hosts then issuing reboot command ⚠️
If you get “/bin/sh: 1: /usr/bin/python3: not found” error please run below command to install python ansible-playbook rpi-k3/configure/99-install-python.yml -i rpi-k3/configure/hosts.ini
cd into the clonned k3 ansible repository
cd k3s-ansible/
Start provisioning of the cluster using the following command
ansible-playbook site.yml -i inventory/raspberry-pi/hosts.ini
Get kube config from master and set KUBECONFIG
mkdir -p ~/.kube && scp ubuntu@192.168.0.100:~/.kube/config ~/.kube/config
export KUBECONFIG=~/.kube/config
Validate the Kubernetes node by running
kubectl get nodes

If you want to reset the kubernetes cluster, you can do so by running following command first and then starting over from install Kubernetes
ansible-playbook reset.yml -i inventory/raspberry-pi/hosts.ini
Kubernetes Dashboard is a general purpose, web-based UI for Kubernetes clusters.
cd into kubernetes-examples/ directory
cd kubernetes-examples/
Deploy the dashboard from official source. Make sure to update the version number to the one you need
kubectl apply -f https://raw.githubusercontent.com/kubernetes/dashboard/v2.3.1/aio/deploy/recommended.yaml
Verify the pod status, you should see new pods in the name space “kubernetes-dashboard”
kubectl get pods -A
Create admin and read-only user for dashboard by running following commands
kubectl apply -f rpi-k3/dashboard/dashboard-admin.yaml
kubectl apply -f rpi-k3/dashboard/dashboard-read-only.yaml
Get secret for the kubernetes dashboard admin user by running
kubectl get secret -n kubernetes-dashboard $(kubectl get serviceaccount admin-user -n kubernetes-dashboard -o jsonpath="{.secrets[0].name}") -o jsonpath="{.data.token}" | base64 --decode && echo ''
Start proxy for connecting to dashboard by running
kubectl proxy --address='0.0.0.0'
Navigate to kubernetes dashboard by opening below URL in your browser
http://localhost:8001/api/v1/namespaces/kubernetes-dashboard/services/https:kubernetes-dashboard:/proxy/#/overview?namespace=_all
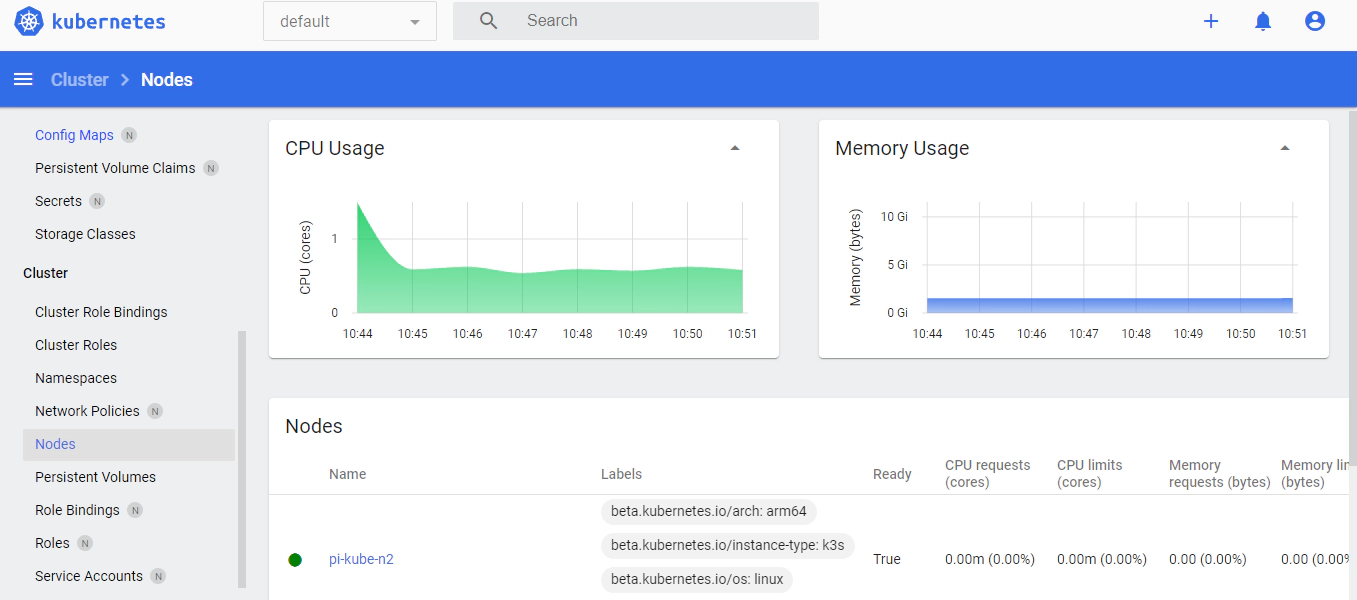
Now we have kubernetes cluster running in Raspberry Pi’s ready to deploy some applications.
Open a new terminal and cd into kubernetes-examples directory. Run the below command to delete the kubernetes dashboard
kubectl delete -f https://raw.githubusercontent.com/kubernetes/dashboard/v2.3.1/aio/deploy/recommended.yaml
Hope this was helpful. Did I miss something ? Let me know in the comments.
In this article, we will see how to install Multiple Virtual Storage, more commonly called MVS operating system into …
The Raspberry Pi is a low cost, credit-card sized computer that plugs into a computer monitor or TV, and uses a standard …