Snowflake Connector For Kafka
In this article we will see how to use the Snowflake connector to stream data from Kafka to Snowflake. The Snowflake …

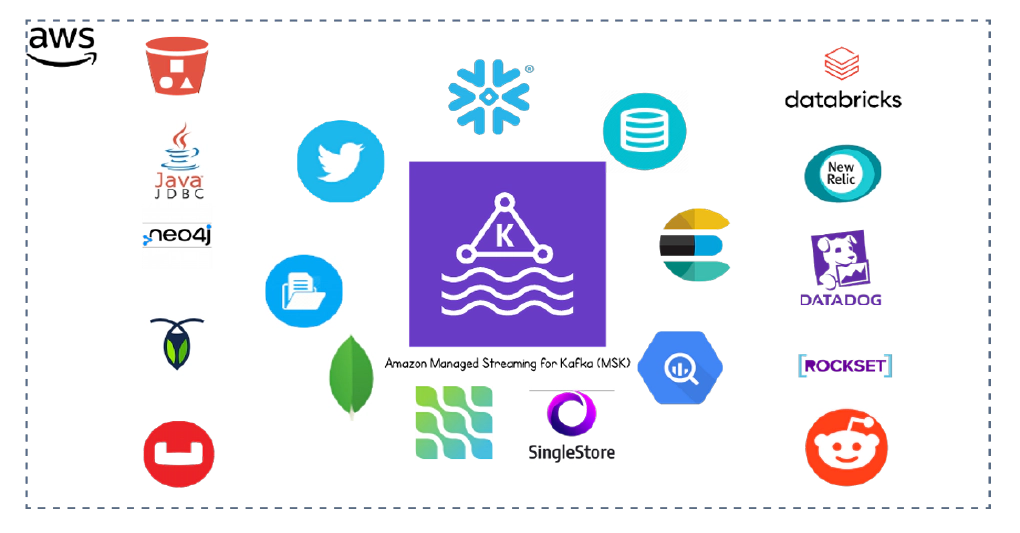
In this article we will see how to integrate Kafka connect with Amazon Managed Streaming for Apache Kafka (MSK). Code used in this article can be found here. To have a stream of data, we will source data from twitter and write to the Snowflake database.
Open AWS management console and search for MSK

Create Amazon MSK Cluster with minimal configuration of kafka.t3.small instance size and 10GB of storage volume.

Successful creation of the MSK cluster should give the below confirmation message. Bootstrap server, zookeeper server details can be found by clicking View client information. Keep this information handy as we will use it in our next steps.

Generate key pair in the machine from which we are going to execute the steps.
Generate a private key using OpenSSL.
openssl genrsa -out snowflake_key.pem 2048
Generate the public key referencing the private key.
openssl rsa -in snowflake_key.pem -pubout -out snowflake_key.pub
Get the required part of public key.
grep -v "BEGIN PUBLIC" snowflake_key.pub | grep -v "END PUBLIC"|tr -d '\r\n'
Get the required part of private key.
grep -v "BEGIN RSA PRIVATE KEY" snowflake_key.pem | grep -v "END RSA PRIVATE KEY"|tr -d '\r\n'
Login into your Snowflake account and execute the following queries.
Switch to the SECURITYADMIN role
USE ROLE SECURITYADMIN;
Create Kafka user in Snowflake
CREATE USER kafka RSA_PUBLIC_KEY='<your-public-key>';
Assign role for kafka user
GRANT ROLE SYSADMIN TO USER kafka;
This step is required only if you are going to host the connectors in a non kubernetes environment.
Download docker-compose.yml and all required components from here. Here is the tree view of contents in this repository
│   .env
│   docker-compose.yml
│   README.md
│
├───kafka-connect
│   ├───scripts
│   │       create-snowflake-sink.sh
│   │       create-twitter-source.sh
│   │
│   └───secrets
│           connect-secrets.properties
│           connect-secrets.properties.template
│
└───snowflake
        create-user.sql
        select-records.sql
Create a copy of kafka-to-snowflake\kafka-connect\secrets\connect-secrets.properties.template as kafka-to-snowflake\kafka-connect\secrets\connect-secrets.properties and update it with the Twitter API key details and Snowflake credentials.
Edit .env to update the KAFKA_BOOTSTRAP_SERVERS. Bootstrap server details can be found by clicking View client information in the MSK cluster page.
Now we have all required artifacts and the next step to start the Kafka connectors. We have multiple options to host the connectors and here are a few of them.

In this option we will host the connectors inside EC2 instance in the same AWS account as MSK and will use Plaintext ports for connection.

Download Kafka and validate connection to MSK cluster
# Install Java
sudo amazon-linux-extras install java-openjdk11

# Verify Java
java -version

# Download Kafka
# Get the link for version you need from `Source download` of https://kafka.apache.org/downloads
cd ~
wget https://mirror.its.dal.ca/apache/kafka/2.6.0/kafka_2.13-2.6.0.tgz

tar xzf kafka_2.13-2.6.0.tgz
cd kafka_2.13-2.6.0/bin

# Validate the connection
./kafka-topics.sh --list --zookeeper <your-msk-zookeeper-host-name>:2181
Create the topic for twitter source data
./kafka-topics.sh --create --zookeeper <your-msk-zookeeper-host-name>:2181 --replication-factor 2 --partitions 1 --topic twitter.my.favorite.celebrities.src
Install docker and docker compose in the EC2 instance. See here for detailed instructions.
# Install Docker
sudo amazon-linux-extras install docker
sudo service docker start
sudo usermod -a -G docker ec2-user
sudo systemctl enable docker

# Verify
docker --version

# Install Docker Compose
sudo curl -L https://github.com/docker/compose/releases/latest/download/docker-compose-$(uname -s)-$(uname -m) -o /usr/local/bin/docker-compose

# Update permission
sudo chmod +x /usr/local/bin/docker-compose

# Verify
docker-compose version
Copy the updated folder with docker-compose and all artifacts into the EC2 instance.
cd into the folder and start the services in docker by running the below command. This will bring up the Kafka connectors automatically by running the scripts create-twitter-source.sh and create-snowflake-sink.sh
docker-compose up -d
OR
sudo /usr/local/bin/docker-compose up
Validate all services
docker ps
Validate the connector status
# Install jq in the EC2 isntance
sudo yum install jq -y

# Get the list of connectors
curl http://localhost:8083/connectors/ | jq

# Curl to check the source connector status
curl http://localhost:8083/connectors/MY_FAVORITE_CELEBRITIES_SRC_TWITTER/status | jq

# Curl to check the sink connector status
curl http://localhost:8083/connectors/MY_FAVORITE_CELEBRITIES_SINK_SNOWFLAKE/status | jq
docker exec -it kafka-connect /bin/bash.curl http://localhost:8083/connectors/In this option we will host the connectors inside EKS with Strimzi operator in the same AWS account as MSK and will use Plaintext ports for connection. Code used for this demo can be found here

Start an EKS cluster with default configuration (Default configuration is for the demo. Adjust the configurations as per your needs).

Assign the EKS cluster same security group as the MSK cluster.

Make sure the Inbound rules of security group can accept all traffic from the security group itself and all traffic from EKS security group.

Download Kafka and validate connection to MSK cluster
# Install Java
sudo amazon-linux-extras install java-openjdk11

# Verify Java
java -version

# Download Kafka
# Get the link for version you need from `Source download` of https://kafka.apache.org/downloads
cd ~
wget https://mirror.its.dal.ca/apache/kafka/2.6.0/kafka_2.13-2.6.0.tgz

tar xzf kafka_2.13-2.6.0.tgz
cd kafka_2.13-2.6.0/bin

# Validate the connection
./kafka-topics.sh --list --zookeeper <your-msk-zookeeper-host-name>:2181
To deploy Strimzi operator and the connectors, we need AWS CLI and kubectl. See here for detailed instructions to install them, here is the summary
Install AWS CLI
curl "https://awscli.amazonaws.com/awscli-exe-linux-x86_64.zip" -o "awscliv2.zip"

unzip awscliv2.zip

sudo ./aws/install

aws --version
Install AWS kubectl
curl -o kubectl https://amazon-eks.s3.us-west-2.amazonaws.com/1.18.9/2020-11-02/bin/linux/amd64/kubectl

chmod +x ./kubectl
sudo mv ./kubectl /usr/local/bin

echo 'export PATH=$PATH:$HOME/bin' >> ~/.bash_profile

kubectl version --short --client
Configure AWS CLI and kubectl
aws configure

aws eks --region us-east-1 update-kubeconfig --name <your-eks-cluster-name>

export KUBECONFIG=/home/<your-user-id>/.kube/config

kubectl get svc
If you have done everything correct till this point, You should see below output
[ec2-user@ip-172-31-31-xxx ~]$ kubectl get svc
NAME         TYPE        CLUSTER-IP   EXTERNAL-IP   PORT(S)   AGE
kubernetes   ClusterIP   10.xxx.0.1   <none>        443/TCP   21m
Create namespace for kafka
kubectl create namespace kafka
Create clusterrolebinding for strimzi
kubectl create clusterrolebinding strimzi-cluster-operator-namespaced --clusterrole=strimzi-cluster-operator-namespaced --serviceaccount kafka:strimzi-cluster-operator

kubectl create clusterrolebinding strimzi-cluster-operator-entity-operator-delegation --clusterrole=strimzi-entity-operator --serviceaccount kafka:strimzi-cluster-operator

kubectl create clusterrolebinding strimzi-cluster-operator-topic-operator-delegation --clusterrole=strimzi-topic-operator --serviceaccount kafka:strimzi-cluster-operator
Download and install strimzi-cluster-operator from here. This is also available at /connect-in-eks/k8s/01-strimzi if you have downloaded this demo repo for this blog
kubectl apply -f strimzi-cluster-operator-0.20.1.yaml -n kafka
Verify the cluster-operator
kubectl get pods -n kafka

kubectl get pods -l=name=strimzi-cluster-operator -n kafka

Verify the Custom Resource Definitions
kubectl get crd | grep strimzi
Verify the Cluster Roles
kubectl get clusterrole | grep strimzi
Next part is to create our custom docker image after adding required connectors. Download the code from here and update the /connect-in-eks/docker/strimzi-kafka-connect/plugins to add the required connectors. To send the image to docker hub create a new file named my_password.txt, updated with your docker hub credential and run below command.
./build-docker-image.sh <docker-hub-user-name> <tag-name>

## Example: ./build-docker-image.sh entechlog 2

You can also update the base image in Dockerfile as per your requirement. Here we are using strimzi/kafka:0.20.1-kafka-2.5.0.
Create a copy of /connect-in-eks/k8s/02-kafka-connect/secrets/connect-secrets.properties.template as /connect-in-eks/k8s/02-kafka-connect/secrets/connect-secrets.properties and update it with the Twitter API key details and Snowflake credentials.
Create secrets for connectors. The property file is located at /connect-in-eks/k8s/02-kafka-connect/secrets
kubectl -n kafka create secret generic connect-secrets --from-file=connect-secrets.properties
Verify secrets
kubectl get secrets connect-secrets -o yaml -n kafka
Create the connect cluster. Make sure to update image, bootstrapServers and replication.factor as per your environment before running this command. kafka-connect-custom-image.yaml is located at /connect-in-eks/k8s/02-kafka-connect
kubectl apply -f kafka-connect-custom-image.yaml -n kafka
Verify the connect cluster
kubectl get kafkaconnects -n kafka
Verify the connect cluster status
kubectl get kafkaconnect strimzi-connect-cluster-custom-image -o yaml -n kafka
Verify the connect cluster pod
kubectl get pod -l=strimzi.io/cluster=strimzi-connect-cluster-custom-image -n kafka -n kafka
Verify the pod logs
kubectl logs <pod-name> -n kafka
Deploy the connectors in connect cluster
kubectl apply -f twitter-source-connector.yaml -n kafka

kubectl apply -f snowflake-sink-connector.yaml -n kafka
Verify the connectors
kubectl get kafkaconnectors -n kafka

kubectl get kafkaconnectors my-favorite-celebrities-src-twitter -o yaml -n kafka

kubectl get kafkaconnectors my-favorite-celebrities-sink-snowflake -o yaml -n kafka

You can also run a kafka-console-consumer to quickly glance the data in topic
./kafka-console-consumer.sh --bootstrap-server b-1.entechlog-dev-msk-clu.102pei.c11.kafka.us-east-1.amazonaws.com:9092 --from-beginning --topic twitter.my.favorite.celebrities.src --max-messages 5 | jq
Navigate to Snowflake UI for your account. We should see the new table in DEMO_DB database, PUBLIC schema
Check few random records by running
SELECT *
FROM "DEMO_DB"."PUBLIC"."TWITTER_MY_FAVORITE_CELEBRITIES_SRC_1206524140"
LIMIT 10;
Check record count by running. The counts should change frequently if you rerun this query as we are streaming data.
SELECT CURRENT_TIMESTAMP()
	,COUNT(*)
FROM "DEMO_DB"."PUBLIC"."TWITTER_MY_FAVORITE_CELEBRITIES_SRC_1206524140";
Parse the JSON documents in Snowflake, Here is an example to select few columns from the JSON document.
-- Parse JSON
-- Field in root    : RECORD_CONTENT:CreatedAt
-- Field in Dict    : RECORD_CONTENT:User.Name
-- Field in Array   : RECORD_CONTENT:HashtagEntities (VALUE:Text::STRING)
SELECT
RECORD_CONTENT:CreatedAt AS "CreatedAt",
RECORD_CONTENT:User.Name AS "UserName",
VALUE:Text::STRING AS "HashTag"
FROM "DEMO_DB"."PUBLIC"."TWITTER_MY_FAVORITE_CELEBRITIES_SRC_1206524140",
LATERAL FLATTEN(INPUT => RECORD_CONTENT:HashtagEntities)
WHERE
RECORD_CONTENT: HashtagEntities <> '[]'
ORDER BY RECORD_CONTENT:CreatedAt DESC;

Hope this was helpful. Did I miss something ? Let me know in the comments and I’ll add it in !
Stay tuned for next few connection options.
docker container ls -adocker-compose downdocker-compose down --volumesdocker rm $(docker ps -q -f status=exited)
In this article we will see how to use the Snowflake connector to stream data from Kafka to Snowflake. The Snowflake …

ksqlDB is built on top of Kafka Streams, a lightweight, powerful Java library for enriching, transforming, and …