
How to build Snowflake Cortex Agents using dbt and Cortex Code
Computers have been doing work for humans for decades. The fundamental loop has always been the same: a person has a …


Pi-hole is a network-wide ad blocker. This will block Ads to all devices connected to your home network without having the need to install ad blocker in each device. Pi-hole can run on multiple devices ranging from Pi Zero to servers. Try to select a device which you can run 24/7, If you are worried about power usage then Pi zero might be the best option. In this article, we will see the steps to install Pi-hole in a windows machine. Steps in this article were tested on Hyper-V, but the idea is the same for VM VirtualBox OR VMware Workstation.
Download ISO for Debian Buster with Raspberry Pi Desktop from https://www.raspberrypi.org/downloads/raspberry-pi-desktop/
Create new virtual machine using the downloaded ISO and Install Debian Buster with Raspberry Pi. Allocate 4GB for memory and 40GB for storage

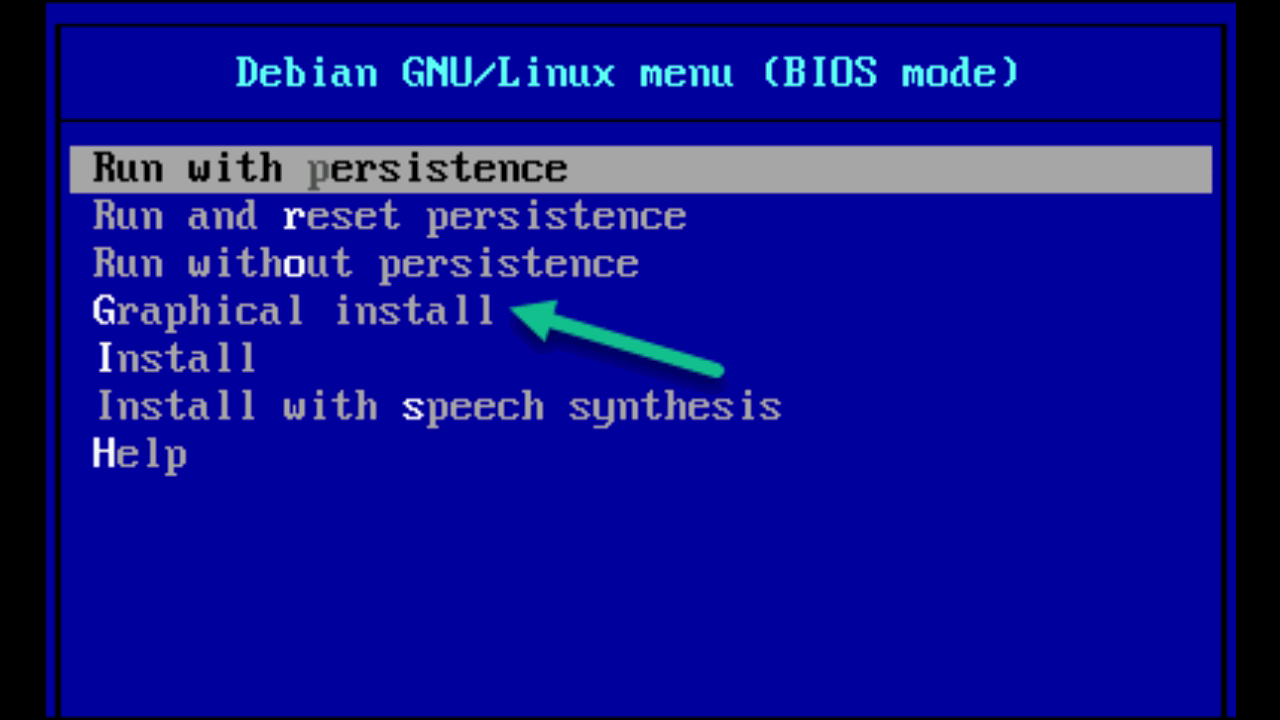
Start the virtual machine and select Graphical install option and follow the on screen instructions
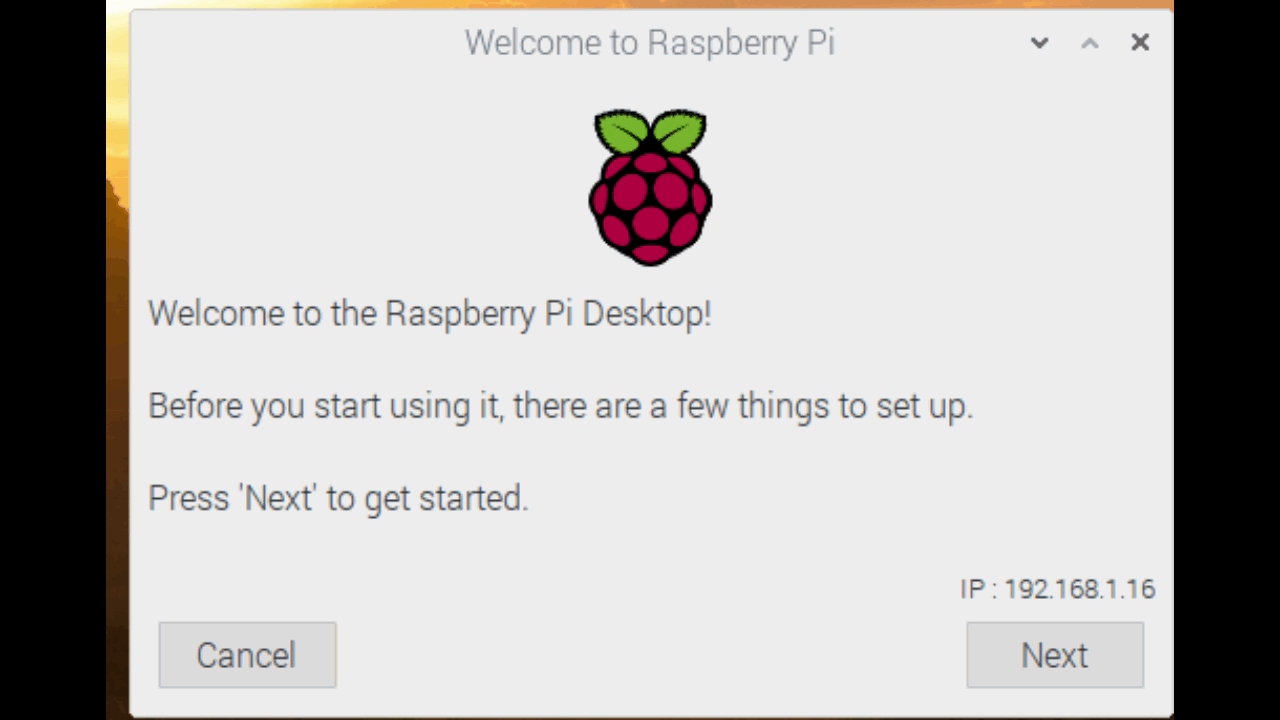
After Raspberry Pi Desktop installation finishes, pop up will show to configure Raspberry Pi Desktop. Here update the configuration to set up password and enable ssh
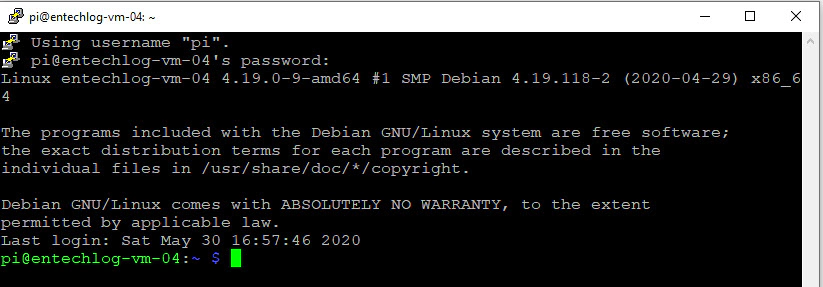
ssh into Debian Buster with Raspberry Pi using putty. User name is pi and password is what you selected during Raspberry Pi Desktop configuration
Install Pi-hole using below command. Refer https://pi-hole.net/ for any additional information
curl -sSL https://install.pi-hole.net | bash
Installation will bring up UI with on screen instructions
Ok as applicableYes to use current network settings as static addressOn for web admin interface, web server and log queries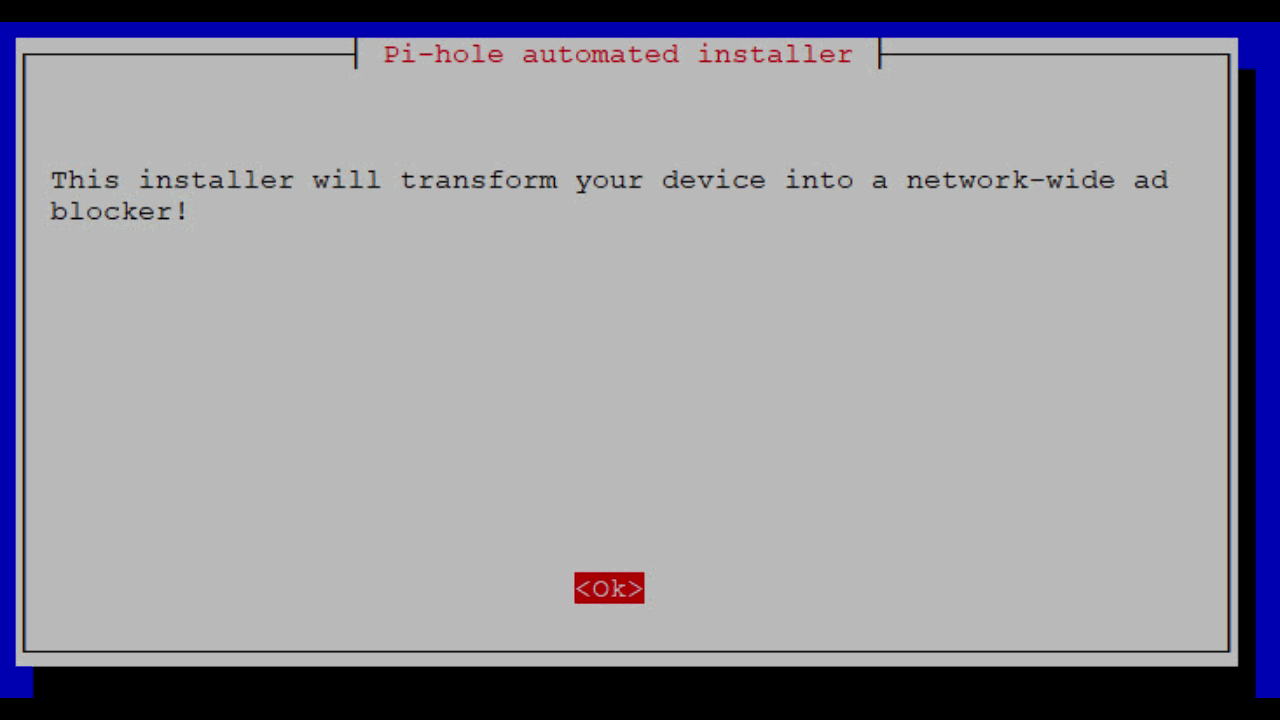
| Router Brand | Login IP | Default username | Default password |
|---|---|---|---|
| Linksys | http://192.168.1.1 | admin | admin |
| Belkin | http://192.168.2.1 | admin | admin |
| Asus | http://192.168.1.1 | admin | admin |
| Netgear | http://192.168.0.1 | admin | password |
| Synology | http://192.168.1.1 | admin | admin |
| Arris | http://192.168.0.1 | admin | password |
| Zyxel | http://192.168.0.1 | admin | 1234 |
| Other Brands | http://192.168.0.1 | admin | see tag on your router |
Navigate to the DNS server in the settings of your router and update it with the static IP of your device with Pi-Hole. This path will vary based on your routers make and model, for netgear devices its Internet –> Domain Name Server (DNS) Address

Save the changes, It may take a minute OR two for your router to apply the new settings
Navigate to Pi-hole admin console at http://192.168.x.xxx/admin/. Replace the IP address with the static IP address from your installation.
Admin console will show details in dashboard as shown below
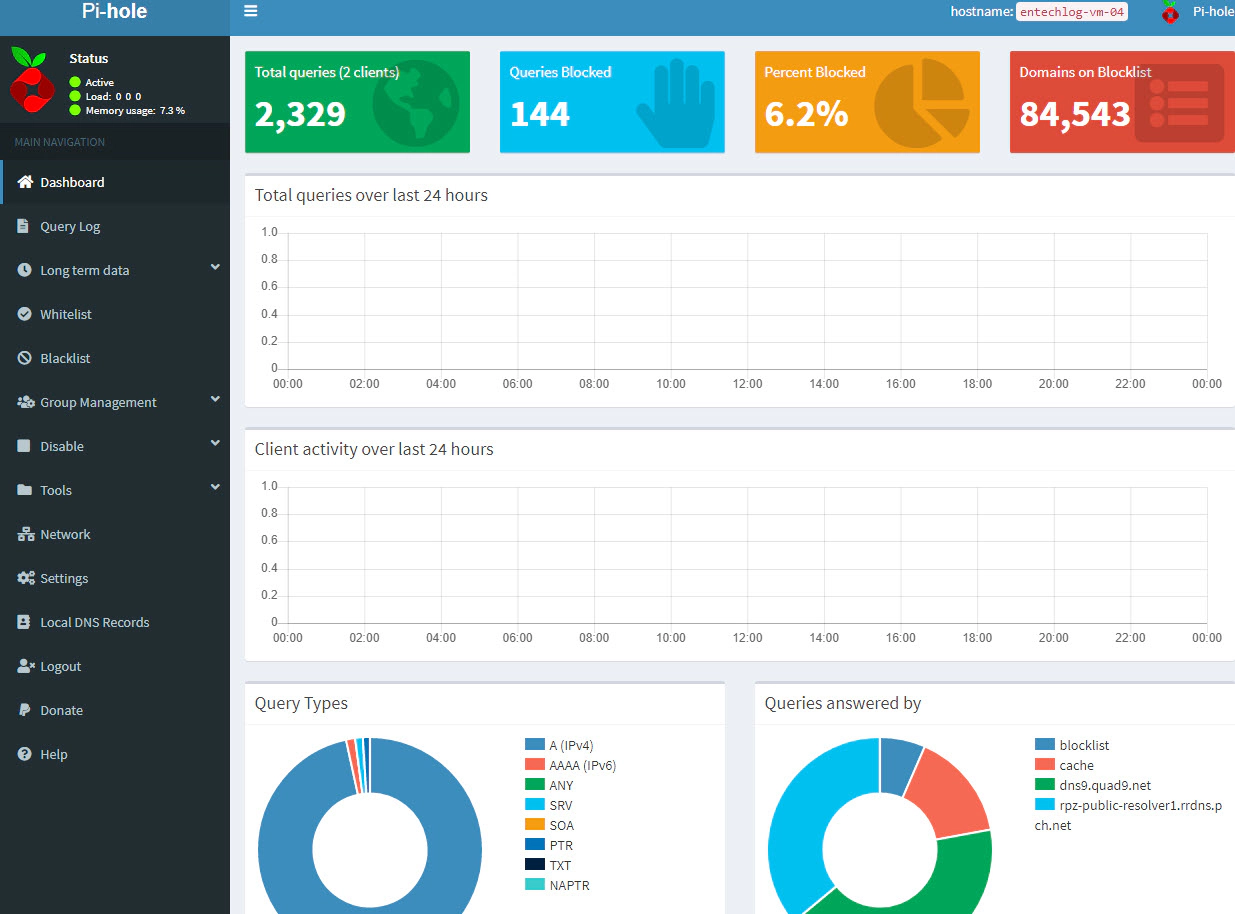
Pi-hole has now been successfully installed in your network. Ads to any devices connected to your network will be automatically blocked by Pi-hole. Remember to block Ads, virtual machine with Pi-hole should be always running.
Computers have been doing work for humans for decades. The fundamental loop has always been the same: a person has a …

As data platforms grow, one of the most expensive patterns is duplicating raw data across multiple storage engines. If …